Sunlit Meadow Market Bag Free Pattern – A Crocheted Wildflower Tote

Sunlit Meadow Market Bag Free Pattern – A Crocheted Wildflower Tote
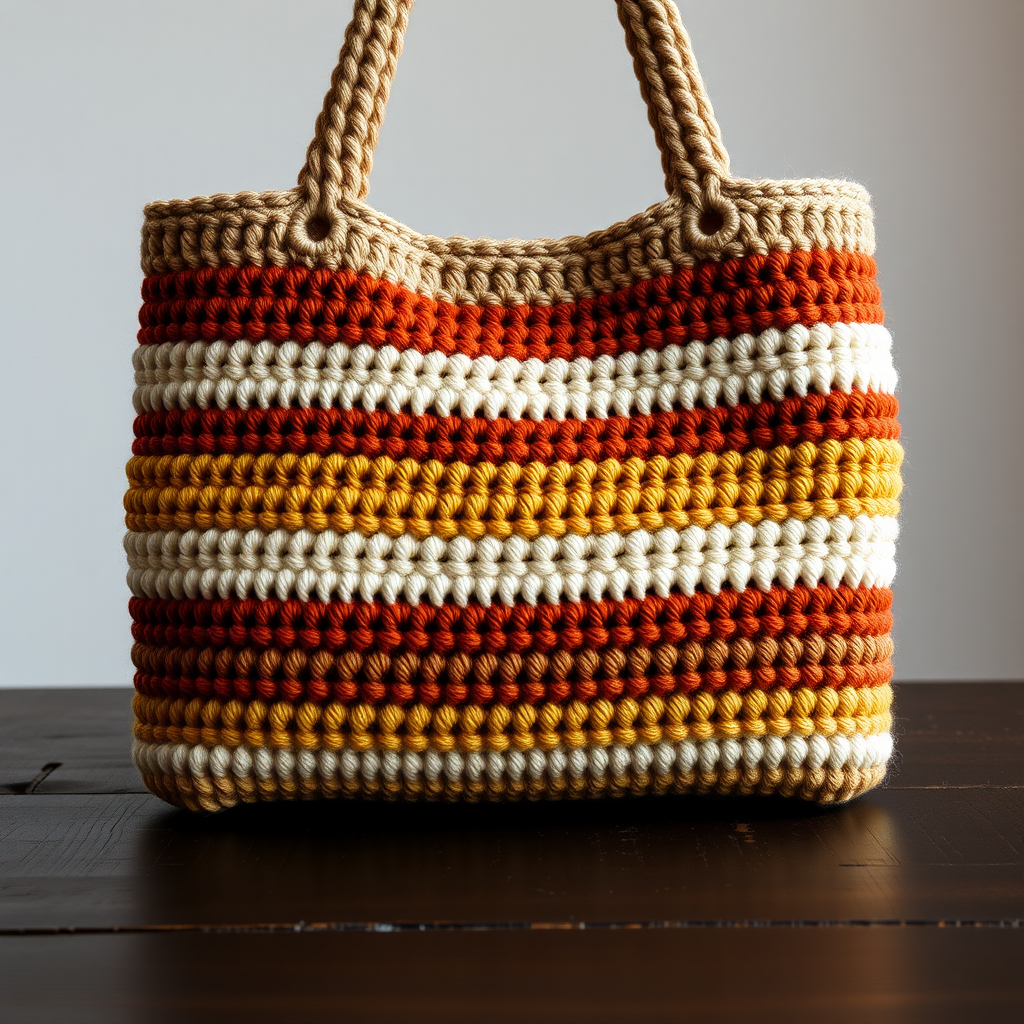
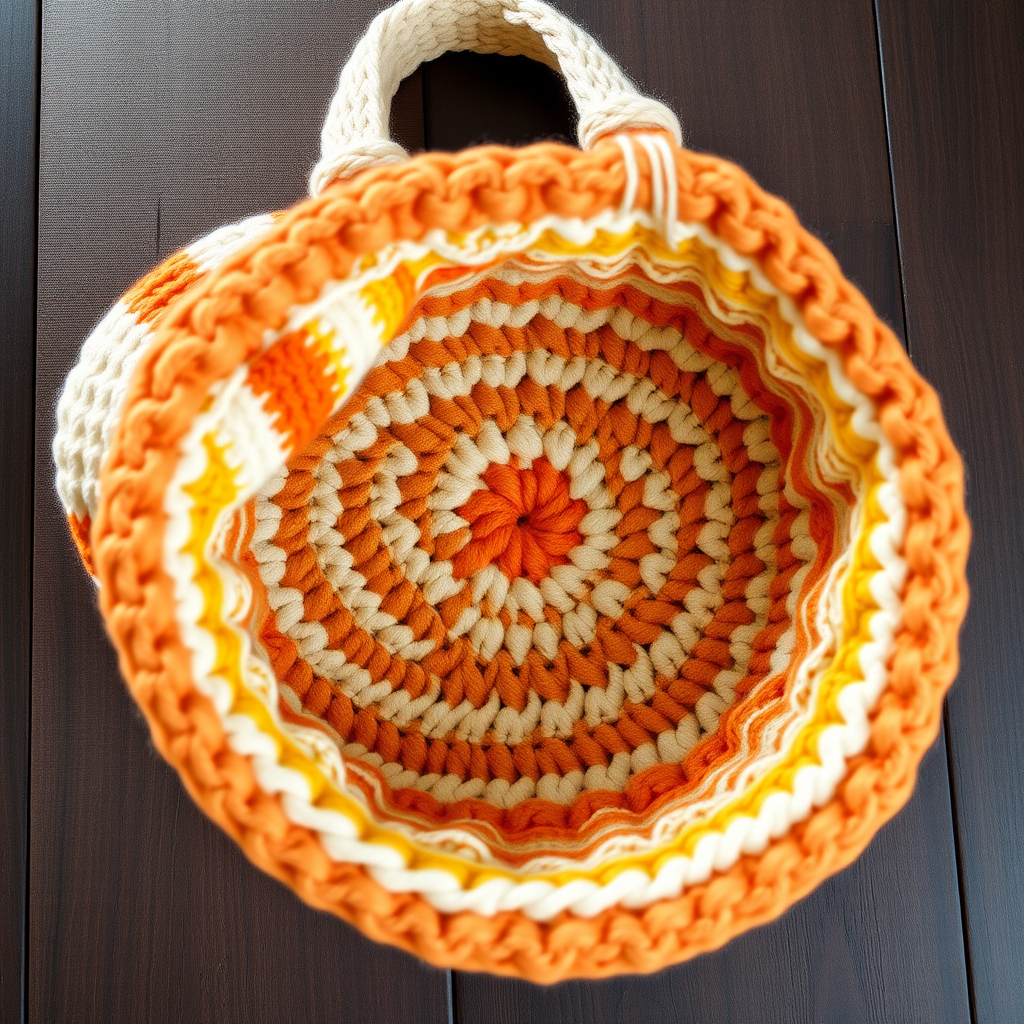
Carry a piece of summer with you everywhere you go! This airy, textured market bag features a stunning cascade of sunflower granny squares and a sturdy, spacious body. It's the perfect eco-friendly companion for farmers' markets, beach days, and spontaneous picnics. Whether you're a seasoned crocheter or just starting your journey, this pattern is designed to be both rewarding and achievable. Let's dive into creating your very own Sunlit Meadow Market Bag!
Materials Needed
Before we begin, gather your materials. Using the right supplies ensures your bag comes out looking and feeling just right.
- Yarn: Worsted weight cotton yarn in three colors:
- Golden Yellow (A) – for the sunflower petals
- Warm Brown (B) – for the sunflower centers
- Sage Green (C) – for the bag body and borders
- Hook: 5.0 mm (H-8) crochet hook
- Notions: Tapestry needle for weaving in ends and sewing, scissors
Gauge: 4 dc x 2 rows = 1 inch in double crochet. This gauge is important for achieving the correct size and drape of the bag.
Step-by-Step Instructions
This pattern is broken down into three main parts: making the sunflower granny squares, crocheting the bag body, and assembling everything together. Take your time, and enjoy the process!
Part 1: Sunflower Granny Squares (Make 12)
These vibrant squares are the heart of the bag's charm. Each one is worked in the round, starting from the center out.
Round 1 (Center): With color B (warm brown), make a magic ring. Chain 3 (this counts as your first double crochet), then work 11 double crochets (dc) into the ring. Slip stitch (sl st) to the top of the beginning chain-3 to join. You should have 12 dc total.
Round 2: Chain 3 (counts as dc), then work 1 dc in the same stitch. Work 2 dc in each stitch around. Slip stitch to join. You will now have 24 dc. Fasten off color B and weave in the end.
Round 3 (Petals): Join color A (golden yellow) in any stitch. Chain 3 (counts as dc), work 1 dc in the same stitch. *Chain 2, skip the next 2 stitches, work 2 dc in the next stitch.* Repeat from * around, ending with a chain 2, skip 2 stitches, and slip stitch to join. You will have 12 petal bases.
Round 4: Slip stitch into the next chain-2 space. Chain 3 (counts as dc), work 2 dc in the same space. *Chain 1, work 3 dc in the next chain-2 space.* Repeat from * around, ending with a chain 1 and slip stitch to the top of the beginning chain-3. Fasten off color A and weave in the end.
Round 5 (Border): Join color C (sage green) in any chain-1 space. Chain 3 (counts as dc), work 2 dc in the same space. *Chain 1, work 3 dc in the next chain-1 space.* Repeat from * around, ending with a chain 1 and slip stitch to join. You will have 12 clusters of 3 dc. Fasten off and weave in all ends. Repeat this entire process to make a total of 12 squares.
Part 2: Bag Body
Now we'll create the sturdy, mesh-textured body of the tote. This is worked in rows.
Row 1: With color C (sage green), chain 90. Work 1 dc in the 4th chain from the hook and in each chain across. Turn. You should have 88 dc.
Row 2: Chain 3 (counts as dc), work 1 dc in each dc across. Turn.
Row 3 (Mesh Row): Chain 3 (counts as dc), *work 1 dc in the next 3 dc, chain 1, skip 1 dc.* Repeat from * across, ending with 1 dc in the last 3 dc. Turn.
Row 4: Chain 3 (counts as dc), *work 1 dc in the next 3 dc, work 1 dc in the chain-1 space.* Repeat from * across, ending with 1 dc in the last 3 dc. Turn.
Rows 5-20: Repeat Rows 3 and 4 alternately. This creates the beautiful, airy mesh texture. You will have a total of 20 rows.
Row 21: Chain 3 (counts as dc), work 1 dc in each dc and in each chain-1 space across. Turn. You should have 88 dc again.
Row 22: Chain 3 (counts as dc), work 1 dc in each dc across. Fasten off and weave in the end.
Part 3: Assembly and Finishing
This is where the bag comes together! Follow these steps carefully for a professional finish.
Step 1: Sew the Side Seams. Fold the bag body in half with right sides facing each other. Using color C and a tapestry needle, whip stitch or slip stitch the side seams together, leaving the top edge open.
Step 2: Create the Top Edge. Turn the bag right side out. With color C, work a round of single crochet (sc) evenly around the top edge. Work 2 sc in each dc row. Join with a slip stitch to the first sc.
Step 3: Make the Handle. Chain 100. Slip stitch in the 2nd chain from the hook and in each chain across. Fasten off. Attach the handle securely to the inside of the bag at both side seams using slip stitches or a tapestry needle.
Step 4: Attach the Sunflowers. Arrange your 12 sunflower squares on the front of the bag in a pleasing pattern (a 3x4 grid works beautifully). Using color C and a tapestry needle, sew each square securely to the bag. Leave the top edge of the squares free to create a charming flap effect, or sew them down completely for a more secure finish.
Step 5: Final Weave-In. Weave in all remaining ends with your tapestry needle. Give your bag a gentle steam block if desired to even out the stitches.
And there you have it—your very own Sunlit Meadow Market Bag! This project is a wonderful way to practice granny squares and mesh stitches while creating a functional and beautiful accessory. Enjoy your new favorite tote, and happy crocheting!