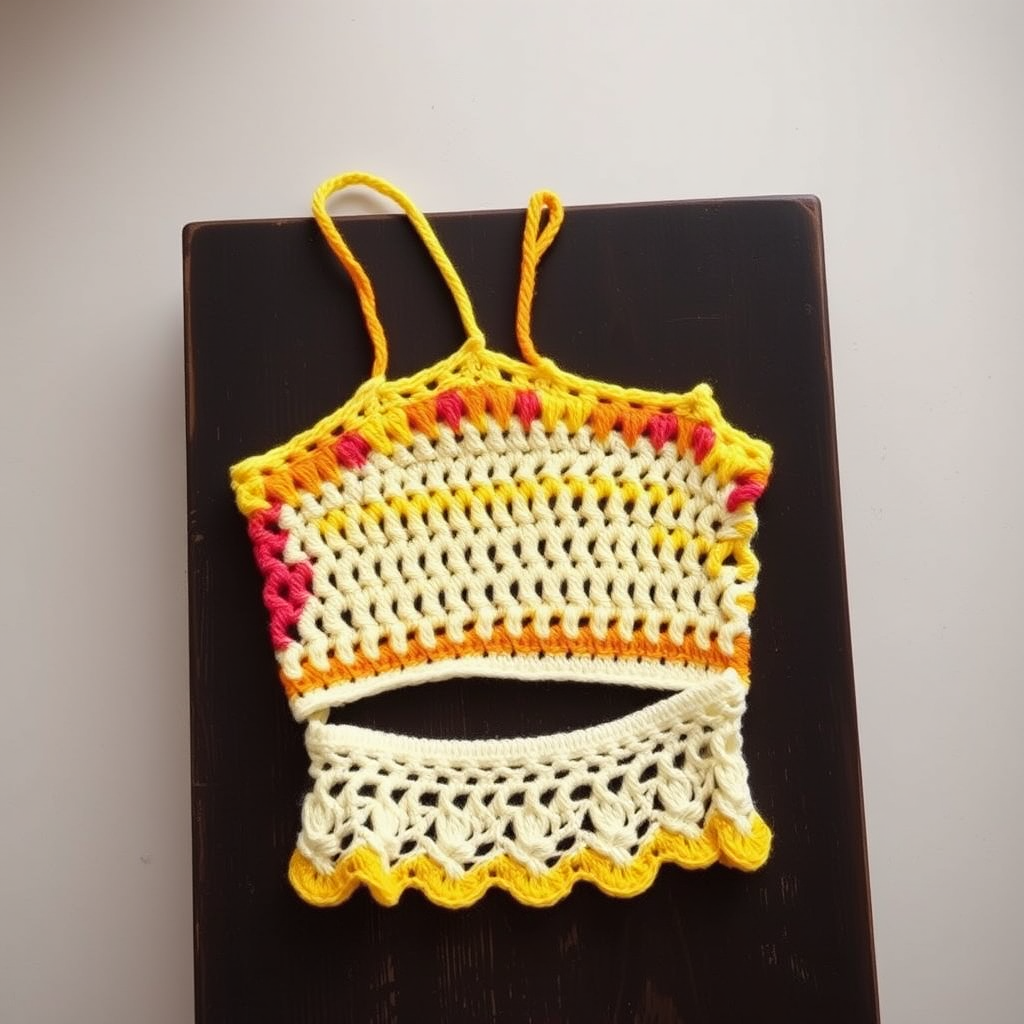
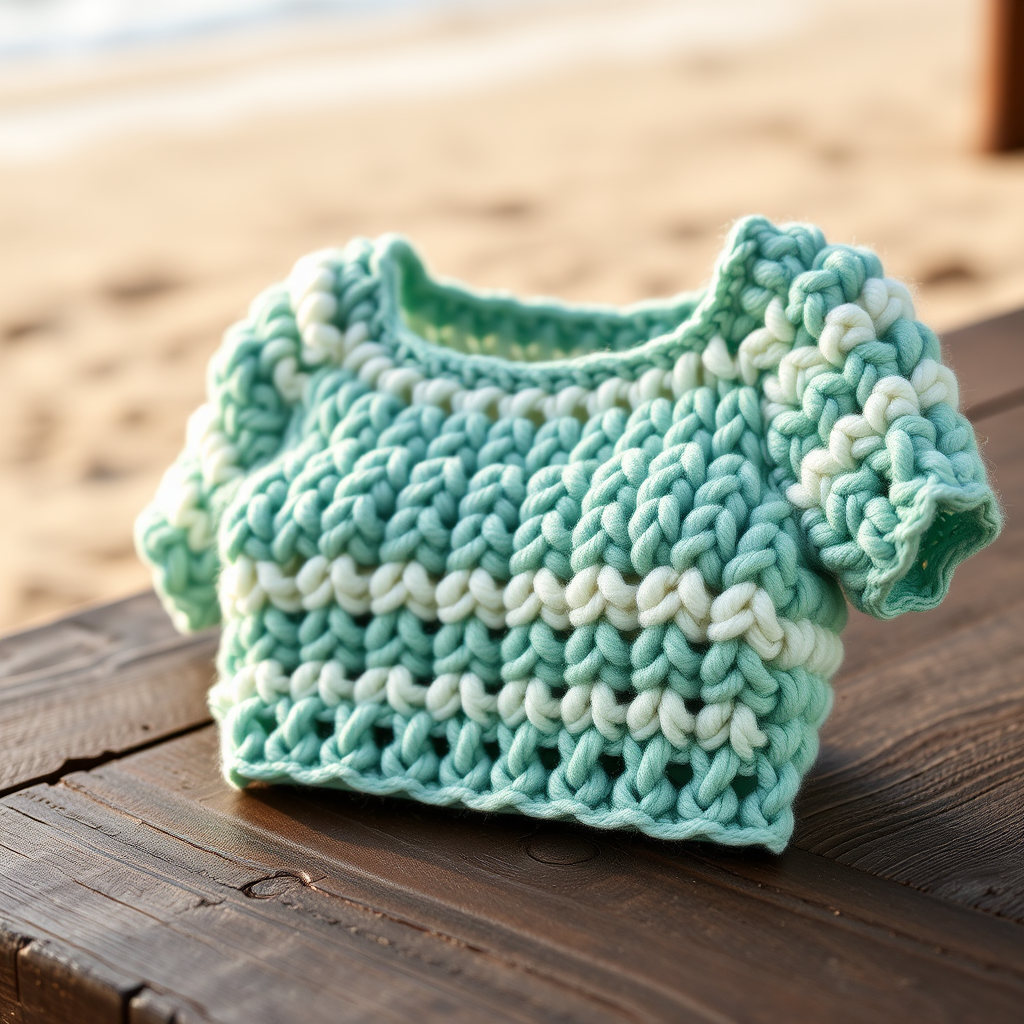
Sunlit Meadow Crochet Top Free Pattern
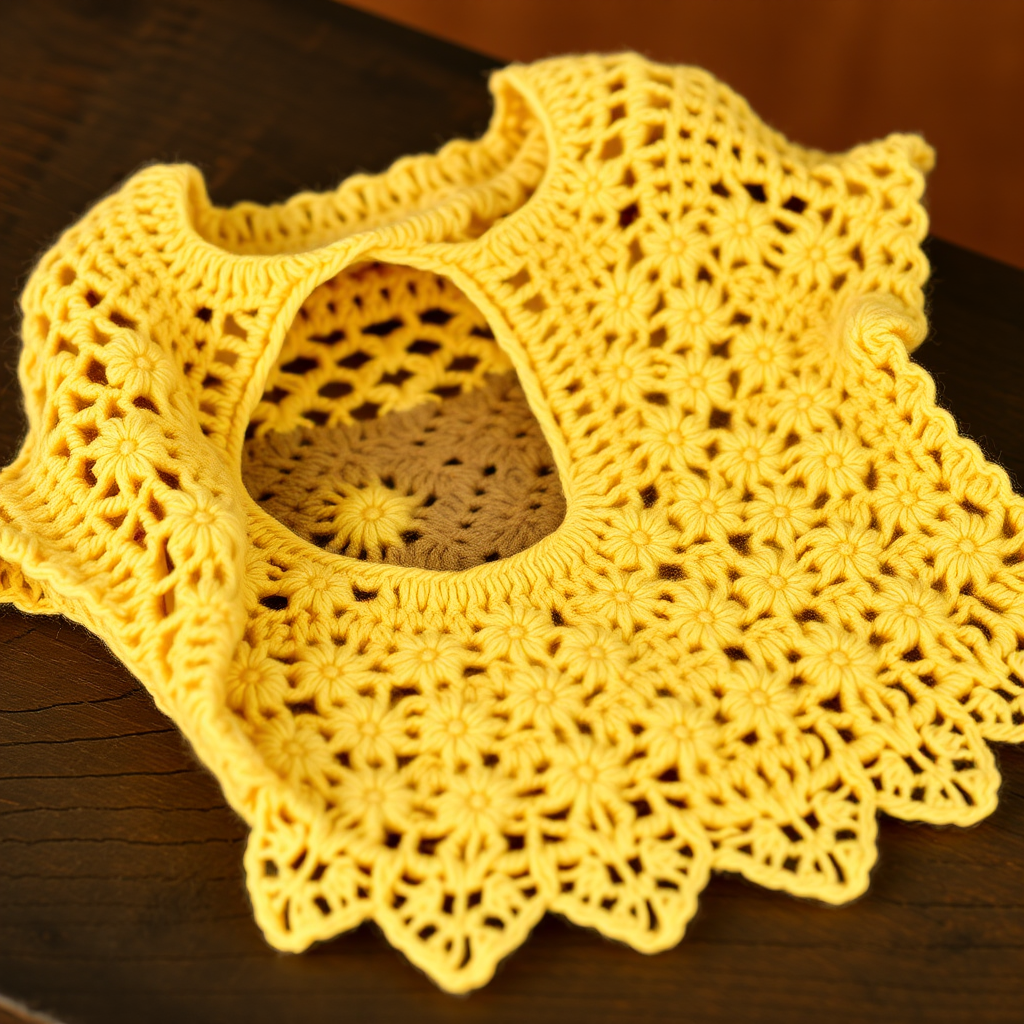
Sunlit Meadow Crochet Top Free Pattern
Introduction
Embrace the warmth of spring and summer with the Sunlit Meadow Crochet Top, a breezy and elegant design perfect for sunny days. This top combines delicate lace motifs with a relaxed fit, making it a must-have for your seasonal wardrobe. Whether you're heading to the beach or enjoying a picnic in the park, this top will keep you stylish and comfortable.
Materials Needed
- Yarn: Lightweight cotton yarn
- Hook: 4.0 mm crochet hook
- Gauge: 16 stitches and 8 rows = 4 inches in double crochet
Step-by-Step Instructions
1. Create the Front Panel
Start by making a foundation chain:
- Chain 80 stitches (adjust this number based on your size; for a larger size, add more chains in multiples of 3).
- Work 4 rows of double crochet (dc) into each chain stitch. To do this, yarn over, insert your hook into the stitch, yarn over again, pull through, yarn over, pull through two loops, yarn over, pull through the remaining two loops.
2. Transition to Lace Pattern
Now, we will create the lace design:
- For the lace pattern, start with a chain 3 (this counts as your first double crochet).
- Skip 2 stitches, then double crochet into the next stitch.
- Repeat this pattern across the row: *Ch 3, skip 2 stitches, dc in next stitch* until you reach the end of the row.
- Chain 3 and turn your work. Repeat this lace pattern for a total of 10 rows.
3. Shape the Armholes
To create armholes, you will need to decrease stitches:
- At the beginning of the next row, decrease by 2 stitches: yarn over, insert your hook into the first stitch, yarn over, pull through (3 loops on hook), yarn over, pull through the first two loops, yarn over, insert your hook into the next stitch, yarn over, pull through (4 loops on hook), yarn over, pull through the first two loops, yarn over, pull through all three loops.
- Continue working in the lace pattern until you reach the end of the row.
- Repeat this decrease at the beginning and end of the next 3 rows (for a total of 4 rows).
4. Continue in Pattern
Keep working in the lace pattern until your piece measures 18 inches from the top edge.
5. Create the Back Panel
Repeat steps 1 through 4 to create the back panel of the top.
6. Join the Panels
Once both panels are complete, it’s time to assemble:
- Align the front and back panels together with the right sides facing each other.
- Using a slip stitch, join the shoulders together by inserting your hook through both panels and pulling the yarn through, then through the loop on your hook.
- Repeat this for the sides of the top.
7. Add Edging
To finish off the top, add a neat edge:
- Work a single crochet (sc) evenly around the neckline and armholes. To do this, insert your hook into the stitch, yarn over, pull through, yarn over again, and pull through both loops on your hook.
8. Weave in Ends and Block
Finally, weave in all loose ends using a yarn needle. To block your top, gently wet it and lay it flat to dry in the desired shape. This will help the lace pattern open up beautifully.
Congratulations! You've just completed your very own Sunlit Meadow Crochet Top. Enjoy wearing your handmade creation this summer!