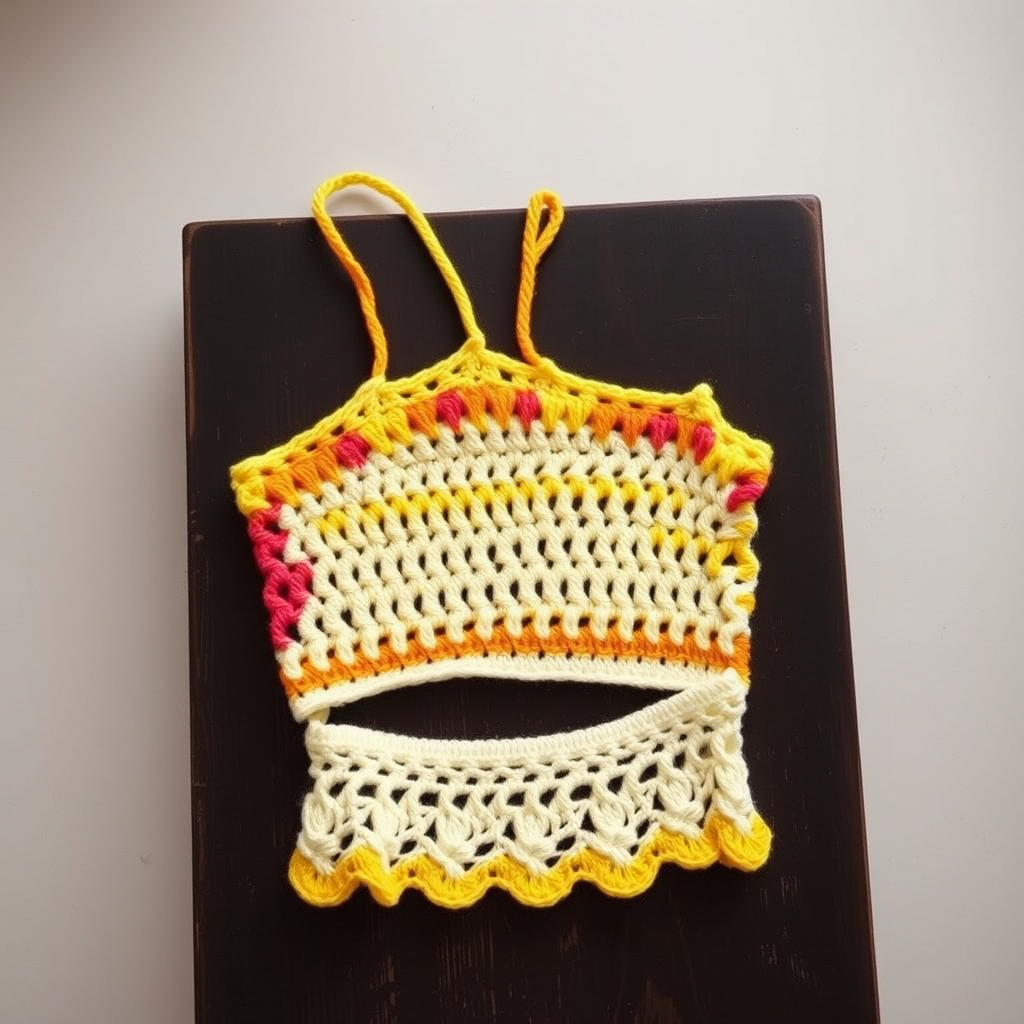
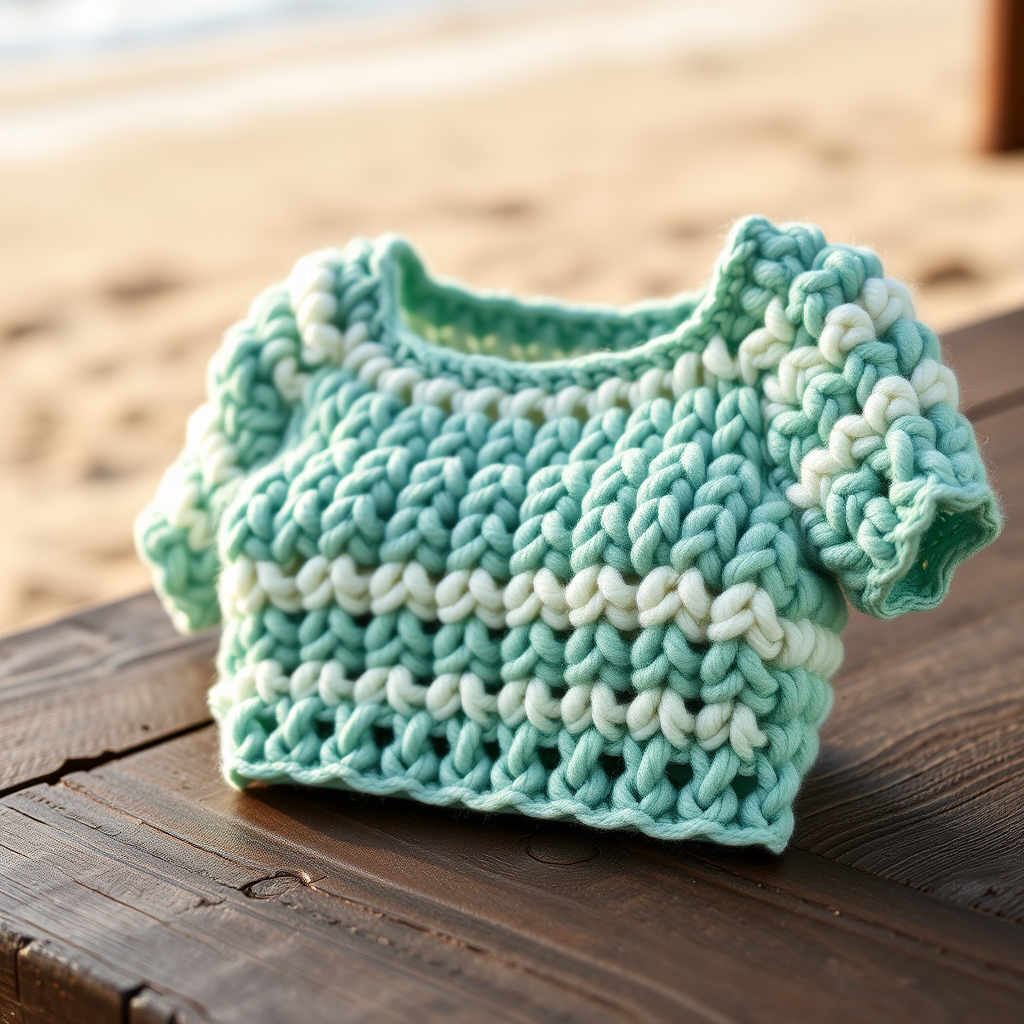
Teddy Bear Pocket Top Free Crochet Pattern: Caramel & White Striped Girls' Top

Teddy Bear Pocket Top: A Caramel & White Striped Crochet Top for Little Girls
Introduction
If you have never held a crochet hook before, this is the perfect first garment for you. The Teddy Bear Pocket Top is worked as one simple flat rectangle, seamed into a tube, and finished with two narrow straps and a tiny teddy bear appliqué on the chest. The soft caramel and white stripes make it look far more complicated than it is, and the finished top is a sweet, kawaii little piece that a 3–4 year old will love to wear. It feels soft and matte against the skin, with a gently textured half double crochet fabric that has just enough stretch to be comfortable. Best of all, every single stitch is explained below, so you can start today even if you have never made a stitch in your life.
Materials Needed
- Yarn: Fine (2) weight cotton or cotton-blend yarn, approximately 350–400 yards total. You will need about 200 yards of caramel (Color A) and 150–200 yards of white (Color B). A small amount of dark brown yarn for the bear's face.
- Main hook: E/4 (3.5 mm) crochet hook for the body and straps.
- Smaller hook: D/3 (3.25 mm) crochet hook for the teddy bear appliqué and the edging.
- Stitch markers: At least 4, to mark armhole openings and strap positions.
- Tapestry needle (yarn needle): A large-eyed, blunt-tipped needle for seaming and weaving in ends.
- Scissors: Sharp craft scissors for cutting yarn.
- Small amount of fiberfill or yarn scraps: For lightly stuffing the bear's head and body.
- Finished size: To fit a 3–4 year old. Chest circumference approximately 24 inches (61 cm); length approximately 14 inches (35.5 cm) from shoulder to hem. The flat body panel measures approximately 12 inches wide x 14 inches tall (30.5 x 35.5 cm) before seaming.
Abbreviations and Beginner Glossary
- ch – chain: wrap the yarn over your hook and pull it through the loop on your hook. This makes one chain stitch.
- st / sts – stitch / stitches: one completed loop of yarn in your work.
- sc – single crochet: insert your hook into the stitch, yarn over, pull up a loop (2 loops on hook), yarn over, pull through both loops. One loop remains.
- hdc – half double crochet: yarn over first, insert hook into the stitch, yarn over, pull up a loop (3 loops on hook), yarn over, pull through all 3 loops at once. One loop remains.
- sl st – slip stitch: insert hook into the stitch, yarn over, pull the yarn through both the stitch and the loop on your hook at the same time. Used to join rounds.
- sc2tog – single crochet 2 together (a decrease): insert hook into the first stitch, yarn over, pull up a loop; insert hook into the next stitch, yarn over, pull up a loop (3 loops on hook); yarn over, pull through all 3 loops. This turns two stitches into one.
- hdc2tog – half double crochet 2 together (a decrease): yarn over, insert hook into first stitch, pull up a loop; yarn over, insert hook into next stitch, pull up a loop (5 loops on hook); yarn over, pull through all 5 loops. This turns two stitches into one.
- magic ring – an adjustable loop of yarn you crochet into, then pull tight so no hole remains in the center.
- turn – flip your work over so you can crochet back along the row you just made.
- fasten off – cut the yarn a few inches from your work and pull the tail all the way through the last loop to lock it.
- right side – the front, outward-facing side of your fabric that everyone will see.
- whipstitch – a simple sewing stitch: pass the needle over the edge of both pieces and back through, over and over, to join them.
Gauge
Gauge: 20 hdc x 11 rows = 4 inches (10 cm) with the E/4 (3.5 mm) hook.
Gauge simply means how big your stitches turn out. If your stitches are bigger than this, the top will be too wide; if smaller, it will be too tight. To check, crochet a small practice square about 5 inches wide and 4 inches tall in hdc. Lay a ruler across the middle and count how many stitches fit in 4 inches, then count how many rows fit in 4 inches. If you have more stitches than 20, try a larger hook; if fewer, try a smaller hook. Always check gauge before starting — it takes ten minutes and saves hours of rework.
Beginner Tips Before You Start
- Count every row. The body is 39 rows of plain hdc, and the only thing that changes is the color. Tick off each row on paper as you finish it so you never lose your place.
- Change color on the last stitch of a row. Work the final hdc of the row until only the last step remains, then pull the new color through to finish it. This keeps the stripe edge neat.
- Do not pull your yarn too tight. Tension should feel relaxed. If your hook fights you, you are pulling too hard — loosen your grip.
- Use stitch markers. Place one at each end of the body panel after seaming to mark where the 4-inch armhole openings begin.
- Try the top on (or measure) before sewing the straps. Pin the straps in place first, check the fit, then sew.
- Keep your turning chain loose. The ch 1 at the start of each row should be relaxed, not tight, or the edges will pucker.
Step-by-Step Instructions
Body Panel (worked flat, turning at the end of each row)
With the E/4 (3.5 mm) hook and Color A (caramel), ch 62.
Row 1: Hdc in the 2nd ch from hook and in each ch across. (60 hdc)
Row 2: Ch 1, turn. Hdc in each st across. (60 hdc)
Row 3: Ch 1, turn. Hdc in each st across. (60 hdc)
Row 4: Change to Color B (white). Ch 1, turn. Hdc in each st across. (60 hdc)
Row 5: Ch 1, turn. Hdc in each st across. (60 hdc)
Rows 6–39: Continue working 2 rows in each color, alternating Color A and Color B, always beginning with "Ch 1, turn. Hdc in each st across." (60 hdc). Row 6 is Color A, Row 7 is Color A, Row 8 is Color B, Row 9 is Color B, and so on, so that every pair of rows is one stripe. The final row, Row 39, is worked in Color A. (60 hdc)
Fasten off. The body panel measures approximately 12 inches wide x 14 inches tall (30.5 x 35.5 cm).
Seaming the Body
Fold the rectangle in half with right sides together, matching the two 12-inch side edges. Using Color A and your tapestry needle (or the E/4 hook), whipstitch or sl st the side edges together to form a tube. Important: leave the top 4 inches of each side seam open — these openings become the armholes. Fasten off, weave in the ends, and turn the tube right side out.
Shoulder Straps (make 2)
With the E/4 hook and Color A, ch 6.
Row 1: Sc in the 2nd ch from hook and in each ch across. (5 sc)
Rows 2–14: Ch 1, turn. Sc in each st across. (5 sc)
Fasten off, leaving a long tail for sewing. Each strap measures about 5 inches long.
Attaching the straps: Pin one strap to the front top edge of the body, positioning it approximately 2 inches in from the side edge. Sew the other end to the back top edge directly opposite. Repeat for the second strap on the other side. Try on or measure to adjust strap length before final sewing.
Neckline and Armhole Edging
With the D/3 (3.25 mm) hook and Color B (white), work one round of sc evenly around the entire neckline opening: insert your hook into the edge, work one sc in each stitch or space all the way around, and join with a sl st to the first sc. Fasten off. Repeat the same single round of sc around each armhole opening. Weave in the ends.
Teddy Bear Appliqué
Worked with the D/3 (3.25 mm) hook and Color A (caramel) unless otherwise noted.
HEAD
Round 1: Make a magic ring, ch 1, work 6 sc into the ring. Join with sl st to first sc. (6 sc)
Round 2: Ch 1, 2 sc in each st around. Join. (12 sc)
Round 3: Ch 1, [2 sc in next st, sc in next st] around. Join. (18 sc)
Rounds 4–6: Ch 1, sc in each st around. Join. (18 sc)
Round 7: Ch 1, [sc2tog, sc in next st] around. Join. (12 sc) Stuff lightly with fiberfill or yarn scraps.
Round 8: Ch 1, sc2tog around. Join. (6 sc)
Fasten off, leaving a long tail. Draw the tail through the remaining stitches and pull closed.
EARS (make 2)
Round 1: Make a magic ring, ch 1, work 6 sc into the ring. Join. (6 sc)
Round 2: Ch 1, 2 sc in each st around. Join. (12 sc)
Fasten off, leaving a long tail for sewing.
BODY
Round 1: Make a magic ring, ch 1, work 6 sc into the ring. Join. (6 sc)
Round 2: Ch 1, 2 sc in each st around. Join. (12 sc)
Round 3: Ch 1, [2 sc in next st, sc in next st] around. Join. (18 sc)
Rounds 4–7: Ch 1, sc in each st around. Join. (18 sc)
Round 8: Ch 1, [sc2tog, sc in next st] around. Join. (12 sc) Stuff lightly.
Round 9: Ch 1, sc2tog around. Join. (6 sc)
Fasten off, leaving a long tail. Draw the tail through the remaining stitches and pull closed.
ARMS (make 2)
Round 1: Make a magic ring, ch 1, work 5 sc into the ring. Join. (5 sc)
Rounds 2–5: Ch 1, sc in each st around. Join. (5 sc)
Fasten off, leaving a long tail. Do not stuff.
LEGS (make 2)
Round 1: Make a magic ring, ch 1, work 6 sc into the ring. Join. (6 sc)
Rounds 2–4: Ch 1, sc in each st around. Join. (6 sc)
Fasten off, leaving a long tail. Do not stuff.
MUZZLE
With the D/3 hook and Color B (white), ch 4.
Row 1: Sc in the 2nd ch from hook and in each ch across. (3 sc)
Row 2: Ch 1, turn. 2 sc in first st, sc in next st, 2 sc in last st. (5 sc)
Row 3: Ch 1, turn. Sc in each st across. (5 sc)
Fasten off, leaving a long tail.
Assembling the Teddy Bear
1. Sew the ears to the top of the head, positioning them about 1 inch apart. 2. Sew the head to the top of the body. 3. Sew the arms to the sides of the body, about 1/2 inch below the neck. 4. Sew the legs to the bottom of the body, about 1/2 inch apart. 5. Sew the muzzle to the center of the face. 6. With dark brown yarn and a yarn needle, embroider two small eyes above the muzzle and a small nose on the muzzle. Add a tiny smile if desired.
Attaching the Teddy Bear
Position the finished teddy bear on the center front of the top, approximately 3 inches below the neckline. Using Color A and a yarn needle, sew the bear securely to the fabric around the edges of the body and head. Weave in all ends.
Assembly and Finishing
Seaming: When you whipstitch the side seams, keep your stitches small and even (about 1/4 inch apart) so the seam lies flat and does not show on the right side. Work from the bottom hem upward and stop 4 inches from the top for the armholes.
Weaving in ends: Thread each yarn tail onto the tapestry needle and weave it back and forth through the wrong side of the fabric for about 2 inches, then trim close to the fabric. Never tie a knot — knots work loose in the wash.
Blocking: Lightly mist the finished top with cool water, lay it flat on a towel, and gently pat it into shape to the finished measurements (12 inches wide x 14 inches long). Let it dry completely. This relaxes the stitches and makes the stripes sit evenly. Do not wring or hang the top while wet.
Pro Tips and Variations
- Change the colors: Swap caramel and white for any two colors you love — mint and cream, blush and grey, or navy and white for a nautical look. Keep the two-row stripe rhythm so the gauge stays the same.
- Adjust the size: To make the top wider, add chains in multiples of 2 to the starting chain (each extra 20 chains adds about 4 inches of width). To make it longer, add rows in pairs so the stripes stay even.
- Substitute yarn: Any fine (2) weight cotton or cotton-blend works well. Always crochet a new gauge swatch, because different brands behave differently even at the same weight.
- Make the bear a pocket: Instead of sewing the bear flat, sew only the sides and bottom of the body to the top, leaving the top edge open — now it is a real little pocket for tiny treasures.