Coral Gable Summer Top Free Crochet Pattern

Coral Gable Summer Top: A Beginner-Friendly Crochet Pullover
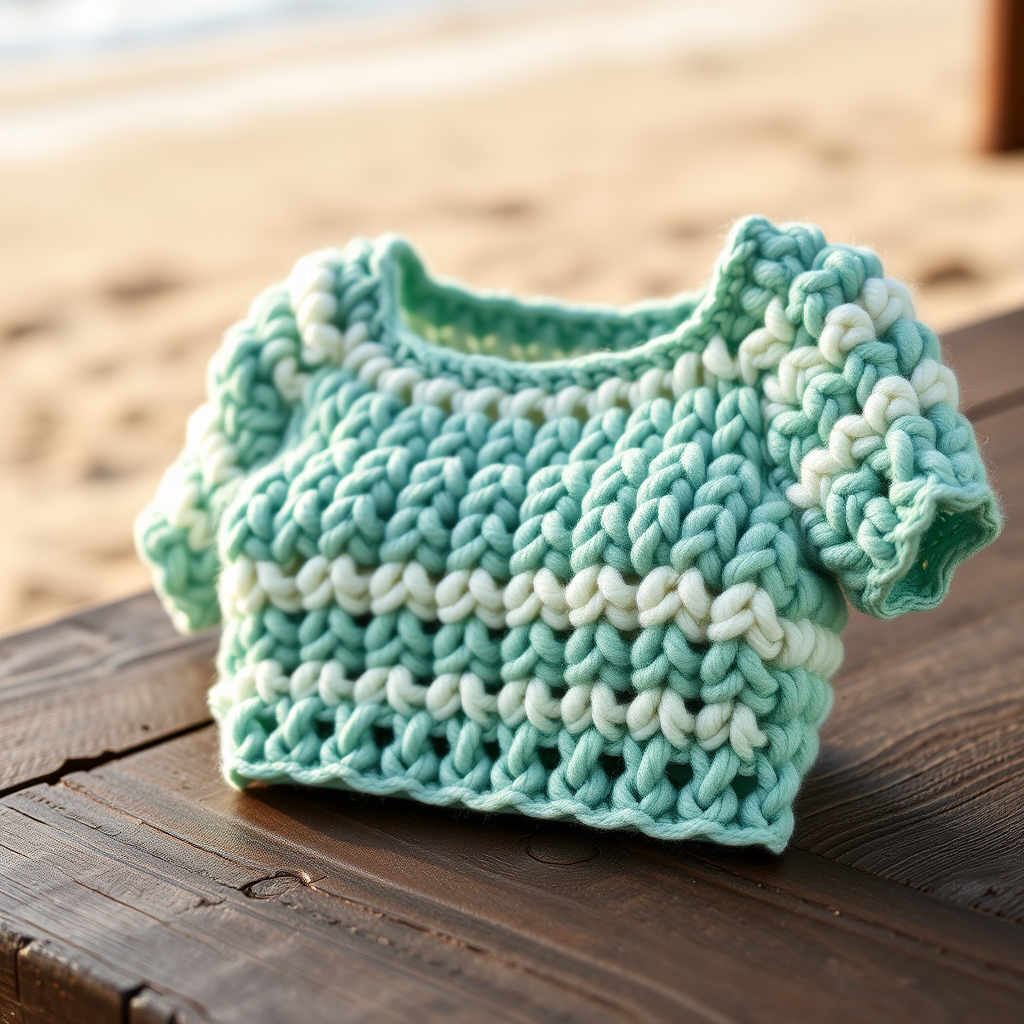
If you have ever looked at a crocheted top and thought "I could never make that," this is the pattern that will change your mind. The Coral Gable Summer Top is crocheted sideways as one plain rectangle, then folded and seamed into a simple tube with a wide boat neck and straight short sleeves. There is no shaping, no increasing, no decreasing, and no complicated stitch work — just one easy stitch repeated over and over. The finished top is boxy and relaxed, with a soft coral body in smooth half double crochet and crisp teal borders at the hem, cuffs, and neckline for a clean Scandinavian look. It is perfect for a first garment, a first crochet-along, or anyone who wants a wearable they can actually finish.
Materials Needed
- Yarn (body): DK weight (category 3) yarn, approximately 21–24 stitches to 4 in / 10 cm. Sample uses a smooth cotton-merino blend in Coral. Yardage: approx. 700 (760, 820, 880, 940, 1000, 1060, 1120) yd / 640 (695, 750, 805, 860, 915, 970, 1025) m depending on size.
- Yarn (borders): Small amount of DK weight yarn in Teal, approx. 60–100 yd / 55–90 m.
- Hook: 4.5 mm (US 7) crochet hook, or size needed to match gauge.
- Stitch markers: At least 4, to mark the armhole openings and the boat-neck edges.
- Tapestry needle: A blunt-tipped needle with a large eye for seaming and weaving in ends.
- Scissors: Sharp craft scissors for cutting yarn.
- Measuring tape: For checking gauge and measuring the rectangle.
Finished sizes: XS (S, M, L, XL, 2XL, 3XL, 4XL). Finished bust circumference: 36 (40, 44, 48, 52, 56, 60, 64) in / 91 (102, 112, 122, 132, 142, 152, 163) cm. Finished body length (hem to shoulder): 20 (20.5, 21, 21.5, 22, 22.5, 23, 23.5) in / 51 (52, 53, 55, 56, 57, 58, 60) cm. Sleeve length from armhole: 6 in / 15 cm for all sizes. Designed to be worn with 4–6 in / 10–15 cm of positive ease (meaning the top measures a few inches larger than your body).
Abbreviations and Beginner Glossary
- ch – chain. Make a loop of yarn over the hook and pull it through the loop already on your hook. This creates the starting "chain" of stitches.
- hdc – half double crochet. Yarn over (wrap yarn around hook), insert hook into the next stitch, yarn over, pull up a loop (3 loops on hook), yarn over again, pull through all 3 loops at once. One hdc made.
- sc – single crochet. Insert hook into the next stitch, yarn over, pull up a loop (2 loops on hook), yarn over again, pull through both loops. One sc made.
- sl st – slip stitch. Insert hook into the next stitch, yarn over, and pull that loop straight through the loop on your hook and through the stitch. This joins stitches without adding height.
- st(s) – stitch(es). One completed loop or "V" in your fabric.
- BLO – back loop only. When you look at the top of a stitch you see two loops; work into only the loop farthest from you. (Not used in this pattern, but listed so you recognize it in other patterns.)
- Turn – flip your work over so you can crochet back across the row you just finished.
- Right side (RS) – the side of the fabric that faces outward when worn.
- Join with sl st – finish a round by making a slip stitch into the first stitch of that round, closing the circle.
- Fasten off – cut the yarn a few inches from the work and pull the tail through the last loop to lock it.
- Whipstitch – a simple seaming stitch: pass the needle over the edge of both pieces and back through, over and over, like a spiral.
Gauge
18 hdc x 14 rows = 4 in / 10 cm in half double crochet, blocked.
Gauge matters because it is how we make sure your top actually fits. If your stitches are bigger than the designer's, your top will come out too large; if they are smaller, it will be too tight. To check: crochet a small square about 6 in / 15 cm wide in hdc, following the same stitch pattern as the body. Block it (mist lightly and let it dry flat), then lay a ruler across the middle and count how many hdc fit in 4 in / 10 cm and how many rows fit in 4 in / 10 cm. If you have more stitches than 18, your stitches are too small — try a larger hook. If you have fewer than 18, your stitches are too big — try a smaller hook. Always check gauge before starting a garment.
Beginner Tips Before You Start
- Count your starting chain twice. The foundation chain sets the whole width of your top, so a miscount here changes the fit. Lay the chain flat and count in groups of ten.
- Use stitch markers at the armholes. When you seam the body, place a marker where the armhole opening begins and ends on each side so both sleeves match.
- Do not pull your yarn too tight. Tension is the number one beginner issue. Let the yarn flow; tight stitches make stiff, small fabric. Relax your grip and let the hook do the work.
- Measure, don't guess. Check the rectangle's length against the finished bust circumference for your size every few inches rather than counting rows endlessly.
- Keep your turning chain loose. The ch 1 at the start of each row does not count as a stitch — keep it relaxed so the side edges stay straight and easy to seam.
- Try it on as you go. Once the tube is seamed, slip it over your head to check the boat neck and length before adding sleeves.
Step-by-Step Instructions
Construction Overview
You crochet one long plain rectangle from side seam to side seam. The rectangle's width becomes the body length (hem to shoulder) and its length becomes the full body circumference. The rectangle is folded and seamed into a tube, leaving a boat-neck opening at the top center. Short sleeves are worked straight (no shaping) from stitches picked up around the armholes. Teal borders are added last at the hem, cuffs, and neckline.
Body Rectangle
Note: Worked in rows of hdc in Coral. Row 1 is the hem edge; the final row is the opposite side seam.
Row 1: With Coral, ch 91 (93, 96, 99, 101, 104, 106, 109). Hdc in 2nd ch from hook and in each ch across. Turn. (90, 92, 95, 98, 100, 103, 105, 108 hdc)
Row 2: Ch 1 (does not count as a st), hdc in each st across. Turn. (same stitch count as Row 1)
Rows 3–end: Repeat Row 2 until the piece measures 36 (40, 44, 48, 52, 56, 60, 64) in / 91 (102, 112, 122, 132, 142, 152, 163) cm from the foundation chain, ending after a wrong-side row. Do not fasten off yet. (same stitch count throughout)
How many rows is that? At a gauge of 14 rows per 4 in, that works out to approximately 126 (140, 154, 168, 182, 196, 210, 224) rows total. Measure rather than count — the measurement is what matters.
Seaming the Body
Fold the rectangle in half widthwise so the two short ends meet, forming a tube with the right side facing out. The fold is the center front; the open short ends form the center back.
Join the short ends with sl st or whipstitch to form the back seam, leaving the top 8 (8.5, 9, 9.5, 10, 10.5, 11, 11.5) in / 20 (22, 23, 24, 25, 27, 28, 29) cm unseamed at the top edge for the boat neck. Fasten off and weave in ends.
Sleeves (make 2)
With right side facing, join Coral at the bottom of one armhole opening. Work evenly around the armhole: sc 1 in each row end around the opening, aiming for a multiple of 2 sts (approx. 36–48 sc depending on size). Join with sl st to first sc.
Rnd 1: Ch 1, sc in each st around. Join with sl st. (36–48 sc)
Rnd 2: Ch 1, hdc in each st around. Join with sl st. (same stitch count)
Rnds 3–8: Ch 1, hdc in each st around. Join with sl st. (same stitch count)
Rnds 9–end: Repeat Rnd 3 until the sleeve measures 6 in / 15 cm from the armhole. Fasten off. (same stitch count throughout) Repeat all rounds for the second sleeve.
Teal Hem Border
With right side facing, join Teal at the hem edge.
Rnd 1: Ch 1, sc evenly around the entire hem edge, working 1 sc in each st or row end. Join with sl st to first sc. (even sc count around hem)
Rnd 2: Ch 1, sc in each st around. Join with sl st. (same stitch count)
Rnd 3: Ch 1, sc in each st around. Join with sl st. Fasten off and weave in ends. (same stitch count)
Teal Cuff Borders
With right side facing, join Teal at the lower edge of one sleeve.
Rnd 1: Ch 1, sc evenly around the sleeve opening. Join with sl st. (even sc count around cuff)
Rnd 2: Ch 1, sc in each st around. Join with sl st. (same stitch count)
Rnd 3: Ch 1, sc in each st around. Join with sl st. Fasten off. (same stitch count) Repeat for the second sleeve cuff.
Neckline Finishing
With right side facing, join Teal at the back neck opening. Work 1 round of sc evenly around the entire boat-neck opening, working 1 sc in each st or row end. Join with sl st. Fasten off and weave in ends. (even sc count around neckline)
Assembly and Finishing
Seaming: If you used whipstitch for the back seam, thread your tapestry needle with a long tail of Coral and, holding the two short ends together with right sides facing out, pass the needle over both edges and back through in a spiral motion, keeping the stitches snug but not tight. If you used sl st, simply work slip stitches through both layers. Either way, stop 8 (8.5, 9, 9.5, 10, 10.5, 11, 11.5) in / 20 (22, 23, 24, 25, 27, 28, 29) cm from the top edge to leave the boat neck open.
Weaving in ends: Thread each yarn tail onto the tapestry needle and weave it back and forth through the wrong side of the fabric for about 2 in / 5 cm, changing direction once so it cannot work loose. Trim close to the fabric.
Blocking: Mist the finished top lightly with water (or soak it briefly and roll it in a towel to remove excess water). Lay it flat on a towel or blocking mat and gently shape it to the finished measurements, smoothing the teal borders so they sit flat and crisp. Allow it to dry completely before wearing. The hdc fabric will relax slightly after blocking, which is exactly what we want.
Pro Tips and Variations
- Change the colors: Swap Coral for any DK shade and Teal for a contrasting border — navy with cream, sage with mustard, or a tonal look with two shades of the same color. The two-color border is what gives this top its Scandinavian feel.
- Adjust the length: Because the top is worked sideways, adding or removing rows changes the bust circumference, not the body length. To make the body longer or shorter, add or remove stitches in the foundation chain instead.
- Try a different yarn: Any DK weight yarn that meets gauge will work — cotton for a crisp summer top, cotton-merino for softness, or a linen blend for drape. Always swatch first, since fiber content changes how the fabric hangs.
- Make the sleeves longer: Simply keep repeating the sleeve rounds until the sleeve reaches your preferred length. The straight, unshaped sleeve makes this an easy modification for any size.