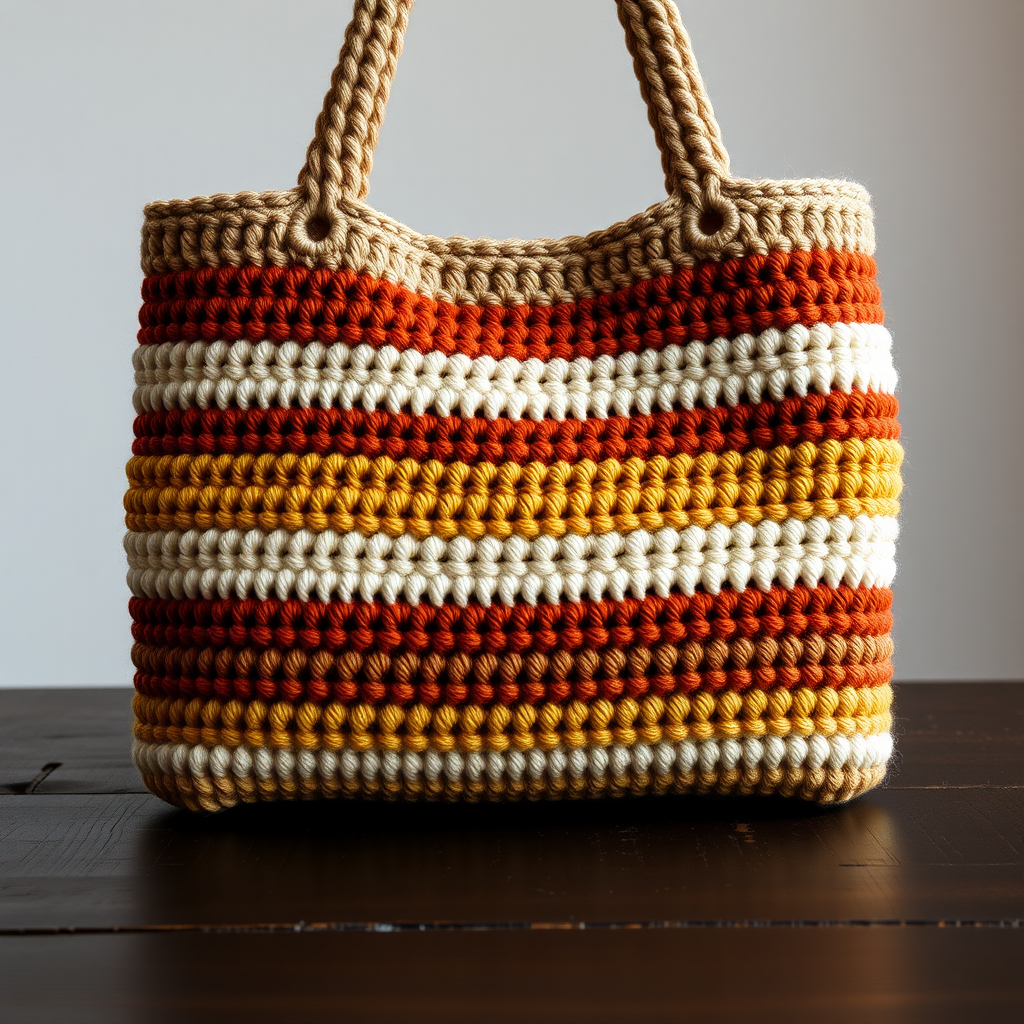
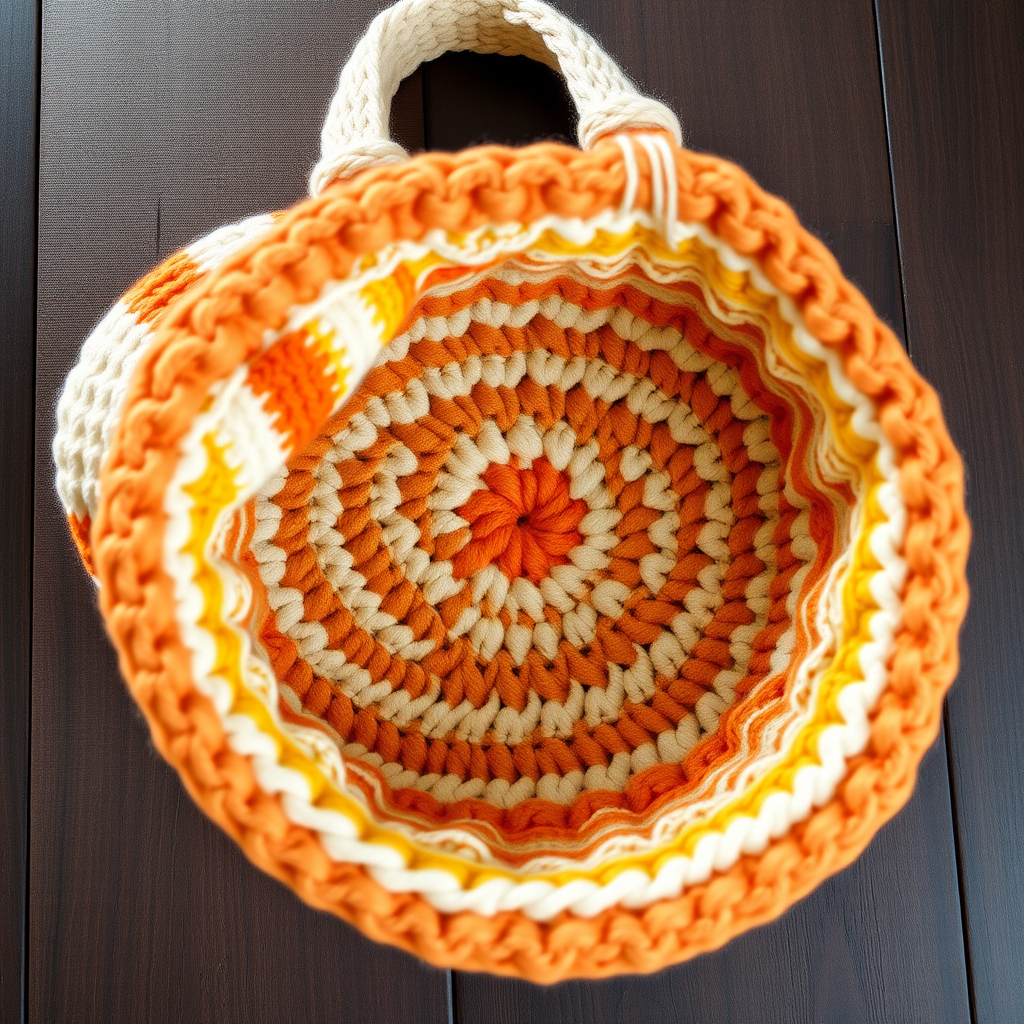
Sunlit Citrus Slice Crossbody Bag Free Crochet Pattern

Sunlit Citrus Slice Crossbody Bag Free Crochet Pattern
Carry a burst of summer with this cheerful crochet crossbody bag shaped like a giant citrus slice. The textured puff stitches and vibrant colorwork make it a juicy accessory for any outfit. Whether you're heading to the farmer's market, the beach, or just want to add a pop of sunshine to your daily commute, this playful bag is sure to turn heads. The dense single crochet fabric is sturdy enough for everyday use, and the round shape is surprisingly spacious for your essentials. This pattern is perfect for confident beginners who are ready to move beyond flat projects and try working in the round with color changes.
Materials Needed
Before you begin, gather the following supplies. Using the exact yarn weight and hook size will ensure your bag matches the intended dimensions and gauge.
- Yarn: Worsted weight cotton yarn in yellow, white, orange, and green (approx. 200g total). Cotton is ideal because it's durable, holds its shape well, and has a nice stitch definition. You'll need roughly 100g of yellow, 50g of white, 40g of orange, and 10g of green.
- Hook: 5.0 mm crochet hook (US size H-8). This hook size pairs perfectly with worsted weight yarn to create a dense, firm fabric.
- Notions: Stitch markers (at least 2), yarn needle for weaving in ends and sewing pieces together, scissors.
- Optional: 7-inch zipper or a button for closure, depending on your preferred finishing method.
Gauge
16 sc x 18 rows = 4 x 4 inches (10 x 10 cm). Always make a gauge swatch before starting to ensure your bag comes out the correct size. If your gauge is off, adjust your hook size accordingly.
Step-by-Step Instructions
Pattern Notes
- Work in continuous rounds unless otherwise stated. This means you'll work in a spiral without joining at the end of each round.
- Use a stitch marker to mark the first stitch of each round and move it up as you work. This is crucial for keeping track of your rounds.
- All stitches are worked in single crochet (sc) unless specified otherwise.
- The bag is made of two identical circular pieces that are sewn together, with the pith and rind added as separate strips.
Slice Body (make 2 identical pieces)
This is the main yellow center of the citrus slice. Each round increases evenly by 6 stitches, creating a flat circle. Follow the increases carefully.
Round 1: With yellow yarn, make a magic ring, ch 1, work 6 sc into ring. Pull tight to close. (6 sts)
Round 2: 2 sc in each st around. (12 sts)
Round 3: *Sc in next st, 2 sc in next st* repeat around. (18 sts)
Round 4: *Sc in next 2 sts, 2 sc in next st* repeat around. (24 sts)
Round 5: *Sc in next 3 sts, 2 sc in next st* repeat around. (30 sts)
Round 6: *Sc in next 4 sts, 2 sc in next st* repeat around. (36 sts)
Round 7: *Sc in next 5 sts, 2 sc in next st* repeat around. (42 sts)
Round 8: *Sc in next 6 sts, 2 sc in next st* repeat around. (48 sts)
Round 9: *Sc in next 7 sts, 2 sc in next st* repeat around. (54 sts)
Round 10: *Sc in next 8 sts, 2 sc in next st* repeat around. (60 sts)
Round 11: *Sc in next 9 sts, 2 sc in next st* repeat around. (66 sts)
Round 12: *Sc in next 10 sts, 2 sc in next st* repeat around. (72 sts)
Round 13: *Sc in next 11 sts, 2 sc in next st* repeat around. (78 sts)
Round 14: *Sc in next 12 sts, 2 sc in next st* repeat around. (84 sts)
Round 15: *Sc in next 13 sts, 2 sc in next st* repeat around. (90 sts)
Round 16: *Sc in next 14 sts, 2 sc in next st* repeat around. (96 sts)
Round 17: *Sc in next 15 sts, 2 sc in next st* repeat around. (102 sts)
Round 18: *Sc in next 16 sts, 2 sc in next st* repeat around. (108 sts)
Round 19: *Sc in next 17 sts, 2 sc in next st* repeat around. (114 sts)
Round 20: *Sc in next 18 sts, 2 sc in next st* repeat around. (120 sts)
Fasten off and weave in ends securely. Repeat the entire process to create a second identical slice.
Pith Ring (make 2)
The white pith ring is a simple chain loop that will be sewn around the edge of the yellow slice. It creates the distinct white band of the citrus fruit.
Round 1: With white yarn, ch 120. Sl st to the first ch to form a ring, being careful not to twist the chain. Ch 1, sc in each ch around, sl st to the first sc to close the round. (120 sts)
Fasten off and weave in ends. Repeat to make a second pith ring.
Rind Strip (make 2)
The orange rind strip is worked flat and will be wrapped around the outside of the white pith ring. It gives the bag its bright, citrusy outer edge.
Row 1: With orange yarn, ch 122. Sc in the 2nd ch from the hook and in each ch across. (121 sts)
Fasten off and weave in ends. Repeat to make a second rind strip.
Assembly
Now it's time to bring all the pieces together. Take your time with this step to ensure a neat, professional finish.
- Attach the pith ring: Place one yellow slice flat. Position the white pith ring around the outer edge, aligning it with the edge of the yellow circle. Using a yarn needle and white yarn, sew the pith ring to the yellow slice using a whip stitch or mattress stitch. Make sure the stitches are even and secure.
- Attach the rind strip: Take the orange rind strip and wrap it around the outside of the white pith ring, covering the seam where the pith meets the yellow. Sew the orange strip in place using orange yarn, making sure it overlaps the edge of the white ring completely. This creates the rind of the citrus slice.
- Repeat for the second slice: Assemble the second slice in the same way. However, before fully sewing the rind onto the second slice, decide on your closure method.
- Add a closure (optional): If you want a zipper closure, insert a 7-inch zipper between the two assembled slices before sewing them together. Position the zipper along the top edge of the bag. If you prefer a simpler closure, you can sew a button and a loop on the top edge after the bag is assembled.
- Join the two slices: Place the two assembled slices together with the wrong sides facing each other. Using matching yarn, sew the two pieces together around the entire circumference, leaving an opening at the top for the bag's mouth. If you're using a zipper, sew it in place as you join the pieces. If using a button, leave the top open and sew the button and loop after joining.
Strap
The long green strap makes this bag a crossbody style. It's simple to make and very sturdy.
With green yarn, ch 150. Sc in the 2nd ch from the hook and in each ch across. Fasten off and weave in ends. Attach the ends of the strap securely to opposite sides of the bag using a yarn needle and green yarn. Make sure the strap is firmly attached so it can support the weight of the bag and its contents.
Leaf Motif (optional)
Add a cute finishing touch with a small green leaf on top of the bag.
With green yarn, ch 10. Sc in the 2nd ch from the hook, hdc in the next ch, dc in the next 5 chs, hdc in the next ch, sc in the last ch. Ch 1, then working on the other side of the chain, sc in the same st, hdc in the next st, dc in the next 5 sts, hdc in the next st, sc in the last st. Fasten off, leaving a long tail for sewing. Sew the leaf to the top of the bag, near the closure.
Weave in all remaining ends. Your Sunlit Citrus Slice Crossbody Bag is complete! Fill it with your essentials and enjoy a slice of summer wherever you go.