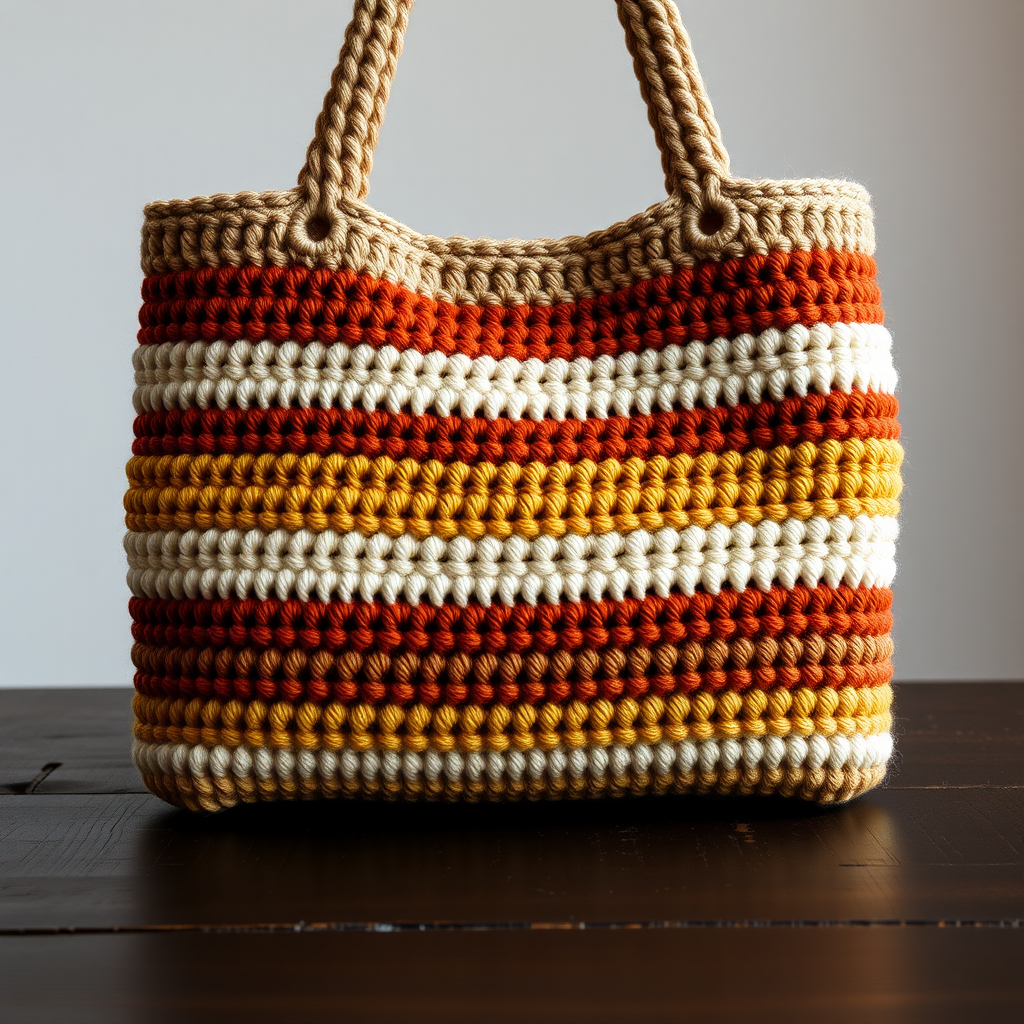
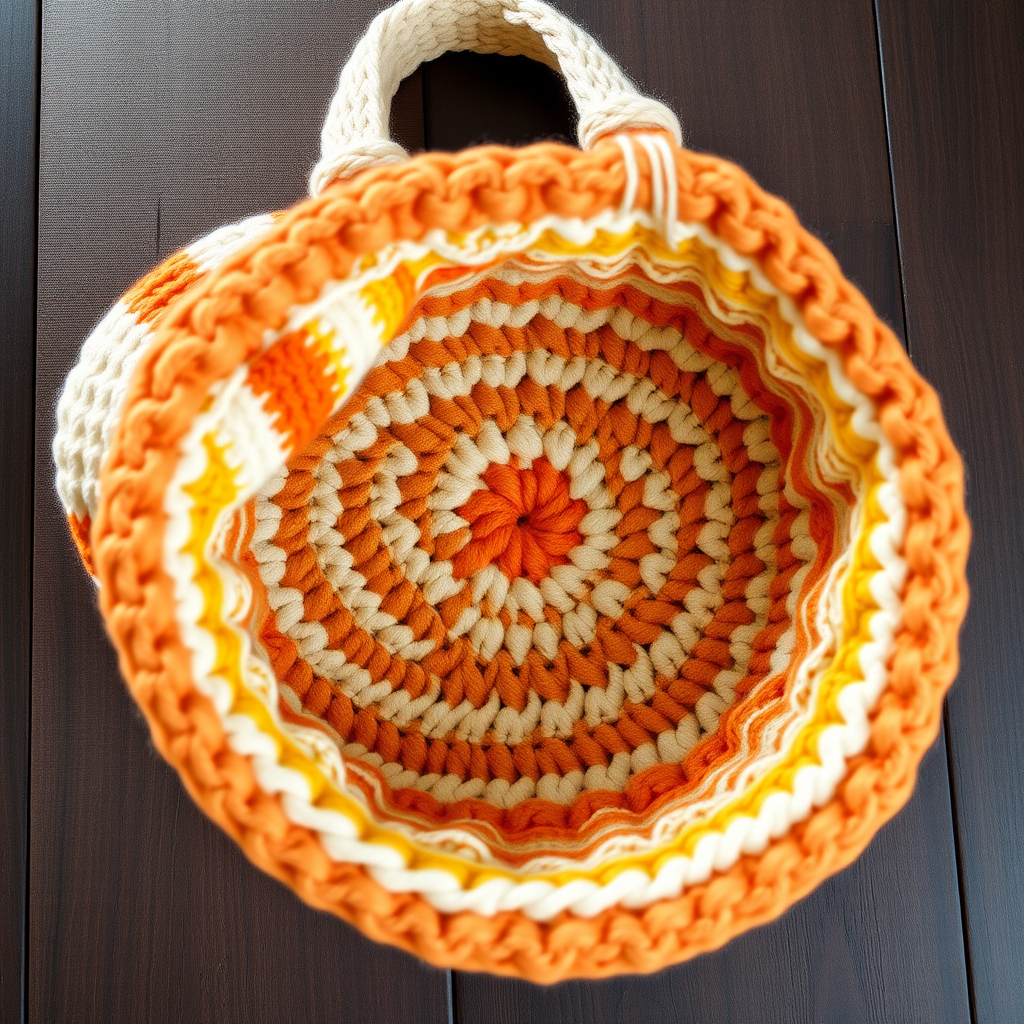
Sun-Kissed Market Tote Free Pattern

Sun-Kissed Market Tote: A Free Beginner-Friendly Crochet Pattern
There's something magical about carrying your fresh farmers market finds in a bag you made with your own two hands. This Sun-Kissed Market Tote is the perfect summer project—bright, cheerful, and surprisingly simple to create. With its sturdy cotton yarn, open mesh stitch detail, and textured body, this bag is as practical as it is beautiful. Whether you're a seasoned crocheter or just starting your yarn journey, this pattern will guide you through every step to create a gorgeous, functional tote that's perfect for groceries, beach days, or everyday errands.
The design features a solid half-double crochet base that transitions into a decorative shell stitch pattern, creating visual interest and breathability. The warm sunflower yellow paired with cream stripes gives it that quintessential summer vibe, while the sturdy cotton yarn ensures it can handle all your daily essentials. Let's dive into this delightful project!
Materials Needed
Before we begin, gather these supplies to ensure a smooth crocheting experience:
- Yarn: Lion Brand 24/7 Cotton (worsted weight, 100% cotton) in 2 colors:
- Main Color (MC) - Sunflower Yellow (approximately 400 yards)
- Contrast Color (CC) - Cream (approximately 250 yards)
- Hook: G/6 (4.0 mm) crochet hook
- Stitch markers (to mark the beginning of rounds)
- Yarn needle (for weaving in ends and sewing handles)
- Scissors
Gauge: 14 hdc x 10 rows = 4 in. (10 cm) in half double crochet. Always check your gauge to ensure your bag turns out the right size!
Finished Dimensions: Approximately 12 inches wide and 14 inches tall, with a flat bottom and a rounded rectangular shape.
Step-by-Step Instructions
Important Notes Before You Start
This pattern is worked in continuous rounds unless otherwise stated. This means you'll work in a spiral without joining at the end of each round. Use a stitch marker to mark the beginning of each round—this is crucial for keeping track of your place, especially in the base section.
Let's break down the abbreviations you'll need:
- ch = chain
- sc = single crochet
- hdc = half double crochet
- dc = double crochet
- sl st = slip stitch
- st(s) = stitch(es)
- MC = Main Color (Sunflower Yellow)
- CC = Contrast Color (Cream)
Part 1: Creating the Base
The base of your tote is worked in a flat circle using half double crochet increases. This creates a sturdy, solid foundation for your bag.
Round 1: With MC, make a magic ring, ch 1, work 8 hdc into the ring. Pull the tail tight to close the ring. (8 sts)
Round 2: Work 2 hdc in each stitch around. (16 sts)
Round 3: *Hdc in next st, 2 hdc in next st* repeat around. (24 sts)
Round 4: *Hdc in next 2 sts, 2 hdc in next st* repeat around. (32 sts)
Round 5: *Hdc in next 3 sts, 2 hdc in next st* repeat around. (40 sts)
Round 6: *Hdc in next 4 sts, 2 hdc in next st* repeat around. (48 sts)
Round 7: *Hdc in next 5 sts, 2 hdc in next st* repeat around. (56 sts)
Round 8: *Hdc in next 6 sts, 2 hdc in next st* repeat around. (64 sts)
Round 9: *Hdc in next 7 sts, 2 hdc in next st* repeat around. (72 sts)
Round 10: *Hdc in next 8 sts, 2 hdc in next st* repeat around. (80 sts)
Round 11: *Hdc in next 9 sts, 2 hdc in next st* repeat around. (88 sts)
Round 12: *Hdc in next 10 sts, 2 hdc in next st* repeat around. (96 sts)
Your base should now be a flat circle approximately 8 inches in diameter. If it's curling up, your tension might be too tight—try loosening up slightly. If it's ruffling, your tension might be too loose.
Part 2: Building the Body
Now we'll start building up the sides of your tote. This is where the bag begins to take shape!
Round 13: Working in back loops only, hdc in each stitch around. (96 sts) — This creates a nice, crisp edge that defines the bottom of your bag.
Round 14-15: Hdc in each stitch around. (96 sts)
Round 16: Switch to CC (Cream), hdc in each stitch around. (96 sts)
Round 17: With CC, *ch 3, skip 2 sts, sc in next st* repeat around. (32 ch-3 spaces) — This creates the open mesh foundation for your decorative stitch pattern.
Round 18: Sl st into the first ch-3 space, ch 3 (counts as dc), 2 dc in same space, *ch 1, 3 dc in next ch-3 space* repeat around, join with sl st to top of ch-3. (32 dc groups) — This is your first shell stitch round!
Round 19: Sl st to next dc, ch 3, 2 dc in same st, *ch 1, 3 dc in next dc group* repeat around, join. (32 dc groups)
Round 20: Repeat Round 19.
Round 21: Switch to MC (Sunflower Yellow), repeat Round 19.
Round 22: Repeat Round 19.
Round 23: Repeat Round 19.
Round 24: Switch to CC (Cream), repeat Round 19.
Round 25: Repeat Round 19.
Round 26: Repeat Round 19.
Round 27: Switch to MC (Sunflower Yellow), repeat Round 19.
Round 28: Repeat Round 19.
Round 29: Repeat Round 19.
Round 30: Switch to CC (Cream), repeat Round 19.
Round 31: Repeat Round 19.
Round 32: Repeat Round 19.
Your bag body should now be approximately 10 inches tall with beautiful, textured stripes and an open, breathable mesh pattern.
Part 3: Finishing the Top Edge
Now we'll create a clean, sturdy edge at the top of your bag.
Round 33: Switch to MC (Sunflower Yellow), ch 1, sc in each st and ch-1 space around, join with sl st. (96 sts)
Round 34: Ch 1, sc in each stitch around, join. (96 sts)
Fasten off and weave in all loose ends with your yarn needle. This top edge will provide stability and a polished finish to your tote.
Part 4: Creating the Handles
You'll make two sturdy handles that will comfortably carry your market finds.
Row 1: With MC, ch 100, sc in 2nd ch from hook and in each ch across. (99 sts)
Row 2: Ch 1, turn, sc in each stitch across. (99 sts)
Fasten off, leaving a long tail (at least 12 inches) for sewing.
Repeat for the second handle.
To make the handles sturdier: Fold each handle in half lengthwise (so it's now about 1 inch wide) and sew the long edges together using the yarn needle and a whip stitch. This creates a double-thick, comfortable strap that will hold up well to heavy loads.
Part 5: Assembling Your Tote
This is the exciting part—putting it all together!
- Position one handle on each side of the bag, centering them about 3 inches from the top edge and 4 inches apart from each other.
- Using the long tails you left on the handles, sew each handle securely to the inside of the bag. Make sure to catch both the handle and the bag's top edge stitches.
- Sew back and forth several times to ensure the handles are extra secure—you don't want them pulling loose when you're carrying heavy groceries!
- Weave in all remaining ends and trim any excess yarn.
Tips for Success
- Keep your tension consistent: Cotton yarn doesn't have much give, so maintaining even tension throughout will ensure your bag keeps its shape.
- Use a stitch marker: Since you're working in continuous rounds, a marker is essential for keeping track of where each round begins.
- Block your bag: After finishing, you can gently block your tote to help it lay flat and even out the stitches. Simply wet it, shape it, and let it dry completely.
- Make it yours: Feel free to experiment with different color combinations or add a fabric lining for extra durability.
Care Instructions
Your cotton tote is machine washable! Wash on a gentle cycle in cold water and lay flat to dry. The cotton will soften with each wash, making your bag even more comfortable to carry over time.
This Sun-Kissed Market Tote is more than just a bag—it's a statement piece that shows off your crafting skills while being incredibly practical. Whether you're heading to the farmers market, the beach, or just running errands around town, this cheerful tote will brighten your day and carry your essentials in style.
Happy crocheting, and enjoy your beautiful new handmade bag!