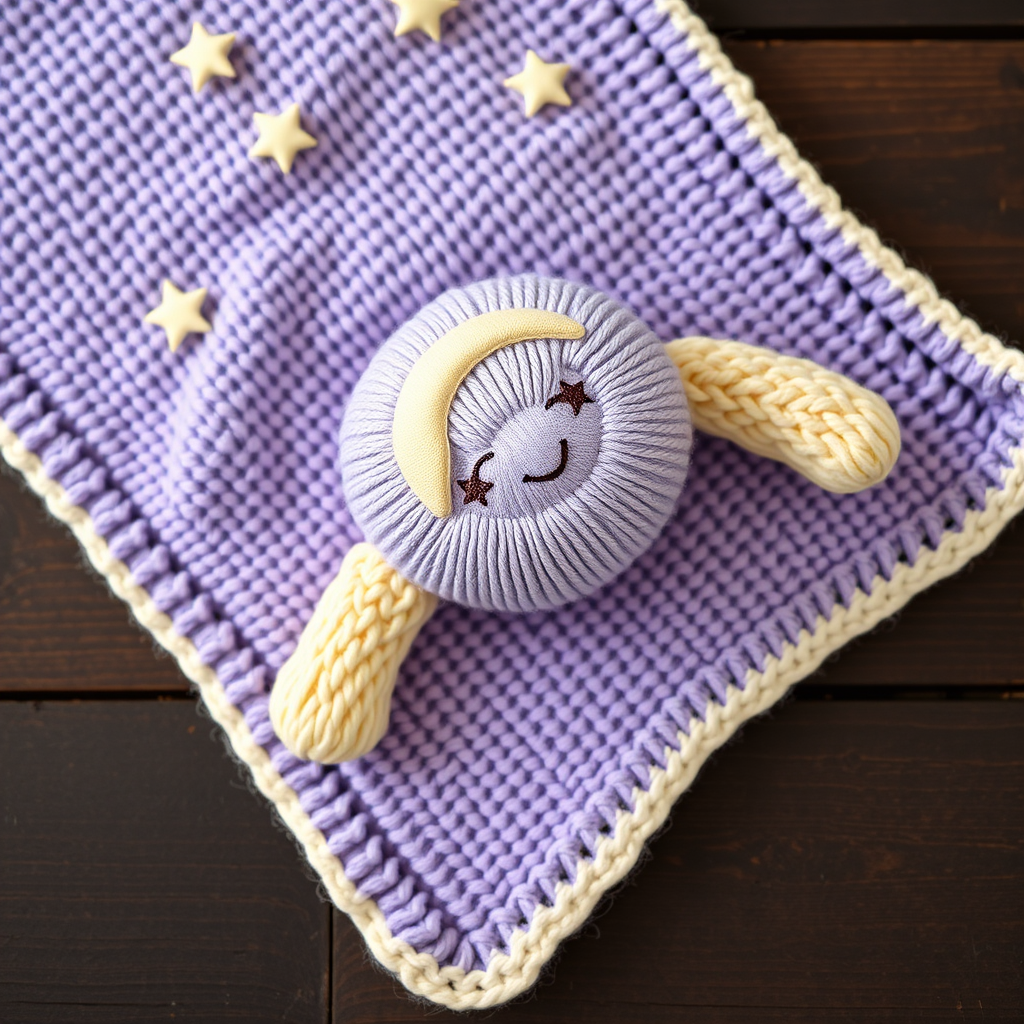
Raccoon C2C Baby Blanket Free Pattern – Knit a Playful Woodland Adventure Throw

Wrap Your Little One in Woodland Whimsy: The Raccoon C2C Baby Blanket
There's something truly magical about creating a handmade heirloom for a little one. This Raccoon Corner-to-Corner (C2C) Baby Blanket is more than just a cozy throw; it's a playful woodland adventure waiting to be told. With its charming raccoon motif, soft textured fabric, and the satisfying rhythm of the C2C technique, this pattern is perfect for knitters ready to try something new and delightful. Whether you're a seasoned crafter or a confident beginner looking for a fun challenge, this blanket is a rewarding project that will be cherished for years to come.
Materials Needed: Gathering Your Woodland Palette
Before you begin your knitting journey, gather these simple materials. The beauty of this project lies in its accessible yarn requirements and straightforward tools.
- Yarn: Worsted weight yarn in four colors: Cream (MC), Charcoal (CC1), Black (CC2), and Soft Gray (CC3). You'll need approximately 1200 yards total. This is a great stash-buster project if you have leftover worsted weight yarns in these colors.
- Knitting Needles: US 7 (4.5 mm) knitting needles, or the size needed to achieve the correct gauge. A circular needle (e.g., 24-inch) is recommended to accommodate the growing number of stitches.
- Gauge: 18 stitches and 24 rows = 4 inches in stockinette stitch. Always take time to check your gauge to ensure your blanket turns out the perfect size.
- Extras: Yarn bobbins (or small balls of yarn) for the intarsia colorwork, a tapestry needle for weaving in ends, and stitch markers (optional but helpful).
Step-by-Step Instructions: Knitting Your Diagonal Adventure
This pattern uses the corner-to-corner (C2C) technique, which creates a beautiful diagonal fabric. We'll build the blanket by increasing stitches from one corner, working the raccoon motif in the middle using the intarsia method, and then decreasing back down to the opposite corner. Don't be intimidated—we'll break it down into clear, manageable steps.
Understanding Your Abbreviations
- K = Knit
- P = Purl
- Kfb = Knit front and back (this is your increase, creating 2 stitches from 1)
- K2tog = Knit two together (this is your decrease, creating 1 stitch from 2)
- St(s) = Stitch(es)
- MC = Main Color (Cream)
- CC1 = Charcoal
- CC2 = Black
- CC3 = Soft Gray
Pattern Notes for Success
- The blanket is worked diagonally. You will start at one corner, increase stitches each row until you reach the widest point, work even for a few rows, and then decrease back to the opposite corner.
- For the raccoon motif, you will use the intarsia method. This means using separate bobbins of yarn for each color block. This prevents long, loose strands (floats) on the back of your work and keeps the fabric neat.
- When following a chart for C2C, you typically read it from the bottom right to the top left during the increase section, and from the top left to the bottom right during the decrease section. We'll simplify this for you below.
Part 1: The Increase Section – Building Your Foundation
We'll start by creating the first corner of your blanket. This section is all about growing your stitch count row by row.
- Row 1: Kfb in the first stitch. (You now have 2 stitches on your needle).
- Row 2: Kfb in the first stitch, then knit to the end of the row. (You now have 3 stitches).
- Row 3: Kfb in the first stitch, then knit to the end of the row. (You now have 4 stitches).
- Continue this pattern: Keep repeating Row 3's instruction (Kfb, then K to end). This will increase your stitch count by 1 on every row. Continue until you have 60 stitches on your needle.
- Work Even: Once you have 60 stitches, work 10 rows even (just knit every stitch across every row) without any increases. This creates a flat, square section at the widest point of your blanket.
Part 2: The Raccoon Motif – Bringing Your Character to Life
Now for the fun part! This is where your raccoon friend appears. You will be working over the next 40 rows. For this section, you'll be following a simple color chart. Imagine your 60 stitches as a grid. The raccoon face will be centered within this grid.
Here is your simplified color chart (each square represents 1 stitch):
- Rows 1-10 (of the motif): Work all 60 stitches in your Main Color (MC - Cream). This creates a border above the raccoon's head.
- Rows 11-20 (of the motif): Begin the raccoon face. You will now introduce your other colors. Use CC1 (Charcoal) for the mask area around the eyes, CC2 (Black) for the eyes and nose, CC3 (Soft Gray) for the ears and cheeks, and MC (Cream) for the background. Pro Tip: Start by placing a stitch marker 10 stitches in from each edge. The raccoon face will be worked within these 40 center stitches, leaving a 10-stitch cream border on each side.
- Rows 21-30 (of the motif): Continue working the raccoon face. This is where you'll refine the mask, eyes, and nose. If you'd like to add a touch of the tail, you can introduce CC1 (Charcoal) stripes on one of the outer edges of the blanket.
- Rows 31-40 (of the motif): Finish the raccoon motif by completing the bottom of the face and then returning to working all stitches in MC (Cream) for the final rows of this section.
Remember to twist your yarns together when changing colors to prevent holes in your work. Simply lay the new yarn over the old yarn before knitting the first stitch of the new color.
Part 3: The Decrease Section – Shaping Your Blanket
You've reached the peak of your mountain, and now it's time to come back down. This section mirrors the increase section but in reverse.
- Row 1: K2tog (knit the first two stitches together), then knit to the end of the row. (You will have 59 stitches).
- Row 2: K2tog, then knit to the end of the row. (You will have 58 stitches).
- Continue this pattern: Keep repeating Row 2's instruction (K2tog, then K to end). This will decrease your stitch count by 1 on every row. Continue until you have just 1 stitch remaining on your needle.
- Fasten Off: Cut your yarn, leaving a 6-inch tail. Thread the tail through the last loop on your needle and pull tight to secure.
Finishing Touches: From Needles to Heirloom
Your blanket is almost complete! These final steps will transform your knitted piece into a polished, beautiful keepsake.
- Weave in Your Ends: Using your tapestry needle, carefully weave in all the loose yarn ends from your color changes and your cast-on/cast-off edges. Weave them in on the wrong side of the blanket, following the path of the stitches to hide them completely.
- Block Your Blanket: Blocking is essential for evening out your stitches and giving your blanket a professional, finished shape. Soak the blanket in lukewarm water with a gentle wool wash, then gently squeeze out the excess water (don't wring!). Lay it flat on a towel, shape it into a perfect square, and pin it down if needed. Allow it to dry completely.
- Add a Border (Optional but Lovely): For a truly polished look, add a simple crocheted border. Using your MC (Cream) yarn and a crochet hook, work a round of single crochet (sc) evenly around the entire edge of the blanket. Work 3 sc in each corner to help the corners lay flat. Join with a slip stitch and fasten off. Weave in this end as well.
And there you have it—a stunning, handmade Raccoon C2C Baby Blanket that's brimming with charm and warmth. This project is a labor of love, and the result is a unique, cozy treasure that will be passed down and adored. Happy knitting!