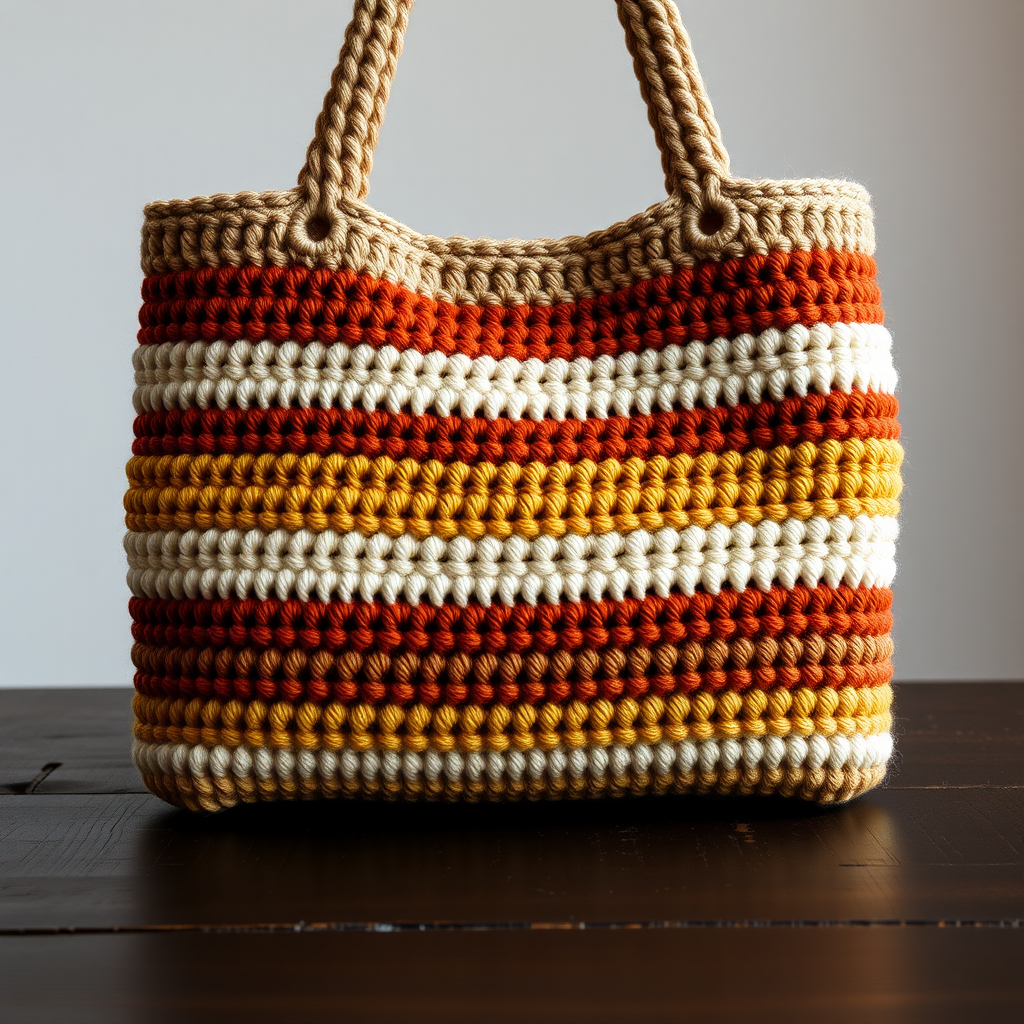
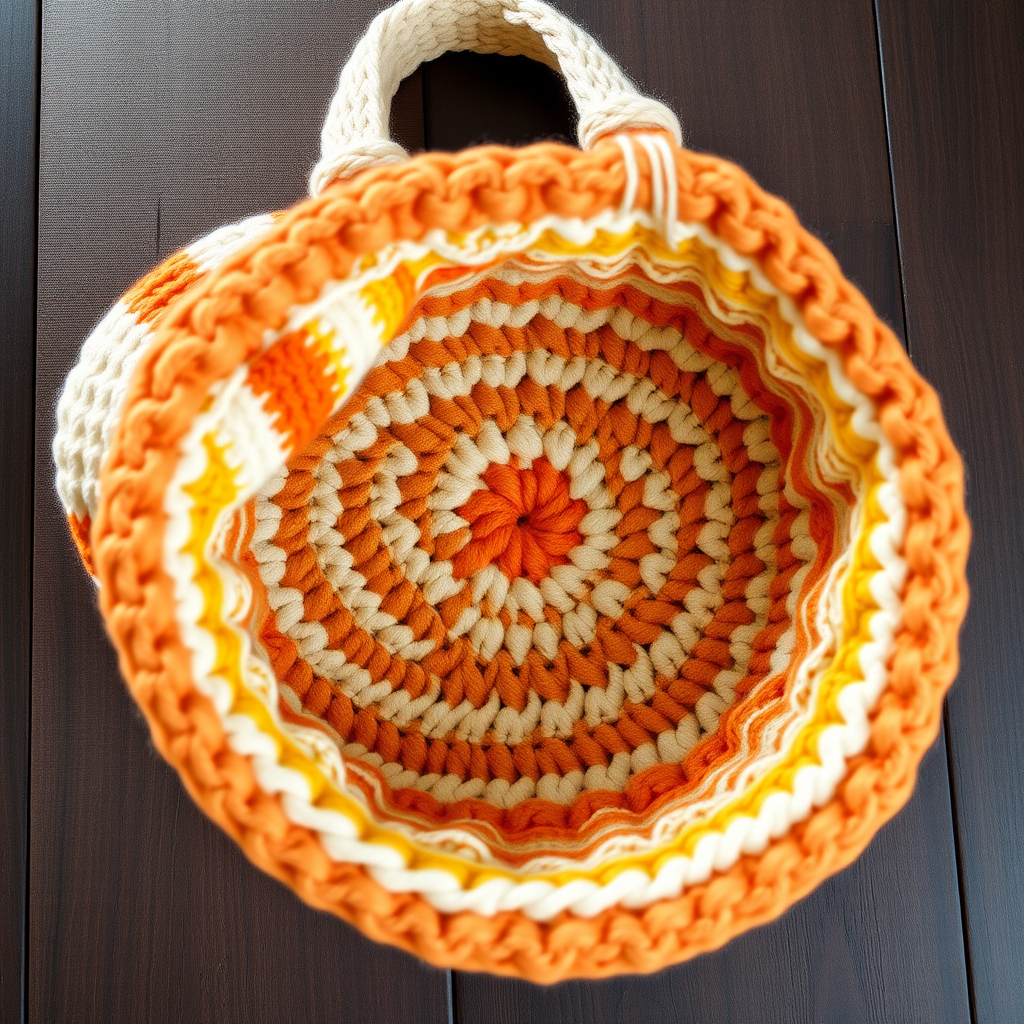
Polka Dot Charm Crochet Bag Free Pattern – Minnie Mouse Inspired with Velvet Trim

Polka Dot Charm Crochet Bag – A Whimsical, Beginner-Friendly Project
Get ready to fall in love with your new favorite accessory! This Polka Dot Charm Crochet Bag is the perfect blend of classic vintage style and modern plush comfort. Inspired by iconic character accessories, this bag features a smooth, structured black body, crisp white polka dots, and a luxurious velvet trim that feels as good as it looks. The playful red bow adds the perfect finishing touch.
This pattern is designed with beginners in mind, using simple single crochet stitches worked in the round. The result is a dense, sturdy fabric that holds its shape beautifully. Whether you're heading to a farmer's market, a picnic, or just want to add a pop of fun to your daily outfit, this bag is sure to become a staple. Let's grab your hooks and get started!
Materials Needed
Before we dive in, let's gather all your supplies. This project uses basic materials that are easy to find at any craft store.
- Yarn: Worsted weight cotton yarn in the following colors:
- Black (approx. 200 yards) – for the main bag body
- White (small amount) – for the polka dots
- Red (small amount) – for the bow accent
- Velvet yarn (approx. 50 yards) – for the trim and handle
- Crochet Hook: 5.0 mm (US H-8) hook
- Notions: Tapestry needle for weaving in ends and sewing pieces together, scissors, stitch markers (optional but helpful)
Gauge: 16 single crochet (sc) x 18 rows = 4 x 4 inches (10 x 10 cm). Be sure to check your gauge to ensure your bag turns out the right size!
Step-by-Step Instructions
Follow these detailed instructions carefully, and you'll have a beautiful bag in no time. We'll break this down into manageable sections.
Part 1: Bag Body (Make 2 Identical Panels)
We'll start by creating the front and back panels of the bag. These are worked in continuous rounds to create a flat circle, which will then become the sides of the bag.
Round 1: With black yarn, make a magic ring. Chain 1 (this does not count as a stitch). Work 8 single crochet (sc) into the ring. Pull the tail tight to close the ring. Join with a slip stitch (sl st) to the first sc. (8 sc)
Round 2: Chain 1. Work 2 sc in each stitch around. Join with a sl st to the first sc. (16 sc)
Round 3: Chain 1. *Sc in the next stitch, 2 sc in the next stitch.* Repeat from * to * around. Join with a sl st. (24 sc)
Round 4: Chain 1. *Sc in the next 2 stitches, 2 sc in the next stitch.* Repeat from * to * around. Join with a sl st. (32 sc)
Round 5: Chain 1. *Sc in the next 3 stitches, 2 sc in the next stitch.* Repeat from * to * around. Join with a sl st. (40 sc)
Round 6: Chain 1. *Sc in the next 4 stitches, 2 sc in the next stitch.* Repeat from * to * around. Join with a sl st. (48 sc)
Round 7: Chain 1. *Sc in the next 5 stitches, 2 sc in the next stitch.* Repeat from * to * around. Join with a sl st. (56 sc)
Round 8: Chain 1. *Sc in the next 6 stitches, 2 sc in the next stitch.* Repeat from * to * around. Join with a sl st. (64 sc)
Round 9: Chain 1. *Sc in the next 7 stitches, 2 sc in the next stitch.* Repeat from * to * around. Join with a sl st. (72 sc)
Round 10: Chain 1. *Sc in the next 8 stitches, 2 sc in the next stitch.* Repeat from * to * around. Join with a sl st. (80 sc)
Round 11: Chain 1. Sc in each stitch around. Join with a sl st. (80 sc)
Rounds 12-25: Repeat Round 11. This will create the flat, circular panel. After Round 25, fasten off and weave in your ends. Make a second identical panel.
Part 2: Polka Dot Motifs (Make 6)
These cute little circles will give your bag its signature charm. We'll make six in total – three for the front and three for the back.
Round 1: With white yarn, make a magic ring. Chain 1. Work 8 sc into the ring. Pull tight and join with a sl st to the first sc. (8 sc)
Round 2: Chain 1. Work 2 sc in each stitch around. Join with a sl st. (16 sc)
Round 3: Chain 1. *Sc in the next stitch, 2 sc in the next stitch.* Repeat from * to * around. Join with a sl st. (24 sc)
Fasten off, leaving a long tail (about 12 inches) for sewing. Repeat to make a total of 6 dots.
Attaching the Dots: Using the long tail and a tapestry needle, whip stitch around the edge of each dot to secure it to the bag panel. Place 3 dots evenly spaced on the front panel and 3 on the back panel. A good placement is one in the center, and one on each side, slightly lower. Weave in all ends securely.
Part 3: Joining the Panels
Now it's time to bring your bag together.
Place the two panels together with wrong sides facing (the "right" side is the one with the dots facing out). Using black yarn and a tapestry needle, whip stitch around the sides and bottom of the bag, leaving the top open. Make sure your stitches are neat and even. When you reach the starting point, turn the bag right side out.
Part 4: Velvet Trim
This is where the bag gets its luxurious feel. The velvet yarn adds a soft, plush edge to the top of the bag.
Attach the velvet yarn to the top edge of the bag with a slip stitch. Work a round of single crochet (sc) evenly around the entire top opening. When you reach the end, join with a sl st.
Work a second round of sc, but this time, work 2 sc in each corner stitch (the points where the side seams meet the top edge) to keep the edge flat and prevent it from curling. Fasten off and weave in your ends.
Part 5: The Braided Handle
This handle is not only functional but also a beautiful design feature.
Cut two lengths of velvet yarn, each about 24 inches long. Hold the two strands together and braid them tightly. This will create a sturdy, plush handle.
Sew each end of the braided handle securely to the inside of the bag at the top edge. Space the two attachment points about 4 inches apart on each side. Make sure it's securely fastened so it can hold the weight of your belongings.
Part 6: The Bow Accent
The final touch – a classic red bow that adds a pop of color and personality.
With red yarn, chain 20. Sc in the 2nd chain from the hook and in each chain across. Fasten off. (19 sc)
Take this strip and wrap it around the center to form a bow shape. Use a few stitches with your tapestry needle to secure the center of the bow. Attach the bow to the front of the bag near the top edge, slightly off-center, using the red yarn tail. Weave in all ends.
Congratulations! You've just completed your very own Polka Dot Charm Crochet Bag. This project is a wonderful way to practice your crochet skills while creating a stylish and functional accessory. The combination of textures and the playful design make it a truly special piece. Enjoy your new bag, and don't be surprised if you get asked where you bought it!