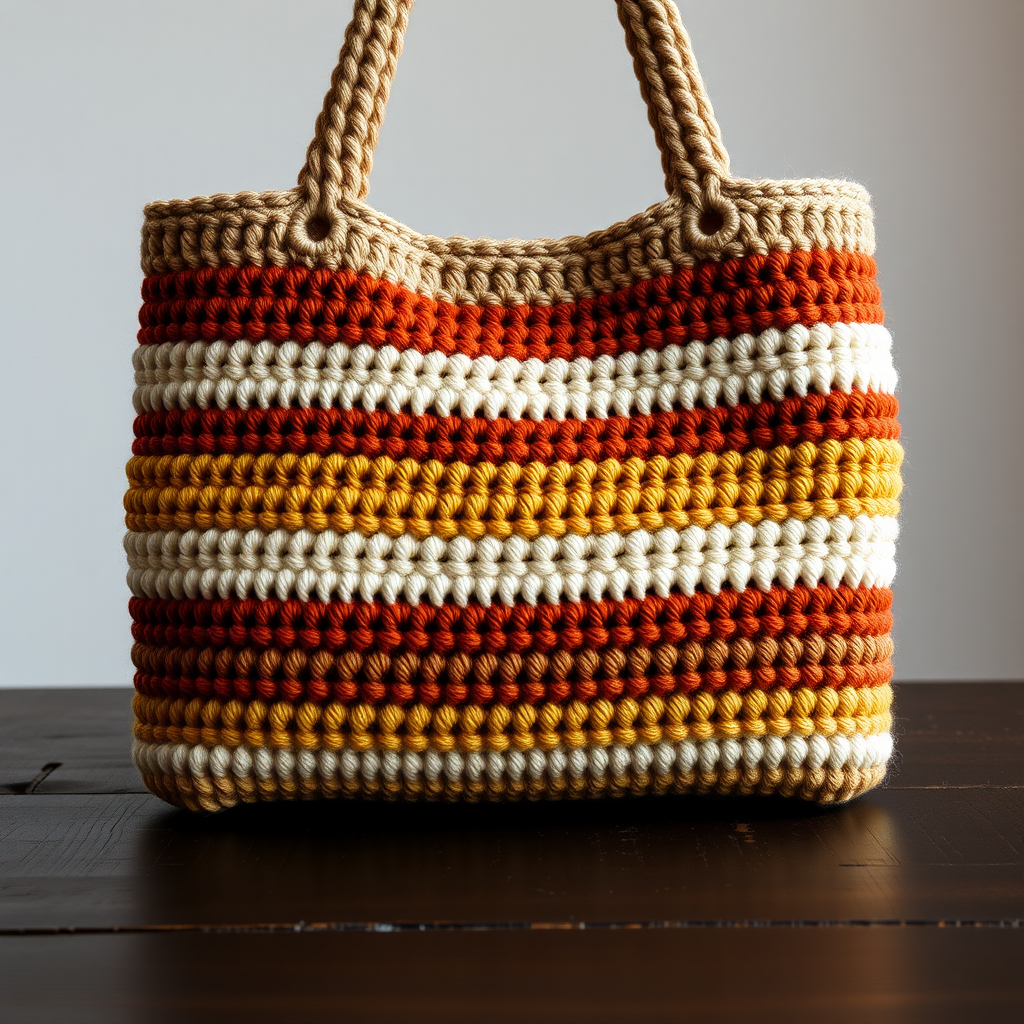
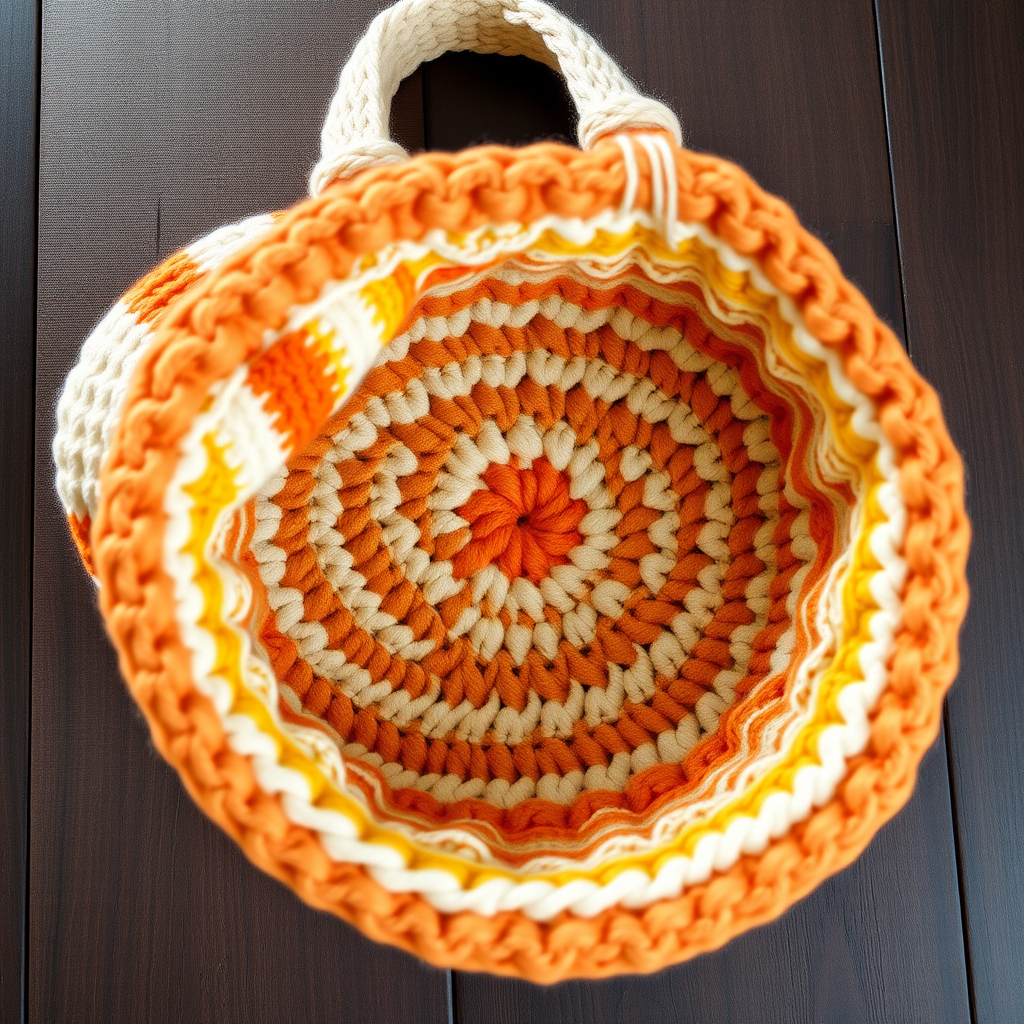
Mosaic Mirage Clutch Free Pattern – A Crocheted Desert Dune Evening Bag

Mosaic Mirage Clutch Free Pattern – A Crocheted Desert Dune Evening Bag
Carry a piece of the Sahara with this textured crochet clutch, featuring a stunning mosaic of warm sand, terracotta, and deep teal. This structured yet soft bag is perfect for adding a handmade, artisanal touch to any outfit. Whether you're heading to a dinner party or a weekend market, this boho-chic accessory is sure to turn heads. Best of all, it's a free pattern that's beginner-friendly once you master the simple front post double crochet technique.
Materials Needed
Before you begin, gather the following supplies. All yarn amounts are approximate and based on the specified gauge.
- Yarn: Worsted weight cotton yarn in 3 colors:
- Color A (Sand) – approximately 100g
- Color B (Terracotta) – approximately 50g
- Color C (Deep Teal) – approximately 50g
- Hook: 5.0 mm crochet hook (or size needed to obtain gauge)
- Gauge: 16 sc x 18 rows = 4 x 4 inches (10 x 10 cm). Always check your gauge to ensure the correct finished size.
- Notions: Yarn needle for seaming and weaving in ends, scissors, and one large wooden or ceramic button (approximately 1 inch / 2.5 cm in diameter).
Step-by-Step Instructions
This clutch is worked flat in two panels and then seamed together. The mosaic pattern is created using single crochet and front post double crochet stitches to form a geometric diamond motif. Don't worry if you're new to front post stitches – the pattern below explains exactly where to place them.
Panel 1 (Front – Mosaic Pattern)
Note: The front panel features the diamond mosaic design. You will be switching colors within rows. Carry the unused yarn loosely along the back of your work, or cut and rejoin as preferred.
Row 1: With color A, ch 31. Sc in 2nd ch from hook and in each ch across. Turn. (30 sc)
Row 2: Ch 1, sc in each st across. Turn. (30 sc)
Row 3: Ch 1, sc in first 5 sts. *Switch to color B, fpdc around next st, sc in next st, fpdc around next st, sc in next st, fpdc around next st.* Switch to color A, sc in next 10 sts. Repeat from * to * once more, sc in last 5 sts. Turn. (30 sts)
Row 4: Ch 1, sc in each st across, working sc in the top of each fpdc. Turn. (30 sc)
Row 5: Ch 1, sc in first 4 sts. *Switch to color B, fpdc around next st, sc in next st, fpdc around next st, sc in next st, fpdc around next st, sc in next st, fpdc around next st.* Switch to color A, sc in next 8 sts. Repeat from * to * once more, sc in last 4 sts. Turn. (30 sts)
Row 6: Ch 1, sc in each st across. Turn. (30 sc)
Row 7: Ch 1, sc in first 3 sts. *Switch to color B, fpdc around next st, sc in next st, fpdc around next st, sc in next st, fpdc around next st, sc in next st, fpdc around next st, sc in next st, fpdc around next st.* Switch to color A, sc in next 6 sts. Repeat from * to * once more, sc in last 3 sts. Turn. (30 sts)
Row 8: Ch 1, sc in each st across. Turn. (30 sc)
Row 9: Ch 1, sc in first 2 sts. *Switch to color C, fpdc around next st, sc in next st, fpdc around next st, sc in next st, fpdc around next st, sc in next st, fpdc around next st, sc in next st, fpdc around next st, sc in next st, fpdc around next st.* Switch to color A, sc in next 4 sts. Repeat from * to * once more, sc in last 2 sts. Turn. (30 sts)
Row 10: Ch 1, sc in each st across. Turn. (30 sc)
Row 11: Ch 1, sc in first 2 sts. *Switch to color B, fpdc around next st, sc in next st, fpdc around next st, sc in next st, fpdc around next st, sc in next st, fpdc around next st, sc in next st, fpdc around next st, sc in next st, fpdc around next st.* Switch to color A, sc in next 4 sts. Repeat from * to * once more, sc in last 2 sts. Turn. (30 sts)
Row 12: Ch 1, sc in each st across. Turn. (30 sc)
Row 13: Ch 1, sc in first 3 sts. *Switch to color B, fpdc around next st, sc in next st, fpdc around next st, sc in next st, fpdc around next st, sc in next st, fpdc around next st, sc in next st, fpdc around next st.* Switch to color A, sc in next 6 sts. Repeat from * to * once more, sc in last 3 sts. Turn. (30 sts)
Row 14: Ch 1, sc in each st across. Turn. (30 sc)
Row 15: Ch 1, sc in first 4 sts. *Switch to color B, fpdc around next st, sc in next st, fpdc around next st, sc in next st, fpdc around next st, sc in next st, fpdc around next st.* Switch to color A, sc in next 8 sts. Repeat from * to * once more, sc in last 4 sts. Turn. (30 sts)
Row 16: Ch 1, sc in each st across. Turn. (30 sc)
Row 17: Ch 1, sc in first 5 sts. *Switch to color B, fpdc around next st, sc in next st, fpdc around next st, sc in next st, fpdc around next st.* Switch to color A, sc in next 10 sts. Repeat from * to * once more, sc in last 5 sts. Turn. (30 sts)
Row 18: Ch 1, sc in each st across. Turn. (30 sc)
Rows 19-36: Repeat Rows 3-18 to create the second diamond motif. Fasten off.
Panel 2 (Back – Solid)
Work the same as Panel 1, but use only color A for a solid, textured background. Work 36 rows of sc. Fasten off.
Assembly
Now it's time to bring your clutch together. Follow these steps carefully for a polished finish.
Step 1: Seam the Panels
Place the two panels together with right sides facing out (the mosaic side and the solid side should both be visible). Using color A, sc through both layers along the bottom and side edges, leaving the top open. This creates a neat, sturdy seam. Turn the clutch right side out.
Step 2: Create the Flap
With color A, ch 31. Sc in 2nd ch from hook and in each ch across. Turn. (30 sc) Work 10 rows of sc. Fasten off, leaving a long tail (about 12 inches / 30 cm) for sewing. Sew the flap to the back panel of the clutch, aligning the top edge. The flap should fold over the front of the bag.
Step 3: Make the Button Loop
With color A, ch 12. Sl st in 2nd ch from hook and in each ch across. Fasten off. Sew the loop to the center of the flap edge, so it hangs down over the front of the bag.
Step 4: Attach the Button
Attach a large wooden or ceramic button to the front panel of the clutch, aligning it with the loop. Make sure the button fits snugly through the loop to secure the flap.
Step 5: Add the Strap (Optional)
With color A, ch 120. Sc in 2nd ch from hook and in each ch across. Fasten off. Sew the ends of the strap to the side seams of the clutch. This creates a simple, elegant shoulder strap. For a more decorative look, you could braid three strands of yarn instead.
Finishing Touches
Weave in all loose ends with your yarn needle. Give your clutch a gentle block if desired to even out the stitches. Your Mosaic Mirage Clutch is now ready to carry! The combination of the textured front post stitches and the warm desert palette makes this a truly unique accessory.
Happy crocheting! Share your finished clutch with us using #MosaicMirageClutch – we'd love to see your color choices.