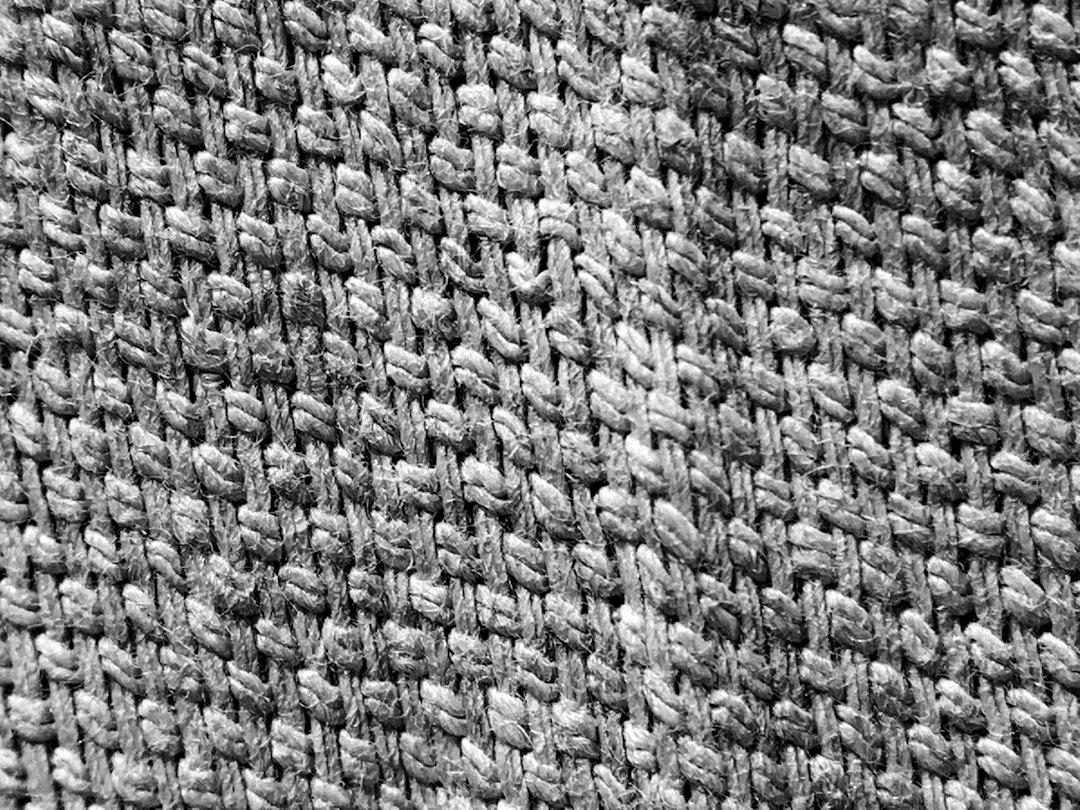
Meadow Breeze Market Tote Free Pattern – Knit a Fresh Spring Garden Bag

Introducing the Meadow Breeze Market Tote
Imagine strolling through a sun-drenched farmers' market, your arm looped through a bag that feels as fresh as the spring air. That's the magic of the Meadow Breeze Market Tote—a roomy, textured knit that brings a botanical garden vibe to your everyday errands. With its soft pastel stripes in sage green, butter yellow, and cream, this bag is more than just a carrier; it's a wearable piece of meadow-inspired art.
This pattern is perfect for knitters who love a satisfying, quick project. The construction is simple—worked flat in a rectangle, then seamed—making it an excellent weekend make. The sturdy cotton yarn ensures your haul of fresh produce or library books is safe, while the delicate leaf-like texture (created by alternating stockinette and garter rows) adds a touch of elegance. Let's dive in and knit a little piece of spring.
Materials Needed
Before you begin, gather these simple supplies. The beauty of this pattern is its minimalism—you only need three colors of yarn and basic tools.
Yarn & Notions
- Yarn: Worsted weight cotton yarn in 3 colors:
- Color A (Sage Green): Approx. 100g
- Color B (Butter Yellow): Approx. 75g
- Color C (Cream): Approx. 75g
- Needles: US 7 (4.5mm) knitting needles. You can use straight or circular (for comfort with a large number of stitches).
- Extras: A tapestry needle for seaming and weaving in ends, plus a pair of scissors.
Gauge
20 stitches and 26 rows = 4 inches in stockinette stitch. Always check your gauge to ensure your bag comes out the right size. If your swatch is too small, go up a needle size; if too large, go down.
Step-by-Step Instructions
This pattern is worked flat in one large rectangle, then folded and seamed. The handles are knitted separately and attached. Follow these detailed steps for a flawless finish.
Part 1: Knitting the Bag Body
Foundation & Base:
- With Color A (Sage Green), cast on 80 stitches.
- Rows 1–6: Work in garter stitch (knit every row). This creates a sturdy, non-curling base for your tote.
Main Body (Striped Pattern):
Now we'll create the striped, textured body. The pattern repeats every 12 rows.
- Row 7 (Right Side): Switch to Color B (Butter Yellow). Knit all stitches.
- Row 8 (Wrong Side): Purl all stitches.
- Row 9: Knit all stitches (Color B).
- Row 10: Purl all stitches (Color B).
- Row 11: Switch to Color C (Cream). Knit all stitches.
- Row 12: Purl all stitches (Color C).
- Row 13: Knit all stitches (Color C).
- Row 14: Purl all stitches (Color C).
- Row 15: Switch to Color A (Sage Green). Knit all stitches.
- Row 16: Purl all stitches (Color A).
- Row 17: Knit all stitches (Color A).
- Row 18: Purl all stitches (Color A).
Repeat Rows 7–18 (the full 12-row stripe sequence) until your piece measures 14 inches from the cast-on edge. Tip: End with a wrong-side row (a purl row) to keep your edges neat.
Top Border:
- With Color A (Sage Green), work in garter stitch (knit every row) for 6 rows. This mirrors the base and gives a clean finish.
- Bind off loosely (knitwise). A loose bind-off prevents the top edge from pulling in.
Part 2: Seaming the Bag
- Fold your knitted rectangle in half, right sides together. The cast-on edge and bind-off edge should meet at the top.
- Using your tapestry needle and a length of Color A yarn, sew the side seams using a mattress stitch. This creates an invisible, sturdy seam. Start from the bottom fold and work up to the top edge.
- Turn the bag right side out. The bottom will naturally form a flat base.
Part 3: Knitting & Attaching the Handles
Make 2 handles:
- With Color A (Sage Green), cast on 10 stitches.
- Work in stockinette stitch (knit on the right side, purl on the wrong side) until the handle measures 12 inches long.
- Bind off all stitches. Repeat for the second handle.
Attaching the Handles:
- Lay your bag flat with the top edge facing you.
- Place one handle on the inside of the bag, aligning the raw edge of the handle with the top edge of the bag. Position it so the handle's edge is 4 inches from the side seam.
- Using a tapestry needle and Color A yarn, whip-stitch the handle securely to the inside of the bag. Sew through both the handle and the bag fabric for a strong hold.
- Repeat for the second handle on the other side, ensuring it's also 4 inches from its side seam.
- Weave in all loose ends with your tapestry needle to give your bag a professional finish.
Your Meadow Awaits
Congratulations! You've just knitted a beautiful, functional piece of spring. The Meadow Breeze Market Tote is not only a joy to make but a pleasure to carry. Its soft, botanical stripes and sturdy cotton construction make it a go-to accessory for any outing. Whether you're gathering fresh flowers or carrying a good book to the park, this bag is a handmade reminder of nature's simple beauty. Happy knitting!