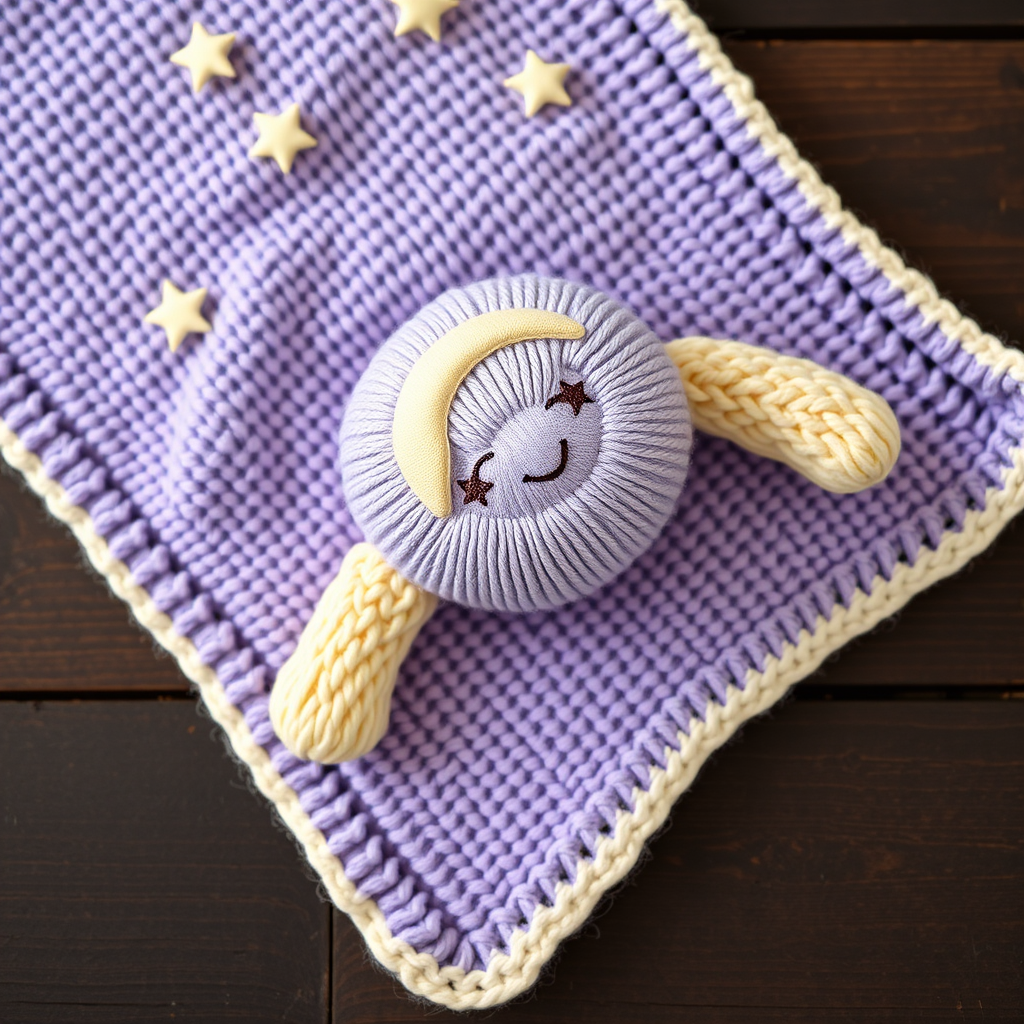
Lily Pad Lagoon Baby Blanket Free Pattern – A Knitted Ode to Tranquil Ponds

Lily Pad Lagoon Baby Blanket Free Pattern – A Knitted Ode to Tranquil Ponds
Wrap your little one in the serene beauty of a frog's haven with this textured knitted blanket, featuring gentle ripples and scattered lily pad motifs. This heirloom-quality pattern uses soft, breathable cotton to create a cozy yet airy layer perfect for warm days and peaceful naps. Whether you're a seasoned knitter or just starting your crafting journey, this beginner-friendly pattern offers a delightful project that combines simple stitches with stunning visual impact. The combination of a soothing ripple stitch and charming crocheted appliqués makes this blanket a true labor of love—one that will be treasured for generations.
Inspired by quiet pond mornings and the gentle lapping of water against lily leaves, this blanket brings a touch of nature's calm into your nursery. The palette of sage green, pond blue, lily white, and sunflower yellow evokes a peaceful watercolor scene, while the textured stitches invite little fingers to explore. Let's dive into this relaxing project together!
Materials Needed
Before you begin, gather the following supplies. Having everything ready will make your knitting experience smooth and enjoyable.
Yarn
- Worsted weight cotton yarn (e.g., Lion Brand 24/7 Cotton) in the following colors:
- MC (Main Color) – Sage Green: Approximately 1200 yards
- CC1 – Pond Blue: Approximately 200 yards
- CC2 – Lily White: Approximately 150 yards
- CC3 – Sunflower Yellow: Approximately 50 yards
Needles & Notions
- US 7 (4.5 mm) 32-inch circular knitting needle – The circular needle accommodates the large number of stitches comfortably.
- Stitch markers (at least 2)
- Yarn needle for weaving in ends and sewing motifs
- Scissors
- Crochet hook (size G/6 or similar) for making the lily pad and flower motifs
- Optional: Small amount of yarn or fiberfill for lightly stuffing the lily pads (for a 3D effect)
Gauge
20 stitches and 28 rows = 4 inches in Stockinette stitch (after blocking). Gauge is important for achieving the correct finished size, so take a moment to knit a swatch and adjust your needle size if needed.
Finished Blanket Size: Approximately 30 x 36 inches (76 x 91 cm)
Step-by-Step Instructions
This pattern is broken down into manageable sections. Follow along carefully, and you'll have a beautiful heirloom blanket in no time. Let's start with the abbreviations and special stitches you'll need to know.
Abbreviations
- k = knit
- p = purl
- yo = yarn over
- k2tog = knit two together (right-leaning decrease)
- ssk = slip, slip, knit (left-leaning decrease)
- pm = place marker
- sm = slip marker
- MC = Main Color (Sage Green)
- CC1 = Pond Blue
- CC2 = Lily White
- CC3 = Sunflower Yellow
- ch = chain (crochet)
- dc = double crochet (crochet)
- sc = single crochet (crochet)
- sl st = slip stitch (crochet)
Special Stitches
Ripple Pattern (multiple of 10 + 2 stitches)
This stitch creates the beautiful water-like waves across the blanket. It's surprisingly simple, alternating knit and purl rows with strategic increases and decreases.
- Row 1 (RS): k1, *k2tog, k3, yo, k1, yo, k3, ssk; repeat from * to last st, k1.
- Row 2 (WS): p all stitches.
- Row 3: k1, *k2tog, k2, yo, k3, yo, k2, ssk; repeat from * to last st, k1.
- Row 4: p all stitches.
- Row 5: k1, *k2tog, k1, yo, k5, yo, k1, ssk; repeat from * to last st, k1.
- Row 6: p all stitches.
- Row 7: k1, *k2tog, yo, k7, yo, ssk; repeat from * to last st, k1.
- Row 8: p all stitches.
Lily Pad Motif (worked in the round with a crochet hook, then sewn on)
These charming lily pads add the perfect pond-themed touch. They're quick to crochet and can be lightly stuffed for a dimensional look.
- Round 1: With CC1 (Pond Blue), make a magic ring, ch 2 (counts as dc), work 11 dc into ring, join with sl st to top of ch-2. (12 dc)
- Round 2: Ch 2, dc in same st, 2 dc in each st around, join. (24 dc)
- Round 3: Ch 2, dc in same st, *dc in next st, 2 dc in next st; repeat from * around, join. (36 dc)
- Round 4: Ch 1, sc in same st, *sc in next 2 sts, 2 sc in next st; repeat from * around, join. (48 sc) Fasten off, leaving a long tail for sewing.
Lily Flower Motif (worked in the round with a crochet hook, then sewn on)
These delicate flowers brighten up the blanket and provide a lovely contrast to the blue lily pads.
- Round 1: With CC3 (Sunflower Yellow), make a magic ring, ch 1, work 6 sc into ring, join with sl st. (6 sc)
- Round 2: Ch 1, 2 sc in each st around, join. (12 sc) Fasten off CC3.
- Round 3: Join CC2 (Lily White) with sl st in any st, *ch 5, skip next st, sl st in next st; repeat from * around, join. (6 petals) Fasten off, leaving a long tail.
Blanket Instructions
Now that you have all the pieces, let's put the blanket together. Work through these steps carefully, and don't hesitate to refer back to the special stitches section as needed.
Step 1: Cast On and Bottom Border
- With MC (Sage Green), cast on 152 stitches loosely. A long-tail cast-on works beautifully here.
- Work in Garter stitch (knit every row) for 6 rows. This creates a sturdy, non-curling border.
Step 2: Begin the Ripple Pattern Body
- Next Row (RS): k6 (border), pm, work Ripple Pattern Row 1 across next 140 stitches (this equals 14 repeats of the 10-stitch pattern), pm, k6 (border).
- Important Note: Always knit the first 6 and last 6 stitches of every row (including WS rows) to maintain the garter stitch border. On WS rows, work the border stitches as k6, then purl the remaining stitches until the last 6, then k6.
- Continue working Ripple Pattern rows 2-8, then repeat rows 1-8 until the blanket measures approximately 34 inches from the cast-on edge, ending with a WS row (Row 2, 4, 6, or 8).
Step 3: Top Border and Bind Off
- Work in Garter stitch (knit every row) for 6 rows.
- Bind off all stitches knitwise (on a knit row) to maintain a stretchy edge.
Step 4: Finishing the Blanket Body
- Weave in all loose ends using your yarn needle. Take your time to make them secure and invisible.
- Block the blanket gently to open up the lace ripples. This is a crucial step—it helps the stitch pattern shine and gives the blanket a professional finish. Use a spray bottle to dampen the blanket and pin it to the desired dimensions, allowing it to dry completely.
Step 5: Create the Motifs
While your blanket is drying (or beforehand), make the decorative motifs. You'll need:
- 5 Lily Pads (using CC1 – Pond Blue)
- 3-4 Lily Flowers (using CC3 for the center and CC2 for the petals)
Follow the crochet instructions above for each motif. Remember to leave long tails for sewing.
Step 6: Attach the Motifs
- Lily Pad Placement: Sew the 5 lily pads randomly across the blanket, using the long tails. For a lovely 3D effect, stuff each lily pad lightly with a bit of yarn or fiberfill before closing the final seam. This gives them a gentle, cupped shape like real lily pads.
- Lily Flower Placement: Sew 3-4 lily flowers onto the center of some lily pads, or scatter them independently across the blanket. Use the long tails to secure them firmly.
- Weave in any remaining ends from the motifs.
Tips for Success
- Count your stitches after each ripple repeat row to ensure you haven't accidentally dropped or added a stitch. The pattern is forgiving, but accuracy keeps the waves even.
- Use stitch markers between each repeat if you find it helpful—many knitters prefer to mark every 10-stitch section.
- Blocking is non-negotiable for this pattern. It transforms the fabric, opening up the yarn overs and making the ripple pattern crisp and defined.
- Take breaks—this is a relaxing project, not a race. Enjoy the rhythmic repetition of the stitches.
Your Lily Pad Lagoon Baby Blanket is now complete! This serene, nature-inspired piece will be a cherished addition to any nursery, perfect for snuggling, tummy time, or as a beautiful decorative layer. The combination of soft cotton, gentle ripples, and charming pond motifs makes it a truly special gift for a new baby—one that carries the love and care you've knitted into every stitch. Happy knitting!