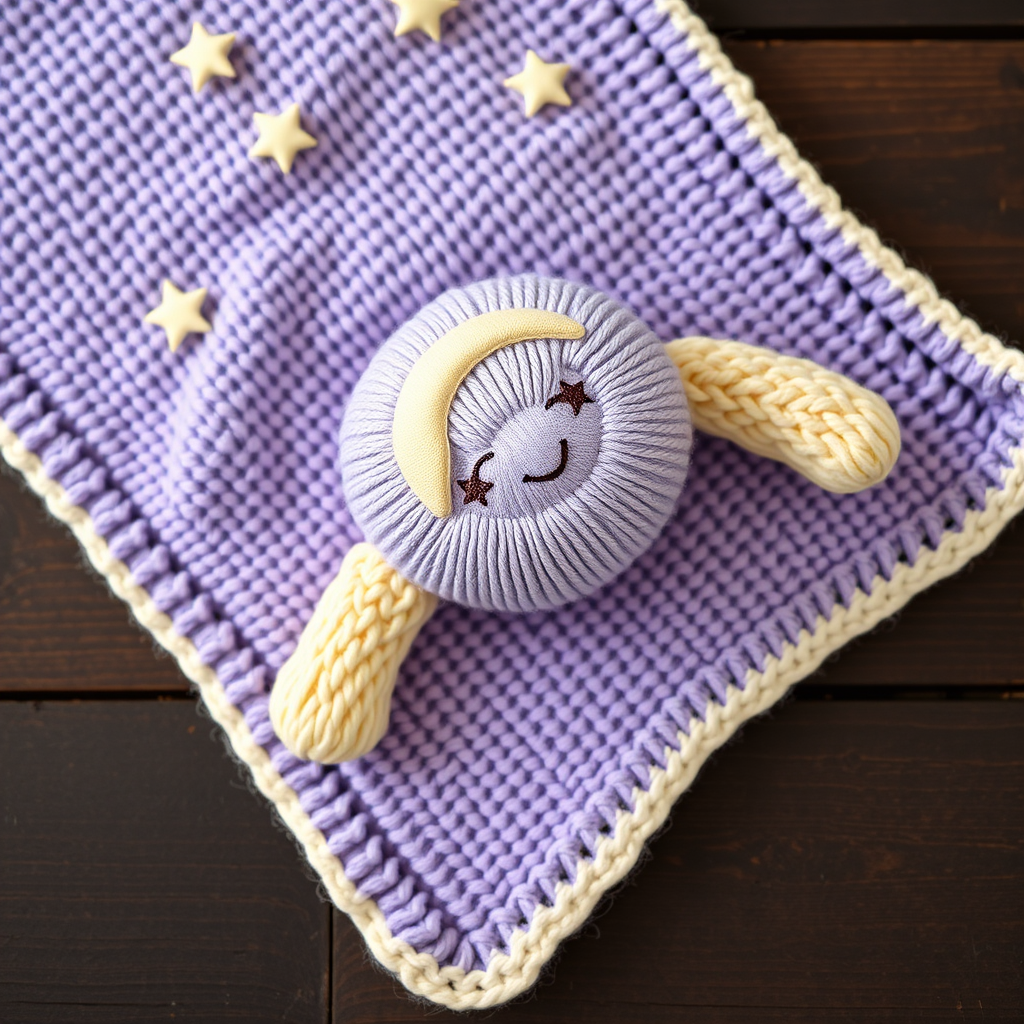
Honeycomb Hearth Waffle Blanket Free Pattern – Knit a Cozy Geometric Throw

Introducing the Honeycomb Hearth Waffle Blanket
Wrap your little one in the plush, textured warmth of this honeycomb-inspired waffle blanket. The repeating waffle stitch creates a dimensional, honeycomb-like grid that is both visually stunning and incredibly snuggly. This free knitting pattern is perfect for intermediate beginners looking to expand their skills while creating a beautiful, handmade heirloom piece. The combination of soft butter yellow and warm cream bands adds subtle contrast, making it a versatile addition to any nursery or cozy corner.
Materials Needed
Before you begin, gather the following supplies to ensure a smooth knitting experience:
- Yarn: Worsted weight yarn in soft butter yellow (MC) and warm cream (CC) – approximately 1200 yards of MC and 400 yards of CC. A soft acrylic or wool blend works beautifully for baby items.
- Needles: US 7 (4.5 mm) knitting needles – straight needles work well, or use a circular needle (24" or longer) to accommodate the growing number of stitches.
- Notions: Tapestry needle for weaving in ends, stitch markers (optional but helpful), and a tape measure.
Gauge & Finished Size
Gauge: 18 stitches and 24 rows = 4 inches in waffle stitch pattern. Always knit a swatch to ensure your tension matches – this is crucial for achieving the correct finished dimensions.
Finished Size: Approximately 30" x 36" (adjustable by changing your cast-on count or number of pattern repeats).
Step-by-Step Instructions
Abbreviations
- CO: Cast on
- K: Knit
- P: Purl
- Sl: Slip stitch purlwise (insert needle as if to purl, slip stitch to right needle without knitting)
- wyif: With yarn in front (yarn held to the front of the work)
- YO: Yarn over
- K2tog: Knit two stitches together
- Rep: Repeat
- RS: Right side
- WS: Wrong side
Getting Started: The Border
With your main color (MC – butter yellow), cast on 120 stitches using a long-tail cast on or your preferred method. This stitch count creates a blanket approximately 30 inches wide based on the gauge. If you prefer a wider or narrower blanket, adjust your cast-on in multiples of 4 plus 2 stitches.
Work 6 rows in garter stitch – this means knitting every row. This creates a neat, sturdy border that will frame your waffle pattern beautifully. The garter stitch border prevents curling and gives a polished finish.
The Waffle Stitch Pattern
Now you'll begin the main body of the blanket. The waffle stitch is worked over a multiple of 4 stitches plus 2 edge stitches. Here's the complete pattern:
Row 1 (RS): With MC, K1, *Sl 1 wyif, K3; rep from * to last st, K1.
Explanation: Knit the first stitch (edge stitch), then repeat the sequence of slipping one stitch with yarn in front, followed by knitting three stitches. Continue this pattern across the row until only one stitch remains, which you knit. The slipped stitches create vertical columns that will form the "walls" of your honeycomb.
Row 2 (WS): With MC, K1, *P1, K3; rep from * to last st, K1.
Explanation: Knit the first edge stitch, then purl the next stitch (this is the stitch you slipped on the previous row), then knit three stitches. Repeat across the row, ending with a knit edge stitch. This row locks in the slipped stitches and begins to create the waffle texture.
Row 3 (RS): With MC, K1, *K1, Sl 1 wyif, K2; rep from * to last st, K1.
Explanation: This row shifts the pattern by one stitch. Knit the edge stitch, then knit one, slip one with yarn in front, and knit two. Repeat this sequence across the row. This offset creates the staggered honeycomb effect.
Row 4 (WS): With MC, K1, *K1, P1, K2; rep from * to last st, K1.
Explanation: Knit the edge stitch, then knit one, purl one (the slipped stitch from the previous row), and knit two. Repeat across the row. This completes one full waffle pattern repeat.
Repeat Rows 1-4 continuously to build the waffle stitch fabric. The slipped stitches with yarn in front create the raised "puffs" while the purl stitches on the wrong side create the recessed areas, giving you that beautiful honeycomb dimension.
Color Banding
For the beautiful color contrast shown in the finished blanket, follow this color sequence:
- Work 20 rows in MC (butter yellow) – this equals 5 full pattern repeats
- Switch to CC (cream) and work 4 rows – this equals 1 full pattern repeat
- Switch back to MC and work 20 rows
Continue alternating in this manner – 20 rows MC, 4 rows CC – until your blanket measures approximately 34 inches from the cast-on edge. Always end with a wrong side row to ensure your next row begins on the right side for the border.
Pro tip: When changing colors, don't cut the yarn you're not using – simply carry it up the side of your work. This creates a neat selvedge edge and reduces the number of ends to weave in later. Just be sure to keep the carried yarn loose enough that it doesn't pucker the edge.
Finishing Border
Once your blanket reaches the desired length, switch to MC (if you're not already using it) and work 6 rows in garter stitch – knit every row. This mirrors the bottom border and creates a symmetrical, finished look.
Bind off loosely in knit. To avoid a tight edge that pulls in, use a larger needle for binding off or bind off using the "knit two together" method: knit two stitches, then pass the first stitch over the second, knit one more, pass the previous over, and continue across. This creates a stretchy, flexible edge.
Finishing Touches
Weave in all loose ends using your tapestry needle. Take your time with this step – secure ends by weaving them through the back of the stitches in a zigzag pattern for at least 2 inches. This ensures your blanket will withstand washing and use.
Finally, block your blanket gently to shape and enhance stitch definition. For acrylic yarns, a light steam blocking works beautifully – hold a steam iron about 1 inch above the surface and allow the steam to relax the fibers. For natural fibers, you can wet block by soaking the blanket in lukewarm water, gently squeezing out excess, and laying flat to dry while pinning to the desired dimensions.
Customization Ideas
This pattern is wonderfully versatile. Here are a few ways to make it your own:
- Size adjustments: To make a larger throw, cast on more stitches in multiples of 4+2 and work more pattern repeats. For a smaller lovey or security blanket, reduce your cast-on count.
- Color variations: Try pastel pink and mint green for a softer look, or bold navy and white for a modern nursery. You could also work the entire blanket in a single color for a classic, timeless piece.
- Yarn substitutions: While worsted weight is recommended, you could use DK weight with smaller needles for a lighter blanket, or bulky yarn with larger needles for a chunkier, quicker project.
This Honeycomb Hearth Waffle Blanket is a joy to knit and an even greater joy to gift. The textured pattern works up quickly once you establish the rhythm, and the color changes add visual interest without complicating the pattern. Whether you're knitting for your own little one or as a heartfelt gift, this blanket is sure to become a cherished treasure.
Happy knitting! We'd love to see your finished Honeycomb Hearth blankets – share your progress and finished projects in the comments below or tag us in your photos on social media.