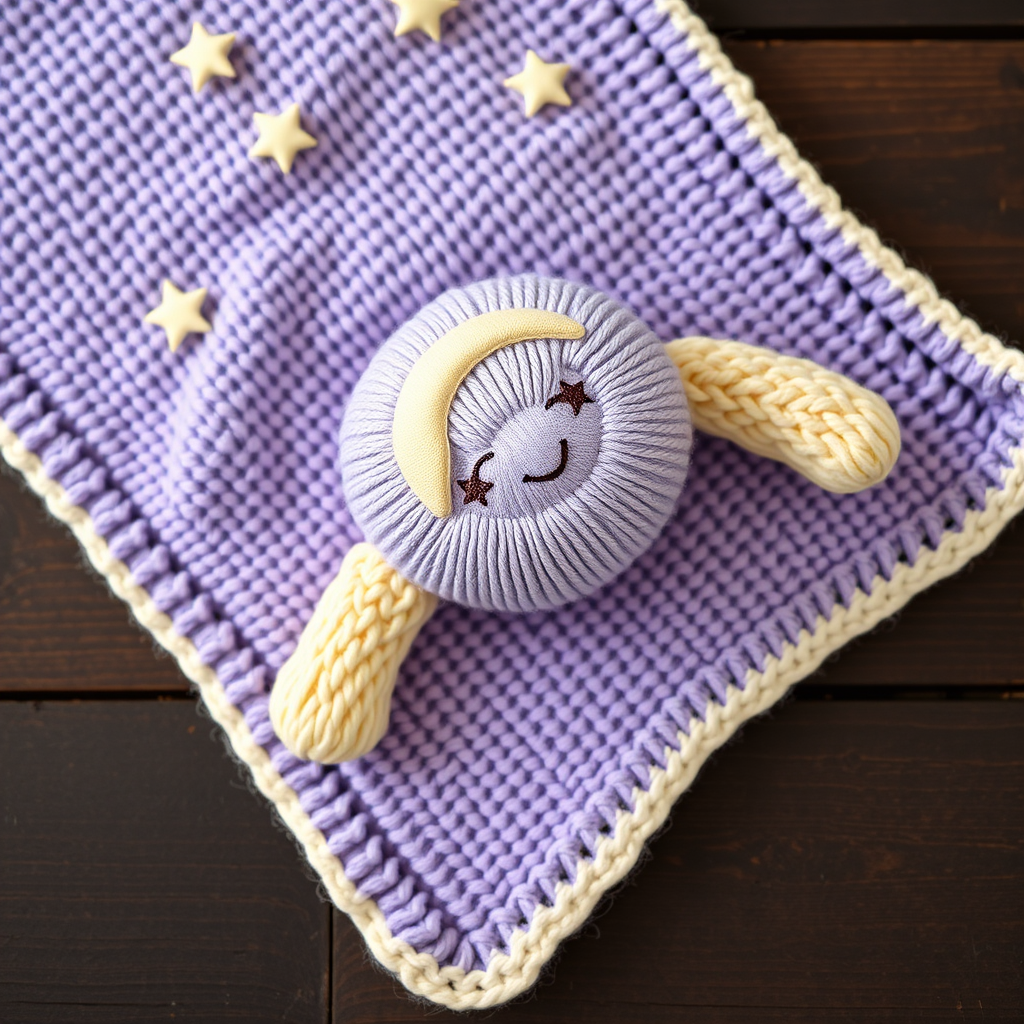
Heirloom Honeycomb Baby Blanket Free Pattern – Knit a Cozy Cloud of Hexagons

Heirloom Honeycomb Baby Blanket Free Pattern – Knit a Cozy Cloud of Hexagons
Wrap your little one in a cloud of soft, textured hexagons with this modern take on a classic baby blanket. The honeycomb stitch pattern creates a plush, dimensional fabric that's as beautiful as it is warm. This heirloom-quality blanket is the perfect project for knitters looking to create something truly special—a piece that will be treasured for generations. The subtle speckles in the warm cream yarn evoke the natural beauty of honeycomb, while the garter stitch border ensures a neat, non-curling edge that will hold its shape wash after wash.
Whether you're a seasoned knitter or a confident beginner ready for a new challenge, this pattern offers a satisfying rhythm and stunning results. The honeycomb texture is achieved through a simple combination of knits, purls, and slipped stitches, making it more approachable than it looks. Let's dive into this cozy project that promises to become a family keepsake.
Materials Needed
Before you begin, gather the following materials to ensure a smooth knitting experience:
- Yarn: Worsted weight (Category 4) yarn in a soft, washable fiber like merino or cotton blend. Approximately 800-900 yards. The sample shown uses a warm cream with subtle speckles, but feel free to choose any color that speaks to you—pastels work beautifully for a modern nursery, while earthy tones give a more rustic feel.
- Needle: US Size 7 (4.5 mm) circular knitting needle, 32 inches or longer. This length allows you to work comfortably with the 120 stitches and can also accommodate the magic loop method if you prefer.
- Gauge: 18 stitches and 24 rows = 4 inches in honeycomb stitch pattern (blocked). Achieving the correct gauge is crucial for the final dimensions, so take time to swatch before starting.
- Extras: Stitch markers (optional but helpful), tapestry needle for weaving in ends, and blocking mats or towels for the finishing touches.
Step-by-Step Instructions
This blanket is worked in one piece from the bottom up, making it a seamless project with no seaming required. The honeycomb pattern is created with a simple combination of knits, purls, and slipped stitches. Follow along carefully, and you'll have a stunning heirloom piece in no time.
Abbreviations
- K = knit
- P = purl
- Sl = slip stitch purlwise with yarn in back (unless otherwise noted)
- K2tog = knit two stitches together
- Yo = yarn over
- Rep = repeat
Pattern Notes
- The blanket is reversible; both sides show a beautiful texture, so you can use either side facing up.
- Work all slipped stitches as if to purl, with yarn held in back (wyib) on right-side rows and yarn in front (wyif) on wrong-side rows, to create a clean, defined edge.
- The border is worked in garter stitch (knit every row) for a neat, non-curling edge that frames the honeycomb pattern beautifully.
Cast On
Cast on 120 stitches loosely (or any multiple of 6 + 2 for a wider/narrower blanket). A loose cast-on is essential to prevent the bottom edge from pulling in. You can use a larger needle for the cast-on row or use a stretchy cast-on method like the long-tail cast-on with extra slack.
Border (Garter Stitch)
Rows 1-8: Knit all stitches. This creates a solid garter stitch border that will frame the honeycomb pattern and prevent curling.
Main Body (Honeycomb Pattern)
Now we begin the honeycomb pattern. The pattern repeat is 12 rows, and you'll repeat these rows until the blanket reaches your desired length. Here's the breakdown:
Row 1 (RS): K2, *P2, K2, Sl 2 wyib, K2; rep from * to last 2 sts, K2.
Row 2 (WS): K2, *P2, K2, Sl 2 wyif, K2; rep from * to last 2 sts, K2.
Row 3 (RS): K2, *P2, K2, Sl 2 wyib, K2; rep from * to last 2 sts, K2.
Row 4 (WS): K2, *P2, K2, Sl 2 wyif, K2; rep from * to last 2 sts, K2.
Row 5 (RS): K2, *P2, K2, K2tog, yo, K2; rep from * to last 2 sts, K2. (This creates the honeycomb cell openings.)
Row 6 (WS): K2, *P2, K2, P2, K2; rep from * to last 2 sts, K2.
Row 7 (RS): K2, *P2, K2, Sl 2 wyib, K2; rep from * to last 2 sts, K2.
Row 8 (WS): K2, *P2, K2, Sl 2 wyif, K2; rep from * to last 2 sts, K2.
Row 9 (RS): K2, *P2, K2, Sl 2 wyib, K2; rep from * to last 2 sts, K2.
Row 10 (WS): K2, *P2, K2, Sl 2 wyif, K2; rep from * to last 2 sts, K2.
Row 11 (RS): K2, *P2, K2, K2tog, yo, K2; rep from * to last 2 sts, K2.
Row 12 (WS): K2, *P2, K2, P2, K2; rep from * to last 2 sts, K2.
Repeat Rows 1-12 until the blanket measures approximately 32 inches from the cast-on edge, ending with a Row 12 (WS) or Row 4 (WS) to ensure the pattern is symmetrical. This ensures that the honeycomb pattern is complete and balanced before you add the final border.
Border (Garter Stitch)
Rows 1-8: Knit all stitches. This mirrors the bottom border and completes the frame around your honeycomb pattern.
Bind Off
Bind off loosely in knit. A loose bind-off is just as important as a loose cast-on to prevent the top edge from pulling in. You can use a larger needle for the bind-off row or use a stretchy bind-off method like the "Jeny's Surprisingly Stretchy Bind-Off" for extra elasticity.
Weave in Ends
Using your tapestry needle, weave in all loose ends carefully. Make sure to weave them in on the wrong side of the blanket, following the path of the stitches to keep them invisible on the right side.
Blocking
Gently wet block the blanket to open up the honeycomb texture and even out the stitches. To do this, soak the blanket in lukewarm water with a gentle wool wash for about 20 minutes. Gently squeeze out excess water (never wring or twist), then lay the blanket flat on blocking mats or clean towels. Shape it to the correct dimensions and pin if necessary. Allow it to dry completely before removing the pins. Blocking is essential for this pattern—it transforms the fabric, making the honeycomb cells more defined and the overall texture more plush and dimensional.
Final Thoughts
This Heirloom Honeycomb Baby Blanket is more than just a knitting project—it's a labor of love that will be cherished for years. The textured honeycomb pattern is both visually stunning and wonderfully tactile, making it a joy to create and even more delightful to gift. Whether you're knitting for your own little one, a grandchild, or a friend's new arrival, this blanket is sure to become a treasured heirloom.
Remember, the beauty of this pattern lies in its simplicity. The combination of knits, purls, and slipped stitches creates a fabric that looks far more complex than it actually is. Take your time, enjoy the rhythm of the rows, and watch as the honeycomb cells emerge beneath your fingers. Happy knitting!