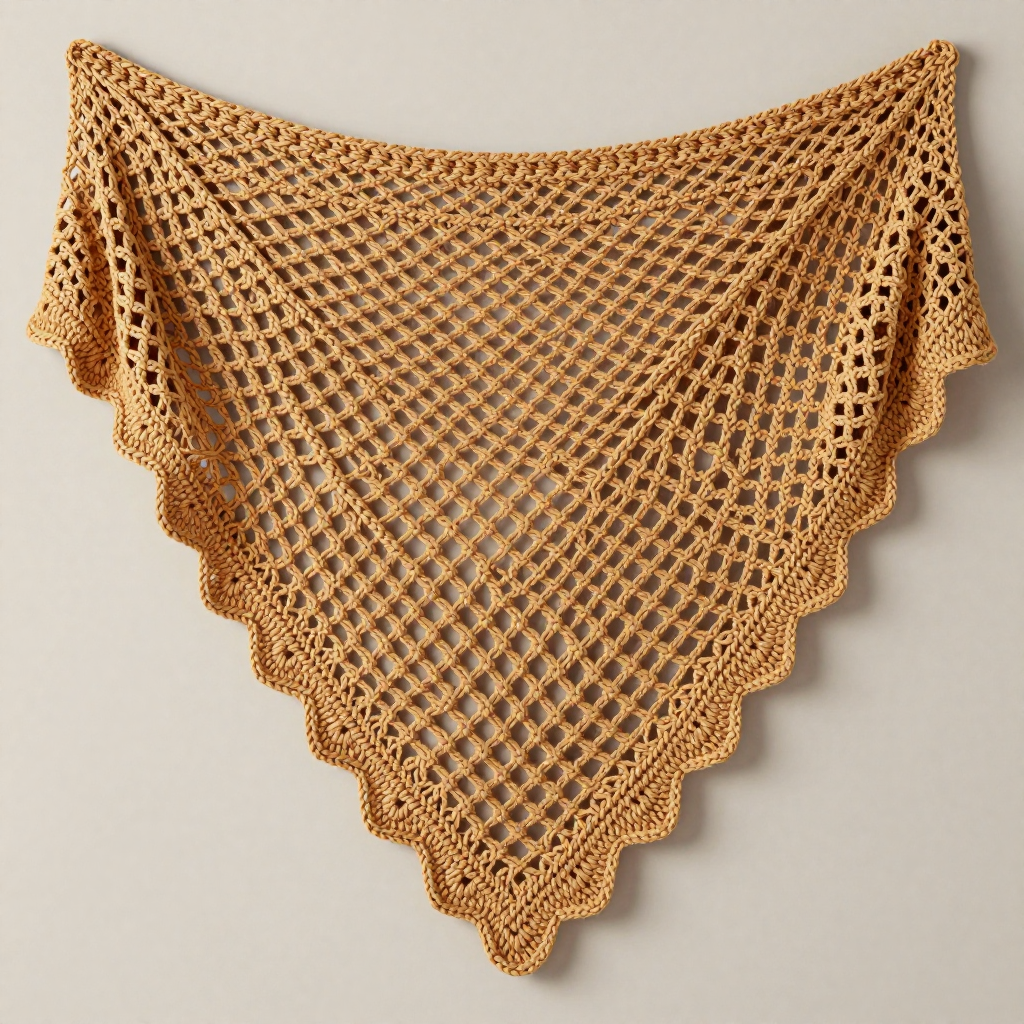
Harvest Moon Medallion Free Pattern

Harvest Moon Medallion: A Free Crochet Pattern for Autumn Decor
Capture the warm, earthy glow of autumn with the Harvest Moon Medallion—a stunning circular crochet piece that brings the beauty of the season into your home. This intricate yet accessible pattern features concentric rings of textured petals in rich shades of burnt orange, golden yellow, rust red, cream, and deep brown, evoking the cozy feeling of a harvest moon rising over fall foliage.
Whether you're looking to create a striking table centerpiece, a unique wall hanging, or a decorative throw accent, this versatile medallion delivers. The layered, ruffled petal design creates a blooming, dimensional effect that's both visually captivating and deeply satisfying to craft. Designed for intermediate crocheters, this pattern offers a rewarding challenge with clear, repeatable rounds that build into something truly spectacular.
Let's gather our materials and begin this beautiful autumn project!
Materials Needed
Before you begin, make sure you have the following supplies on hand:
- Yarn: Worsted weight cotton or cotton-blend yarn in 5 colors:
- Burnt Orange (Color A)
- Golden Yellow (Color B)
- Rust Red (Color C)
- Cream (Color D)
- Deep Brown (Color E)
- Crochet Hook: G/6 (4.0 mm) crochet hook
- Other Tools: Yarn needle for weaving in ends, scissors, stitch markers (optional but helpful)
Gauge: First 6 rounds measure approximately 5 inches in diameter. Gauge is important for achieving the correct final size of 14 inches, so take a moment to check your tension.
Finished Size: 14 inches in diameter (after blocking)
Abbreviations Used in This Pattern
- ch = chain
- sl st = slip stitch
- sc = single crochet
- hdc = half double crochet
- dc = double crochet
- tr = treble (triple) crochet
- st(s) = stitch(es)
- magic ring = adjustable loop technique
Step-by-Step Instructions
Follow these detailed instructions carefully. Each round builds upon the previous one, so take your time and count your stitches as you go. The pattern uses a repeating petal motif that grows larger with each color change, creating the beautiful layered effect.
Round 1: The Foundation
With Burnt Orange, make a magic ring. Work 12 double crochet (dc) into the ring. Join with a slip stitch to the top of the first dc. (12 stitches)
Round 2: Doubling Up
Chain 3 (this counts as your first dc). Work 1 dc in the same stitch. Then work 2 dc in each stitch around. Join with a slip stitch to the top of the beginning chain-3. (24 stitches)
Round 3: Building the Base
Chain 3 (counts as dc), 1 dc in the same stitch, 1 dc in the next stitch. *2 dc in the next stitch, 1 dc in the next stitch*—repeat from * to * around. Join with a slip stitch. (36 stitches)
Round 4: Switching to Golden Yellow
Switch to Golden Yellow. Chain 4 (this counts as a treble crochet). Work 1 tr in the same stitch. Then work 2 tr in each stitch around. Join with a slip stitch. (72 stitches)
Tip: When changing colors, complete the last yarn-over pull-through of the previous stitch with the new color to create a seamless transition.
Round 5: Creating the First Loops
Chain 1, single crochet in the same stitch. *Chain 5, skip 5 stitches, single crochet in the next stitch*—repeat from * to * around, ending with chain 5, skip the last 5 stitches. Join with a slip stitch to the first sc. (12 chain-5 loops)
Round 6: First Petal Layer
Slip stitch into the first chain-5 loop. Chain 1. Work the following sequence into each chain-5 loop around: (sc, hdc, 3 dc, hdc, sc). Join with a slip stitch to the first sc. (12 petals formed)
Round 7: Switching to Rust Red
Switch to Rust Red. Chain 1, single crochet in the same stitch. *Chain 7, skip to the next petal center (the 2nd dc of the 3 dc group), single crochet in that stitch*—repeat from * to * around. Join with a slip stitch. (12 chain-7 loops)
Round 8: Second Petal Layer
Slip stitch into the first chain-7 loop. Chain 1. Work the following sequence into each chain-7 loop around: (sc, hdc, 5 dc, hdc, sc). Join with a slip stitch. (12 larger petals formed)
Round 9: Switching to Cream
Switch to Cream. Chain 1, single crochet in the same stitch. *Chain 9, skip to the next petal center (the 3rd dc of the 5 dc group), single crochet in that stitch*—repeat from * to * around. Join with a slip stitch. (12 chain-9 loops)
Round 10: Third Petal Layer
Slip stitch into the first chain-9 loop. Chain 1. Work the following sequence into each chain-9 loop around: (sc, hdc, 7 dc, hdc, sc). Join with a slip stitch. (12 extra-large petals formed)
Round 11: Switching to Deep Brown
Switch to Deep Brown. Chain 1, single crochet in the same stitch. *Chain 11, skip to the next petal center (the 4th dc of the 7 dc group), single crochet in that stitch*—repeat from * to * around. Join with a slip stitch. (12 chain-11 loops)
Round 12: Fourth Petal Layer
Slip stitch into the first chain-11 loop. Chain 1. Work the following sequence into each chain-11 loop around: (sc, hdc, 9 dc, hdc, sc). Join with a slip stitch. (12 final large petals formed)
Round 13: Creating Inner Loops
Chain 1, single crochet in the same stitch. *Chain 5, skip 5 stitches, single crochet in the next stitch*—repeat from * to * around, ending with chain 5. Join with a slip stitch to the first sc. (12 chain-5 loops)
Note: This round begins the inward taper of the medallion, creating a beautiful layered effect.
Round 14: Small Petal Layer
Slip stitch into the first chain-5 loop. Chain 1. Work the following sequence into each chain-5 loop around: (sc, hdc, 3 dc, hdc, sc). Join with a slip stitch. (12 small petals formed)
Round 15: Switching Back to Burnt Orange
Switch back to Burnt Orange. Chain 1, single crochet in the same stitch. *Chain 3, skip to the next petal center (the 2nd dc of the 3 dc group), single crochet in that stitch*—repeat from * to * around. Join with a slip stitch. (12 chain-3 loops)
Round 16: Tiny Petal Layer
Slip stitch into the first chain-3 loop. Chain 1. Work the following sequence into each chain-3 loop around: (sc, hdc, dc, hdc, sc). Join with a slip stitch. (12 tiny petals formed)
Round 17: Final Loop Round
Chain 1, single crochet in the same stitch. *Chain 5, skip to the next petal center (the dc of the group), single crochet in that stitch*—repeat from * to * around. Join with a slip stitch. (12 chain-5 loops)
Round 18: Finishing Petals
Slip stitch into the first chain-5 loop. Chain 1. Work the following sequence into each chain-5 loop around: (sc, hdc, 3 dc, hdc, sc). Join with a slip stitch to the first sc. (12 final small petals formed)
Finishing Touches
Fasten off and weave in all ends carefully with your yarn needle. Take your time to ensure all loose strands are securely hidden within the stitches.
Blocking Your Medallion
To achieve the beautiful, flat 14-inch diameter and crisp petal definition, blocking is essential. Here's how:
- Soak your medallion in lukewarm water with a drop of mild soap for 15-20 minutes.
- Gently squeeze out excess water (never wring or twist).
- Lay the medallion flat on a blocking mat or towel.
- Pin the edges outward to create a perfect circle, stretching gently to reach 14 inches in diameter.
- Allow it to dry completely before removing pins.
Creative Ways to Display Your Harvest Moon Medallion
Once your medallion is complete and blocked, the possibilities are endless:
- Table Centerpiece: Place it under a glass vase or candle holder for an instant autumn tablescape.
- Wall Art: Mount it on an embroidery hoop or wooden dowel for a stunning bohemian wall hanging.
- Throw Accent: Drape it over the back of a sofa or chair to add warmth to your living space.
- Seasonal Display: Pair it with pumpkins, dried leaves, and candles for a cozy harvest vignette.
The Harvest Moon Medallion is more than just a crochet project—it's a celebration of autumn's beauty that you can create with your own hands. The rhythmic repetition of petals and the gradual color transitions make this a meditative, enjoyable project that yields a stunning heirloom-quality piece.
Happy crocheting, and may your home be filled with the warm glow of the harvest season!