Amigurumi Patterns
Free Pattern: Enchanted Forest Fairy House Amigurumi
Anonymous
•
June 29, 2026
Introduction
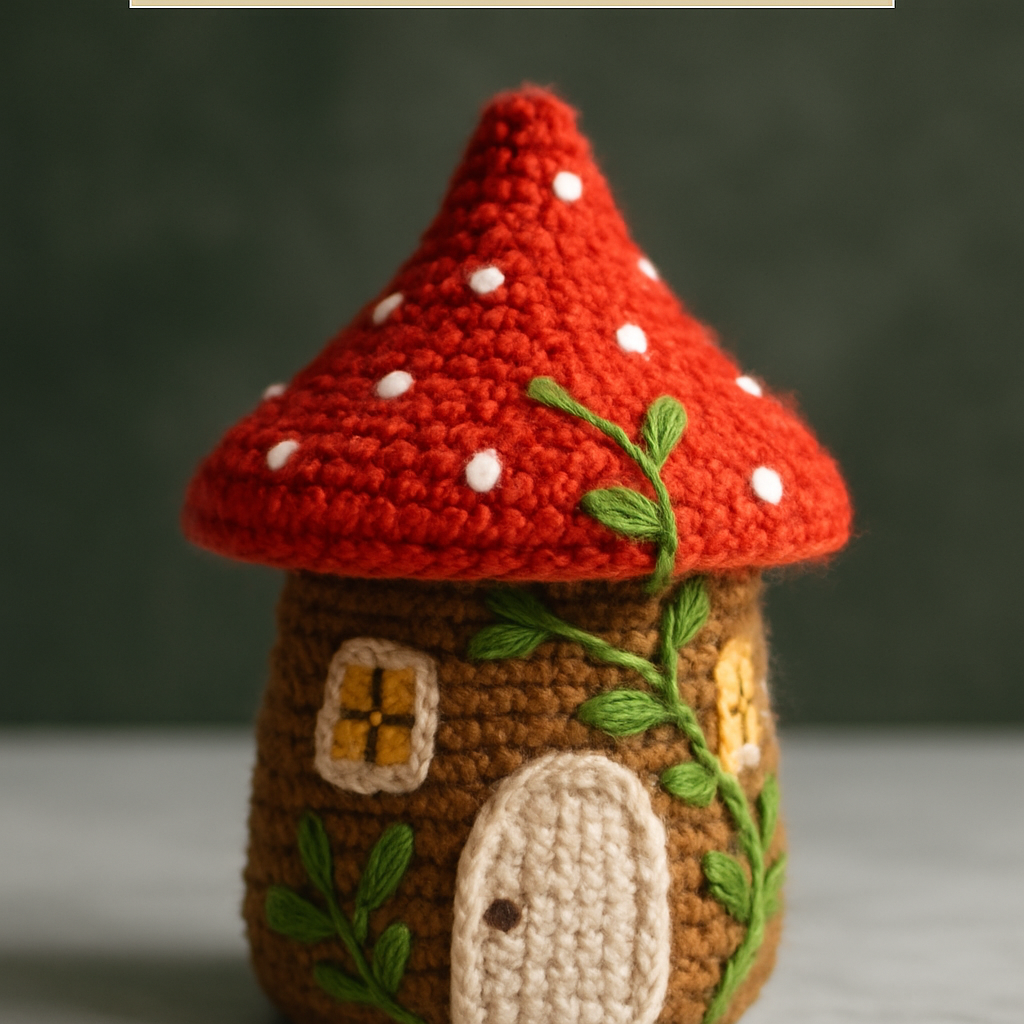
Welcome to our enchanting world of crochet! In this post, we will guide you through creating a delightful Enchanted Forest Fairy House amigurumi. This whimsical piece is perfect for adding a touch of magic to your home decor or as a unique gift for fairy tale lovers. With detailed instructions and a list of materials, even beginners can comfortably recreate this charming fairy house at home. Let's get started!
Materials Needed
- Worsted weight yarn in the following colors:
- Green
- Brown
- Red
- White
- Yellow
- 3.5mm crochet hook
- Scissors
- Tapestry needle for weaving in ends
- Stitch marker (optional, but helpful)
Step-by-Step Instructions
Creating the Base of the House
- Start with the brown yarn: Create a magic ring.
- Round 1: Work 6 single crochets (sc) into the magic ring. Pull the ring tight to close.
- Round 2: Increase in each stitch around (12 stitches total).
- Round 3: (Sc in the next stitch, increase) repeat around (18 stitches total).
- Continue increasing: Repeat the pattern of (sc in the next stitch, increase) until you reach a total of 42 stitches.
- Work even: Without increasing, work 10 rounds to form the cylindrical base of the house.
Creating the Roof
- Switch to red yarn: Create a magic ring.
- Round 1: Work 6 sc into the magic ring.
- Round 2: Increase in each stitch around (12 stitches total).
- Continue increasing: Increase by 6 stitches each round until you have a total of 48 stitches.
- Work even: Without increasing, work 4 rounds to complete the roof.
Creating the Door
- Use white yarn: Chain 6 stitches.
- Turn your work: Single crochet in each stitch across the chain (5 stitches total).
- Work 5 rows: Continue to single crochet in each stitch for a total of 5 rows to create the door.
- Attach the door: Sew the completed door to the base of the house using your tapestry needle.
Creating the Windows
- Use yellow yarn: Embroider small squares on the house to create windows.
- Position the windows: Place them symmetrically on either side of the door for a balanced look.
Adding Vines and Leaves
- Use green yarn: Embroider vines and leaves around the base and roof of the house.
- Be creative: Add as many vines and leaves as you like to enhance the natural look of your fairy house.
Conclusion
Congratulations on creating your very own Enchanted Forest Fairy House! This whimsical amigurumi piece is sure to bring a touch of magic to your home or make a delightful gift. Don’t forget to share your creations with us, and happy crocheting!
Also Check Out: We think you'd love this beautiful pattern on our sister site: Chunky Crochet Bath Mat with Scalloped Edges



