Free Pattern: Drop-Stitch Planet Ring Knit Crop Top

Free Pattern: Drop-Stitch Planet Ring Knit Crop Top
Introduction
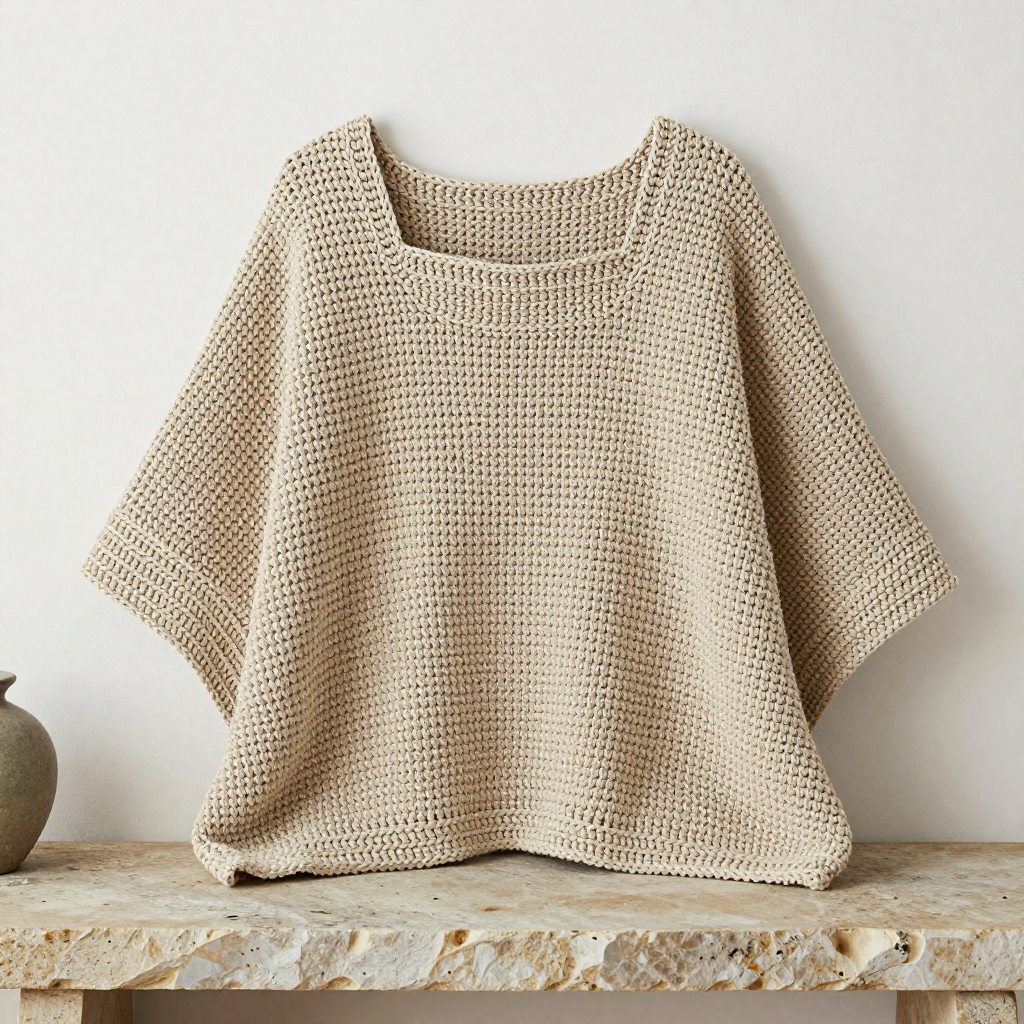
If you have ever looked at a hand-knitted top and thought, "I could never make that," this is the project that will prove you wrong. The Drop-Stitch Planet Ring Crop Top is worked as two simple flat rectangles — one for the front, one for the back — and then sewn together at the shoulders and sides. That is the whole secret. The magic comes from a single, easy trick: pulling up a long loop from a stitch a few rows below and knitting it together with the next stitch, which creates those big, open "planet ring" holes you see running in columns up the body. A single rust-colored knitted circle appliqué finishes the front like a little sun in a forest-green sky.
It is perfect for a first-time knitter because there is no shaping to fear, no working in the round, and no complicated stitch patterns — just knit, purl, and one new move you will master in about two minutes. The finished top is boxy and relaxed, with a soft tweed texture and a slightly deconstructed, modern feel that looks wonderful over a simple tee or on its own in summer. You will be amazed at how quickly two rectangles become something you actually want to wear.
Materials Needed
- Yarn: Worsted-weight tweed wool (approx. 180–200 m / 197–219 yds per 100 g skein). You will need 3 (3, 4, 4) skeins in Forest Green, plus a small amount (approx. 15 g) of Rust for the circle appliqué.
- Main needles: 5.0 mm (US 8) straight knitting needles.
- Ribbing needles: 4.5 mm (US 7) straight knitting needles (for the ribbed hem, neckband, and armhole edging).
- Cable needle or spare needle: used to hold the long drop-stitch loop while you work the drop-stitch ring. A short spare double-pointed needle works perfectly.
- Stitch markers: at least 7 (to mark the drop-stitch columns and the neck opening).
- Tapestry needle: a large blunt needle with an eye big enough for your yarn, for seaming and weaving in ends.
- Scissors for cutting yarn.
- Tape measure for checking gauge and measuring your panels.
Finished sizes: XS/S (M/L, XL/2XL, 3XL).
- Finished bust: 96 (108, 120, 132) cm / 38 (42.5, 47, 52) in.
- Finished length: 40 (42, 44, 46) cm / 15.75 (16.5, 17.25, 18) in.
- Fit: boxy, with 10–14 cm / 4–5.5 in of positive ease (meaning the top measures 10–14 cm more than your actual bust). The sample shown is size M/L.
Abbreviations and Beginner Glossary
Read this list once before you start. Every single term used in the pattern is explained here in plain English — no prior knowledge assumed.
- st / sts – stitch / stitches. One "stitch" is one loop sitting on your needle.
- RS – right side. The side of the fabric that will face outward when you wear the top.
- WS – wrong side. The inside of the fabric.
- k – knit. With the yarn behind your work, insert the right needle into the front of the stitch from left to right, wrap the yarn around it, and pull a loop through.
- p – purl. With the yarn in front of your work, insert the right needle into the front of the stitch from right to left, wrap the yarn, and pull a loop through.
- k1, p1 rib – a repeating pattern of one knit stitch, then one purl stitch, all the way across. It makes a stretchy, textured band.
- stockinette stitch – knit every stitch on RS rows, purl every stitch on WS rows. This gives you the smooth, flat "V" side you see on most knitwear.
- k2tog – knit two stitches together. Insert your needle through two stitches at once and knit them as one. This decreases your stitch count by one.
- p3tog – purl three stitches together. Same idea as k2tog, but purled, and it removes two stitches.
- kfb – knit front and back. Knit into the front of the stitch, then, without removing it, knit into the back of the same stitch. This increases your stitch count by one.
- pm – place marker. Slip a stitch marker onto your right needle so it sits between two stitches and marks a spot.
- slip marker – move the marker from the left needle to the right needle without knitting it.
- bind off – the way to finish an edge so it does not unravel. Knit two stitches, then lift the first one over the second and off the needle; repeat across.
- cast on – the very first step: creating the starting row of loops on your needle.
- pick up and knit – insert your needle into the edge of the finished fabric, wrap the yarn, and pull up a loop, creating new stitches along an edge.
- Drop-Stitch Ring – the special move for this pattern. Insert your right needle into the stitch 4 rows below the next stitch on your left needle, wrap the yarn, and pull up a long loop about 4 cm / 1.5 in tall. Place that loop on your left needle, then knit it together with the next stitch. This creates one open ring.
- mattress stitch – an invisible seaming technique that joins two edges side by side (explained in the Finishing section).
- block – to wet or steam your finished knitting and pin it to the correct measurements so it settles into shape.
Gauge
Gauge: 16 sts and 22 rows = 10 cm / 4 in in stockinette stitch on 5.0 mm needles, after blocking.
Gauge simply means "how big your stitches come out." If your stitches are bigger than the pattern's, your top will be too large; if they are smaller, it will be too tight. That is why gauge matters — it is the only way to guarantee your finished top matches the measurements above.
How to make a gauge swatch: Using your 5.0 mm needles and Forest Green yarn, cast on 24 stitches. Work in stockinette stitch (knit on RS rows, purl on WS rows) for about 30 rows, then bind off. Block the swatch gently and let it dry. Lay a ruler across the middle and count how many stitches fit in 10 cm / 4 in — you want 16. Count rows the same way — you want 22. If you have more stitches than 16, your knitting is tight: go up one needle size. If you have fewer, your knitting is loose: go down one needle size. Swatch again until you match.
Beginner Tips Before You Start
- Use stitch markers to track your drop-stitch columns. The markers you place in the set-up row tell you exactly where each ring goes, so you never have to count stitches mid-row.
- Do not pull the yarn too tight when you make a drop-stitch ring. The loop needs to be a full 4 cm / 1.5 in tall. If you tug it snug, the ring will close up and you will lose the open, airy look.
- Count your stitches at the end of every few rows. Beginners often accidentally add or drop a stitch. A quick count saves hours of fixing later.
- Keep your tension relaxed and even. Tweed yarn is slightly bumpy, which is forgiving — small unevenness is part of the charm, so do not fuss.
- Work your ribbing on the smaller 4.5 mm needles. Smaller needles make ribbing springy and neat; the larger 5.0 mm needles give the body its drape.
- Read the whole row before you knit it. Especially on the neck shaping, knowing where the row ends helps you keep your place.
Step-by-Step Instructions
Stitch Guide: Drop-Stitch Ring
Worked over 1 stitch: Insert your right needle into the stitch 4 rows below the next stitch on your left needle. Wrap the yarn around the needle and pull up a long loop approx. 4 cm / 1.5 in tall. Place that loop on your left needle, then knit this loop together with the next stitch (knit them as one). This creates one open ring. If it feels fiddly, hold the loop on a cable needle or spare needle while you knit the next stitch, then knit the two together.
Stitch Guide: Rust Circle Appliqué
Using 4.5 mm needles and Rust, cast on 3 sts. Work flat in stockinette (purl all WS rows).
- Row 1 (RS): kfb, k1, kfb. (5 sts)
- Row 2: Purl. (5 sts)
- Row 3: kfb, k3, kfb. (7 sts)
- Row 4: Purl. (7 sts)
- Row 5: kfb, k5, kfb. (9 sts)
- Row 6: Purl. (9 sts)
- Row 7: kfb, k7, kfb. (11 sts)
- Row 8: Purl. (11 sts)
- Row 9: k2tog, k7, k2tog. (9 sts)
- Row 10: Purl. (9 sts)
- Row 11: k2tog, k5, k2tog. (7 sts)
- Row 12: Purl. (7 sts)
- Row 13: k2tog, k3, k2tog. (5 sts)
- Row 14: Purl. (5 sts)
- Row 15: k2tog, k1, k2tog. (3 sts)
- Row 16: p3tog. (1 st)
Fasten off. This makes a flat circle approx. 7 cm / 2.75 in in diameter. Make 1.
Back Panel (make 1)
With 4.5 mm needles and Forest Green, cast on 76 (86, 96, 106) sts.
Work in 1x1 rib (k1, p1) for 4 cm / 1.5 in, ending with a WS row.
Change to 5.0 mm needles.
Set-up row (RS): Knit across, placing stitch markers as follows: pm after 8 (10, 12, 14) sts, then every 12 (13, 14, 15) sts, ending with 8 (10, 12, 14) sts after the last marker. This divides the panel into 6 sections for drop-stitch placement. (76 (86, 96, 106) sts)
- Row 1 (WS): Purl. (76 (86, 96, 106) sts)
- Row 2 (RS): Knit. (76 (86, 96, 106) sts)
- Row 3 (WS): Purl. (76 (86, 96, 106) sts)
- Row 4 (RS): Knit. (76 (86, 96, 106) sts)
- Row 5 (WS): Purl. (76 (86, 96, 106) sts)
- Row 6 (RS): *Knit to 1 st before marker, work Drop-Stitch Ring over next st, slip marker; repeat from * to end, knit last sts. (6 drop-stitch rings made; 76 (86, 96, 106) sts)
- Rows 7–10: Work in stockinette stitch (knit on RS, purl on WS). (76 (86, 96, 106) sts)
- Row 11 (RS): Repeat Row 6 (drop-stitch ring row). (76 (86, 96, 106) sts)
Continue in this pattern, working a drop-stitch ring row every 5th row (rows 6, 11, 16, 21, and so on) until the piece measures 36 (38, 40, 42) cm / 14.25 (15, 15.75, 16.5) in from the cast-on edge, ending with a WS row.
Back Shoulder Shaping
- Next row (RS): Bind off 6 (7, 8, 9) sts, knit to end. (70 (79, 88, 97) sts)
- Next row (WS): Bind off 6 (7, 8, 9) sts, purl to end. (64 (72, 80, 88) sts)
- Next row (RS): Bind off 4 (5, 6, 7) sts, knit to end. (60 (67, 74, 81) sts)
- Next row (WS): Bind off 4 (5, 6, 7) sts, purl to end. (56 (62, 68, 74) sts)
Bind off remaining sts loosely.
Front Panel (make 1)
Work exactly as for the Back Panel (including the ribbed hem, set-up row, and drop-stitch pattern) until the piece measures 32 (34, 36, 38) cm / 12.5 (13.5, 14.25, 15) in from the cast-on edge, ending with a WS row.
Front Neck Shaping
- Next row (RS): Knit 22 (25, 28, 31) sts, bind off next 12 sts for neck, knit to end. (22 (25, 28, 31) sts on each side)
Work each side separately.
Left side: Work in stockinette, decreasing 1 st at the neck edge every other row 3 times, then every 4th row 2 times. (17 (20, 23, 26) sts)
Work even until the piece measures 36 (38, 40, 42) cm / 14.25 (15, 15.75, 16.5) in from the cast-on edge, ending with a WS row.
Shape shoulder: Bind off 6 (7, 8, 9) sts at the armhole edge once, then 5 (6, 7, 8) sts once, then 6 (7, 8, 9) sts once. Fasten off.
Right side: Work to match the left side, reversing the shaping (decrease at the neck edge on RS rows, bind off at the armhole edge on WS rows).
Assembly and Finishing
Block both panels first. Pin each panel to the finished measurements (bust width and length above), mist with water or steam gently, and let them dry completely flat. Blocking evens out your stitches and makes seaming much easier.
Sew the shoulder seams using mattress stitch: lay the front and back panels flat with RS facing up, edges side by side. Thread your tapestry needle with Forest Green yarn and, working from the RS, pick up the horizontal bar between the first and second stitch on one edge, then the matching bar on the other edge, and pull snug. Repeat along the whole seam, keeping your tension even so the seam lies flat and invisible.
Sew the side seams, again with mattress stitch, but leave the armholes open: measure 18 (19, 20, 21) cm / 7 (7.5, 8, 8.25) in down from the shoulder seam and mark that point with a pin. Seam from that pin down to the hem. Repeat on the other side.
Neckband: With 4.5 mm needles and Forest Green, pick up and knit approx. 64 (68, 72, 76) sts evenly around the neck opening. Work in 1x1 rib for 2 cm / 0.75 in. Bind off loosely in rib.
Armhole edging (make 2): With 4.5 mm needles and Forest Green, pick up and knit approx. 56 (60, 64, 68) sts evenly around each armhole. Work in 1x1 rib for 2 cm / 0.75 in. Bind off loosely in rib.
Attach the appliqué: Block the Rust circle lightly. Position it on the front panel, centered horizontally and approx. 8 cm / 3 in below the neck edge. Using your tapestry needle and matching Rust yarn, sew the circle in place with small, neat stitches around its outer edge only — leave the center open, do not sew through it.
Weave in all ends: Thread each loose end onto the tapestry needle and run it back and forth through the wrong side of the fabric for about 5 cm, then trim. Finally, gently steam-block the finished top, avoiding pressing the drop-stitch rings flat — hold the iron just above the fabric and let the steam do the work.
Pro Tips and Variations
- Change the colors: Try a cream body with a mustard circle, or a charcoal body with a bright coral circle. Any worsted-weight tweed works beautifully — just keep the appliqué in a contrasting shade so it pops.
- Adjust the length: To make the top longer or shorter, simply add or remove rows before the shoulder shaping. Every 22 rows adds about 10 cm / 4 in. Keep your drop-stitch ring rows every 5th row so the columns stay evenly spaced.
- Adjust the width: To go up or down a size, add or remove stitches in multiples of 12 (13, 14, 15) so the drop-stitch columns stay balanced. Check your gauge first — sometimes going up a needle size is all you need.
- Substitute the yarn: A smooth worsted-weight wool or cotton blend will give a cleaner, more graphic look, while a fluffy alpaca blend makes the rings softer and more cloud-like. Always swatch, because different fibers behave differently.