Driftwood Dune Crossbody Bag Free Pattern – Crochet a Sandy Oasis

Carry the Coast: Introducing the Driftwood Dune Crossbody Bag
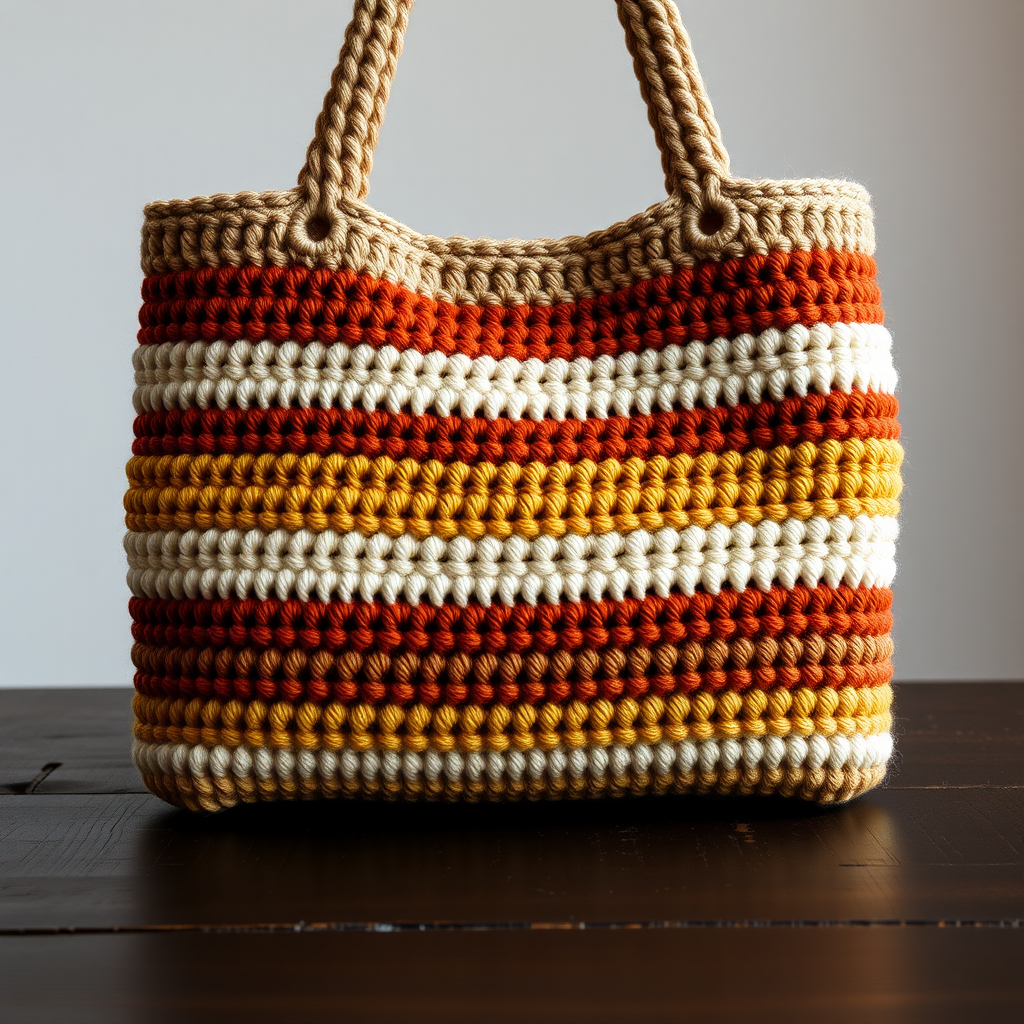
Imagine the gentle warmth of sun-bleached sand, the cool whisper of seafoam, and the vibrant pop of coral—all woven into a single, stunning accessory. That's the magic of the Driftwood Dune Crossbody Bag. This isn't just a crochet pattern; it's a miniature vacation for your shoulder. With its unique textured stitch and coastal-inspired color bands, this bag captures the organic, minimalist beauty of a shoreline retreat. Perfect for beach days, farmers' market runs, or adding a touch of summer to your everyday errands, this quick and easy project is as practical as it is beautiful. Let's dive in and create your own sandy oasis.
Materials Needed: Your Crochet Toolkit
Before we begin our coastal crafting journey, let's gather our supplies. This project uses simple, readily available materials, making it perfect for beginners and experienced crocheters alike.
- Yarn: Worsted weight cotton yarn (e.g., Lion Brand 24/7 Cotton) in three colors:
- Sand (A): Approx. 150g
- Seafoam (B): Approx. 50g
- Coral (C): Approx. 50g
- Crochet Hook: 5.0 mm (H-8) crochet hook
- Tapestry Needle: For weaving in ends and sewing the straps.
- Scissors: For cutting yarn.
- Optional: Button or magnetic snap for a closure.
Gauge: 16 sc x 18 rows = 4 x 4 inches (10 x 10 cm) in single crochet. While gauge is important for size, this bag is forgiving. Just keep your tension consistent for a neat finish.
Step-by-Step Instructions: Crocheting Your Driftwood Dune Bag
Follow these detailed instructions to create your bag. We'll work the body in one continuous piece from the bottom up, then add the straps.
Part 1: The Bag Body (Worked in the Round)
We'll start with a magic ring to create a tight, seamless base.
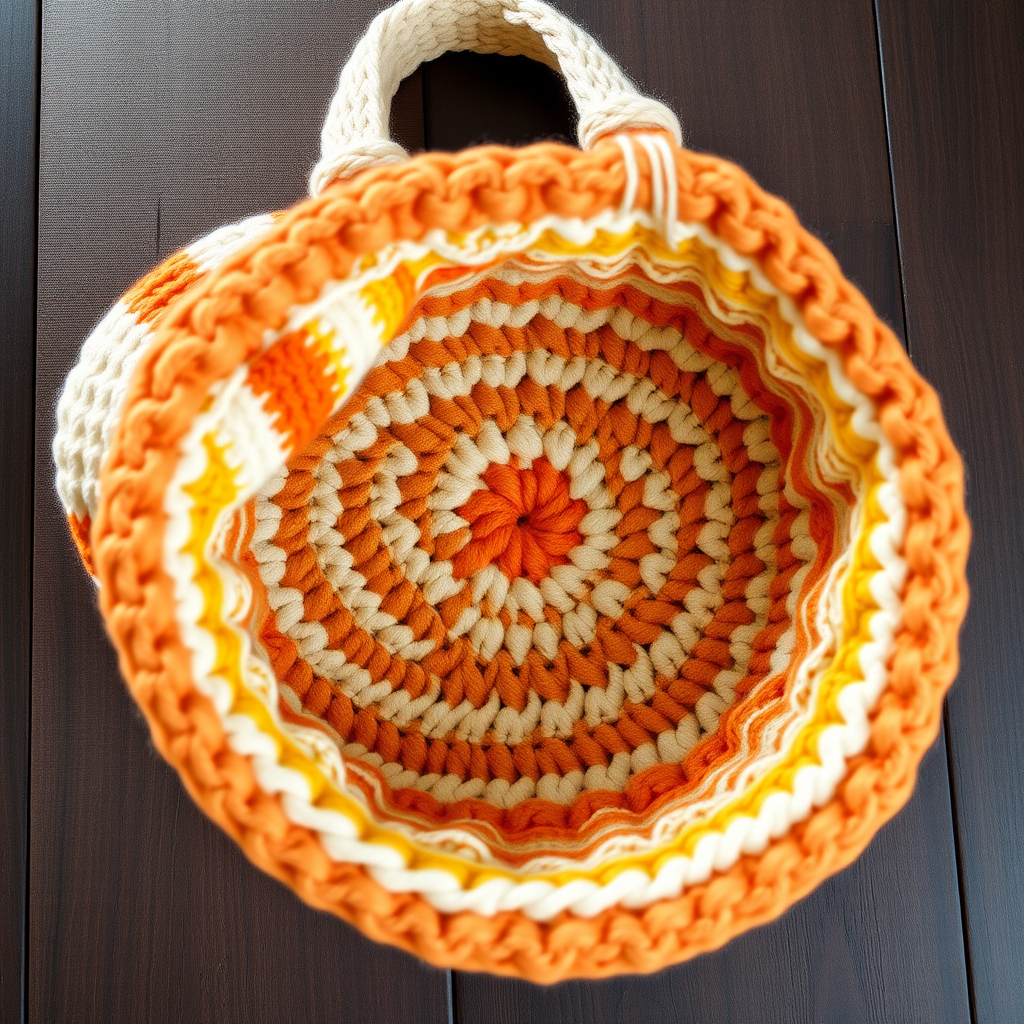
Round 1: With yarn A (Sand), make a magic ring. Ch 1 (does not count as a stitch), work 6 sc into the ring. Pull the tail to tighten the ring closed. Sl st to the first sc to join. (6 sts)
Round 2: Ch 1. Work 2 sc in each st around. Sl st to the first sc. (12 sts)
Round 3: Ch 1. *2 sc in next st, sc in next st*; repeat from * to * around. Sl st. (18 sts)
Round 4: Ch 1. *2 sc in next st, sc in next 2 sts*; repeat from * to * around. Sl st. (24 sts)
Round 5: Ch 1. *2 sc in next st, sc in next 3 sts*; repeat from * to * around. Sl st. (30 sts)
Round 6: Ch 1. *2 sc in next st, sc in next 4 sts*; repeat from * to * around. Sl st. (36 sts)
Round 7: Ch 1. *2 sc in next st, sc in next 5 sts*; repeat from * to * around. Sl st. (42 sts)
Round 8: Ch 1. *2 sc in next st, sc in next 6 sts*; repeat from * to * around. Sl st. (48 sts)
Round 9: Ch 1. *2 sc in next st, sc in next 7 sts*; repeat from * to * around. Sl st. (54 sts)
Round 10: Ch 1. *2 sc in next st, sc in next 8 sts*; repeat from * to * around. Sl st. (60 sts)
Round 11: Ch 1. Working in the back loops only, sc in each st around. Sl st to the first sc. (60 sts) This special row creates a crisp, defined edge for the base of your bag.
Rounds 12-25: Ch 1. Sc in each st around (through both loops). Sl st to join. (60 sts) Continue in this manner, changing colors as follows:
- Rounds 12-14: Yarn A (Sand)
- Rounds 15-17: Yarn B (Seafoam)
- Rounds 18-20: Yarn A (Sand)
- Rounds 21-23: Yarn C (Coral)
- Rounds 24-25: Yarn A (Sand)
When changing colors, do not cut the yarn you're not using; simply carry it up the inside of the bag and pick it up when needed. This will save you from weaving in many ends.
Round 26: Ch 1. Sc in each st around. Sl st to join. (60 sts) Do not fasten off. We will now create the strap.
Part 2: The Strap (Make 2)
We'll create two sturdy, narrow straps and attach them to the bag.
Row 1: With yarn A, ch 6. Sc in the 2nd ch from the hook and in each ch across. (5 sts)
Rows 2-60: Ch 1, turn. Sc in each st across. (5 sts) Repeat this row until the strap measures approximately 20 inches (50 cm) or your desired length.
Fasten off, leaving a long tail (at least 12 inches) for sewing the strap to the bag. Repeat to make a second strap.
Part 3: Finishing Touches
Now, let's assemble our masterpiece.
- Shape the Base: Fold the bag body flat so the side edges meet. Using a tapestry needle and yarn A, whip stitch the bottom corners closed (about 1 inch from each corner). This creates a flat, rectangular base for your bag to stand on.
- Attach the Straps: Position the straps on the inside of the bag, about 2 inches from the top edge and 1 inch from each side. Using the long tails, sew the straps securely to the bag. Make sure to sew through both the strap and the bag body, going back and forth a few times for extra strength.
- Weave in Ends: Using your tapestry needle, carefully weave in all loose yarn ends on the inside of the bag to keep the exterior clean and polished.
- Optional Closure: For added security, sew a button or magnetic snap at the top center of the bag.
And there you have it—your very own Driftwood Dune Crossbody Bag! A beautiful, textured accessory that brings a piece of the coast wherever you go. This pattern is a joy to make and even more fun to show off. Happy crocheting!