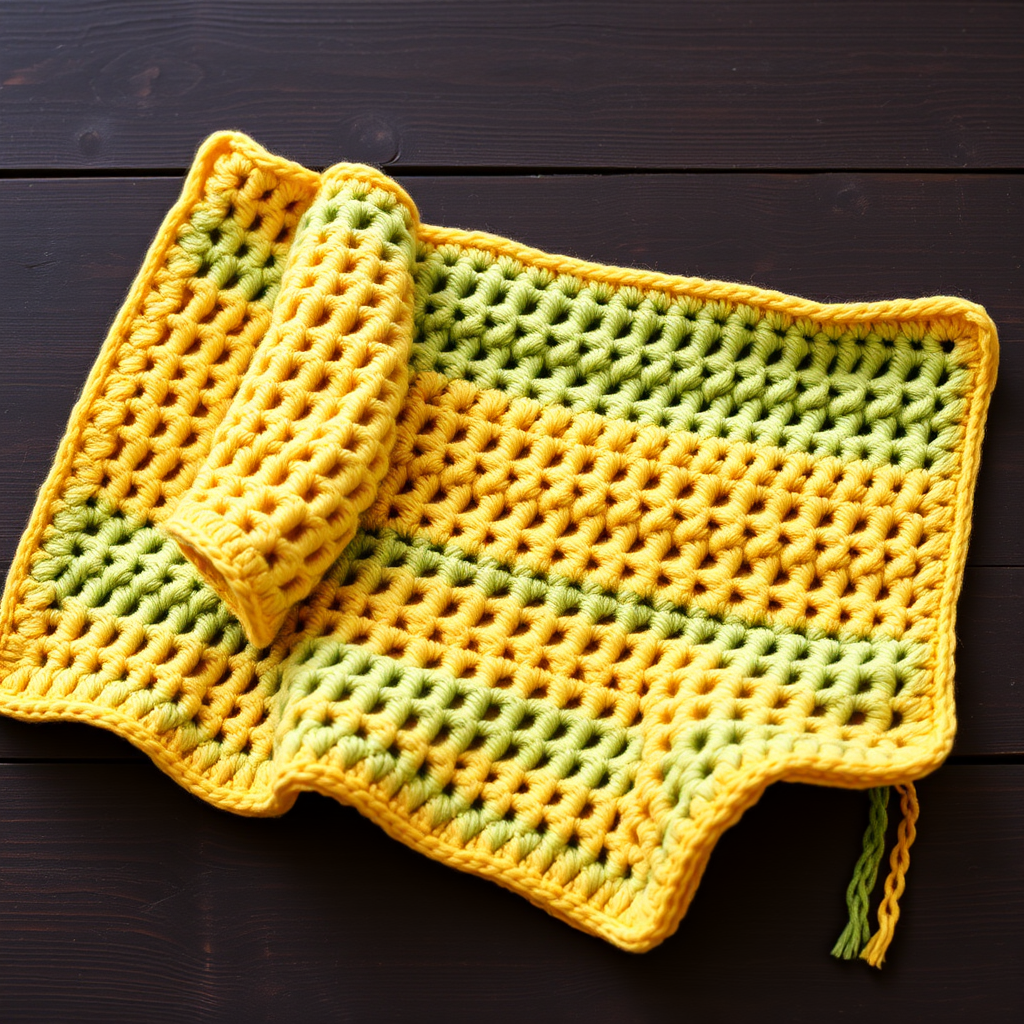
Drifting Dune Chevron Blanket Free Pattern – A Modern Crochet Wave Throw

Drifting Dune Chevron Blanket Free Pattern – A Modern Crochet Wave Throw
There’s something deeply soothing about the rhythmic motion of crochet—the gentle repetition of stitches that slowly transforms a simple strand of yarn into a work of art. The Drifting Dune Chevron Blanket captures that feeling perfectly. This modern crochet wave throw features a mesmerizing, sculptural pattern that ripples across the surface like warm desert sands shifting in the breeze. Despite its sophisticated look, this pattern is surprisingly simple, built on a one-row repeat that makes it an ideal mindless project for cozy evenings, movie marathons, or those moments when you just want to let your hands work while your mind wanders.
Whether you're a seasoned crocheter looking for a relaxing project or a beginner eager to try something new, this blanket delivers. The chevron waves create a beautiful, textured fabric that's both dense and plush, and the warm color palette of sand, terracotta, and cream brings a touch of desert elegance to any room. Let's dive into this delightful pattern and create something truly special.
Materials Needed
Before we begin, let's gather everything you'll need for this project. Having all your materials ready ensures a smooth, uninterrupted crafting session.
Yarn
- Weight: Worsted weight (#4) cotton or cotton-blend yarn
- Color A (Sand): Approximately 400-450 yards
- Color B (Terracotta): Approximately 400-450 yards
- Color C (Cream): Approximately 400-450 yards
Note: The exact yardage will depend on your desired blanket size. For a throw approximately 48" wide and 60" long, you'll need roughly 1,200-1,350 yards total. Always purchase a little extra to account for gauge variations and the border.
Hook and Notions
- Crochet Hook: 5.5 mm (I-9) crochet hook
- Tapestry Needle: For weaving in ends
- Scissors: For cutting yarn
- Stitch Markers (optional): Helpful for keeping track of your place, especially when working on a large project
Gauge
14 double crochet (dc) x 8 rows = 4 inches in pattern. Always check your gauge before starting. If your gauge is off, adjust your hook size accordingly—use a larger hook if your stitches are too tight, or a smaller hook if they're too loose. Getting the gauge right ensures your blanket turns out the correct size.
Step-by-Step Instructions
Now, let's get to the fun part! This pattern is built on a simple, repeatable structure that creates those beautiful chevron waves. Follow along carefully, and you'll be amazed at how quickly the pattern comes together.
Understanding the Pattern Structure
Before you start, it's helpful to understand the anatomy of this pattern. Each row consists of repeating sections that create the peaks and valleys of the chevron:
- The Increase: 3 double crochet in one stitch (creates the peak of the wave)
- The Decrease: Skip 2 stitches (creates the valley of the wave)
- The Straight Sections: 5 double crochet between increases and decreases
This combination of increases and decreases is what gives the blanket its signature zigzag wave pattern. Once you understand this rhythm, the pattern becomes almost meditative.
Getting Started: The Foundation Chain
To begin, you'll need to create a foundation chain that's a multiple of 12 + 2. For a throw approximately 48" wide, chain 122 stitches.
Step 1: Make a slip knot and place it on your 5.5 mm hook.
Step 2: Chain 122 stitches. Remember to keep your tension consistent—not too tight, not too loose. You want your chain to be even and relaxed.
Step 3: Count your chains carefully. It's easy to lose track, so consider placing a stitch marker every 20 chains to help you keep count.
Row 1: Establishing the Pattern
This first row sets up the entire pattern. Take your time and follow each step carefully.
Step 1: Double crochet (dc) in the 4th chain from your hook. The first 3 chains count as your first double crochet, so you now have 2 dc at the beginning of the row.
Step 2: Dc in the next 4 chains. You should now have 6 dc total (including the initial chain-3).
Step 3: Work 3 dc in the next chain. This is your increase, creating the first peak of your chevron. You'll have 3 dc coming out of a single chain.
Step 4: Dc in the next 5 chains. You're now working down the other side of the wave.
Step 5: Skip 2 chains. This creates the valley of your chevron. The skipped chains will form a small gap that gives the pattern its distinctive zigzag shape.
Step 6: Now you'll repeat the pattern: *Dc in the next 5 chains, 3 dc in the next chain, dc in the next 5 chains, skip 2 chains.* Repeat from * across the row.
Step 7: When you reach the end of the row, dc in the last chain. This final stitch ensures your edge stays straight.
Step 8: Turn your work.
Row 2 and All Subsequent Rows: The One-Row Repeat
Here's where the magic happens—every row from here on is worked identically. Once you master this row, you can crochet mindlessly while watching TV or chatting with friends.
Step 1: Chain 3. This counts as your first double crochet.
Step 2: Dc in the next 4 dc. You're working into the tops of the stitches from the previous row.
Step 3: Work 3 dc in the next dc. This is your increase, worked into the center stitch of the previous row's increase. This is what creates the peak of your wave.
Step 4: Dc in the next 5 dc.
Step 5: Skip 2 dc. You're skipping the two stitches that form the valley of the previous row's chevron.
Step 6: Repeat the pattern: *Dc in the next 5 dc, 3 dc in the next dc, dc in the next 5 dc, skip 2 dc.* Repeat from * across the row.
Step 7: At the end of the row, dc in the top of the turning chain from the previous row. This keeps your edge straight and even.
Step 8: Turn your work.
Pro Tip: As you work, you'll notice the pattern naturally forming. The increases create peaks that point upward, while the skipped stitches create valleys that dip downward. Trust the pattern—it will all come together beautifully!
Color Sequence: Creating the Dune Effect
The color changes are what give this blanket its stunning desert-inspired look. Follow this sequence for a beautiful, balanced design:
- Color A (Sand): Work 6 rows
- Color B (Terracotta): Work 6 rows
- Color C (Cream): Work 6 rows
Repeat this sequence until your blanket reaches your desired length. For a throw approximately 60" long, you'll need to work about 120 rows total. End with 6 rows of Color A to bookend the design symmetrically.
Changing Colors: When you're ready to change colors, work the last stitch of your current color until you have two loops left on your hook. Then, yarn over with the new color and pull through both loops to complete the stitch. This creates a clean color change with no gaps.
Managing Yarn Ends: You can either weave in ends as you go or carry them up the side of your work. For a cleaner finish, I recommend weaving in ends at the end. However, if you prefer to avoid a lot of end-weaving, you can carry the unused colors up the side of the blanket—just be sure to crochet over them or secure them neatly.
Finishing Touches: The Border
Once your blanket reaches your desired length, it's time to finish it off with a polished edge. The optional single crochet border in Color B (Terracotta) adds a beautiful frame that ties the whole design together.
Step 1: Fasten off your final stitch and weave in all loose ends using your tapestry needle. Take your time with this step—a well-finished blanket looks professional and lasts longer.
Step 2: Attach Color B (Terracotta) to any corner of your blanket with a slip stitch.
Step 3: Chain 1 (this counts as your first single crochet).
Step 4: Work single crochet evenly around the entire blanket. For the top and bottom edges, work one single crochet in each stitch. For the side edges, work approximately 1 single crochet per row (or 2 single crochet for every 3 rows, depending on your tension).
Step 5: At each corner, work 3 single crochet in the corner stitch to create a smooth, rounded turn.
Step 6: When you return to your starting point, slip stitch into the first single crochet to join.
Step 7: Fasten off and weave in the ends.
Final Thoughts and Care Instructions
Congratulations! You've created a stunning Drifting Dune Chevron Blanket. This modern wave throw is perfect for draping over a sofa, snuggling under on cool evenings, or giving as a heartfelt handmade gift.
Care Instructions: To keep your blanket looking its best, hand wash in cold water with a gentle detergent, or use the delicate cycle on your washing machine. Lay flat to dry to maintain the shape and texture of the chevron waves. Avoid wringing or twisting the blanket, as this can distort the pattern.
This pattern is wonderfully versatile—feel free to experiment with different color combinations to match your decor or personal style. You could try cool blues and grays for a coastal vibe, or rich jewel tones for a more dramatic look. The possibilities are endless!
Happy crocheting, and enjoy your beautiful new creation!