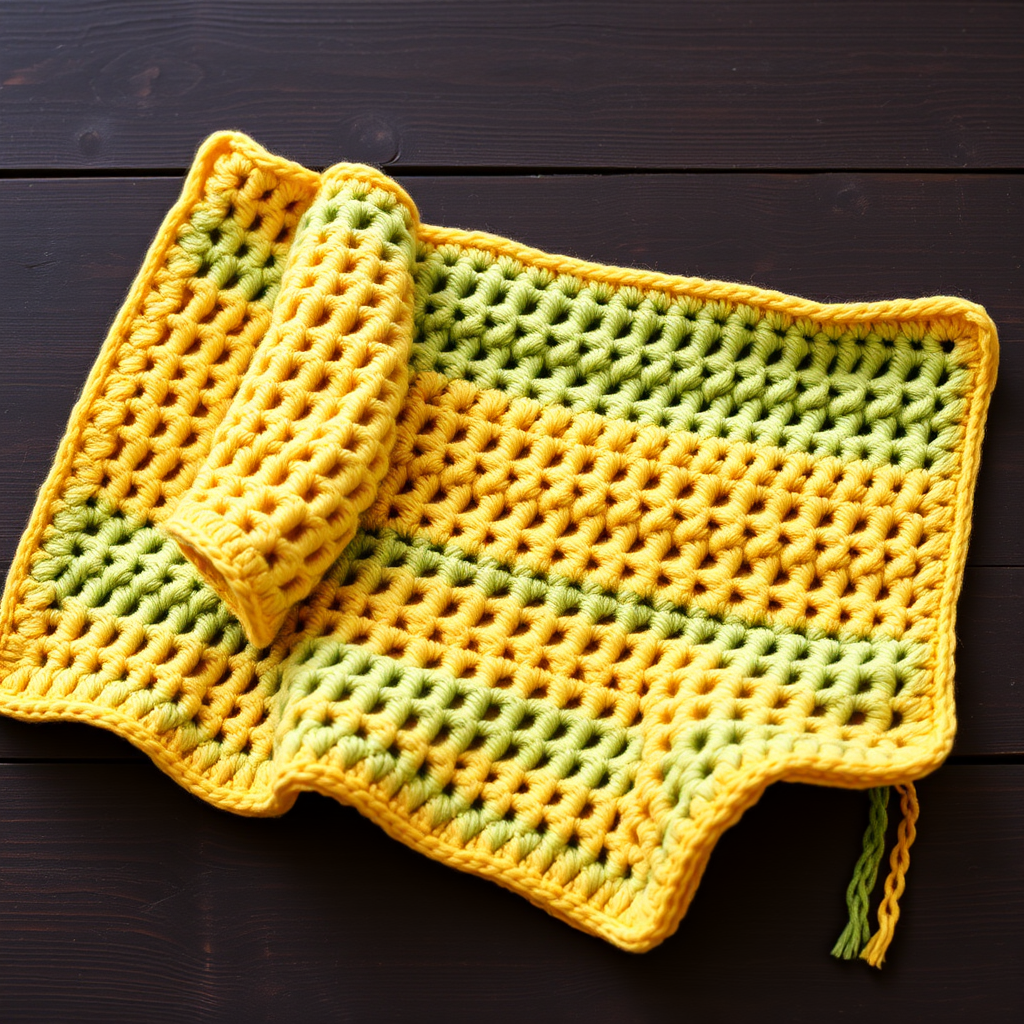
Aurora Waves Chevron Blanket Free Pattern – Textured Crochet with Gradient Yarn

Introducing the Aurora Waves Chevron Blanket
Wrap yourself in the cozy, flowing waves of the Aurora Waves Chevron Blanket—a stunning crochet project that uses a simple repeat to create a mesmerizing textured ripple. Perfect for snuggling on cool evenings, this blanket showcases a beautiful gradient color transition that adds depth and movement to any room. Whether you're a seasoned crocheter or a confident beginner looking for your next adventure, this pattern is designed to be both relaxing and rewarding. The rhythmic stitch repeat is easy to memorize, making it the perfect project for cozy evenings with a cup of tea.
The visual effect is truly breathtaking: the colors flow from deep teal through navy and dusty blue, finally melting into soft cream, mimicking the ethereal dance of the northern lights. The classic chevron ripple pattern creates distinct peaks and valleys, giving the blanket a wonderful, tactile texture that invites you to run your hands over it. This isn't just a blanket; it's a statement piece for your home decor, a handmade heirloom to be cherished.
Materials Needed
Before you begin, gather the following materials. Having everything ready will make your crochet session smooth and enjoyable.
Yarn
- Worsted weight yarn in 4 colors. The exact amounts depend on your desired size, but for a throw, you'll need approximately:
- Color A (Teal): 3 skeins (approx. 450 yards)
- Color B (Navy): 2 skeins (approx. 300 yards)
- Color C (Dusty Blue): 2 skeins (approx. 300 yards)
- Color D (Cream): 2 skeins (approx. 300 yards)
Hook and Notions
- 5.5 mm (I-9) crochet hook – This size is perfect for worsted weight yarn to achieve a nice, drapey fabric.
- Yarn needle for weaving in ends.
- Scissors.
- Stitch markers (optional, but helpful for marking peaks and valleys).
Gauge
14 double crochet (dc) x 8 rows = 4 inches (10 cm) in the pattern stitch. While gauge isn't critical for a blanket, it helps you estimate yarn usage and final size. If your blanket is larger or smaller than expected, adjust your hook size accordingly.
Step-by-Step Instructions
This pattern is worked in rows, back and forth. The stitch repeat is simple: you'll create "peaks" (3 dc in one stitch) and "valleys" (skipping 2 stitches). Let's break it down.
Foundation Row
- Chain (ch) a multiple of 14 + 2. For a throw-size blanket, chain 142.
- Work 1 double crochet (dc) in the 4th chain from the hook. The skipped chains count as your first double crochet.
- Work 1 dc in each of the next 5 chains. You now have 6 dc total (including the initial chain-3).
- Work 3 dc in the next chain. This creates your first peak.
- Work 1 dc in each of the next 6 chains.
- Skip 2 chains. This creates your first valley.
- Repeat from * to * across: Work 1 dc in each of the next 6 chains, 3 dc in the next chain (peak), 1 dc in each of the next 6 chains, skip 2 chains (valley).
- End the row: After your final valley, you should have 6 chains remaining. Work 1 dc in each of the next 5 chains, then work 2 dc in the last chain. This creates a half-peak at the edge, keeping your blanket straight.
- Turn your work.
Row 1 (and all subsequent rows)
- Chain 3 (this counts as your first double crochet).
- Work 1 dc in each of the next 5 dc.
- Work 3 dc in the next dc. This is your peak. Notice how you're working into the center stitch of the previous row's peak.
- Work 1 dc in each of the next 6 dc.
- Skip 2 dc. This is your valley. You are skipping the two stitches that form the "dip" of the chevron.
- Repeat from * to * across: Work 1 dc in each of the next 6 dc, 3 dc in the next dc (peak), 1 dc in each of the next 6 dc, skip 2 dc (valley).
- End the row: After your final valley, work 1 dc in each of the next 5 dc, then work 2 dc in the last dc (which is the top of the turning chain from the previous row).
- Turn your work.
Repeat Row 1 for the entire pattern. You will see the chevron waves forming beautifully. The key is to always work your 3-dc peak into the center stitch of the peak below, and always skip the 2 stitches directly above the valley below.
Creating the Gradient Effect
To achieve the stunning Aurora gradient, follow this color sequence. When you finish one color, simply fasten off and join the next color at the beginning of a row.
- Color A (Teal): Work 12 rows.
- Color B (Navy): Work 10 rows.
- Color C (Dusty Blue): Work 10 rows.
- Color D (Cream): Work 8 rows.
Repeat this color sequence (12 rows teal, 10 navy, 10 dusty blue, 8 cream) until your blanket reaches your desired length. For a standard throw, aim for approximately 60 inches in length. You can easily adjust this by working more or fewer color repeats.
Finishing Border
Once your blanket reaches the desired length, it's time to add a clean, polished edge.
- Do not turn your work. With the right side facing you, chain 1.
- Work 1 round of single crochet (sc) around the entire blanket. Work 1 sc in each dc across the top and bottom edges. Along the side edges, work 1 sc in the end of each row.
- At each corner, work 3 sc in the corner stitch. This ensures the corners lie flat and are nicely rounded.
- When you return to your starting point, slip stitch to the first sc to join.
- Fasten off and weave in all ends with your yarn needle.
And there you have it—a gorgeous, textured Aurora Waves Chevron Blanket! The combination of the rhythmic stitch pattern and the soothing gradient colors makes this a truly special project. Lay it over your favorite armchair, drape it on the end of your bed, or gift it to someone you love. Happy crocheting!