Crochet Sweater Patterns
Aubrey Easy Striped V Neck Sweater Free Pattern
Anonymous
•
July 18, 2026

Aubrey Easy Striped V Neck Sweater Free Pattern
Craft a cozy and stylish striped V-neck sweater with this easy-to-follow crochet pattern. Perfect for layering, this sweater combines comfort with a modern aesthetic. Whether you're a beginner or looking to refresh your skills, this pattern is designed to guide you through every step of the process.
Materials Needed
- Yarn: Worsted weight yarn in three colors (suggested colors: lavender, mint green, and cream)
- Crochet Hook: 5.5 mm crochet hook
- Gauge: 16 stitches and 20 rows = 4 inches in double crochet
Step-by-Step Instructions
1. Back Panel
- Start by making a slip knot and chaining 80 stitches (or your desired width).
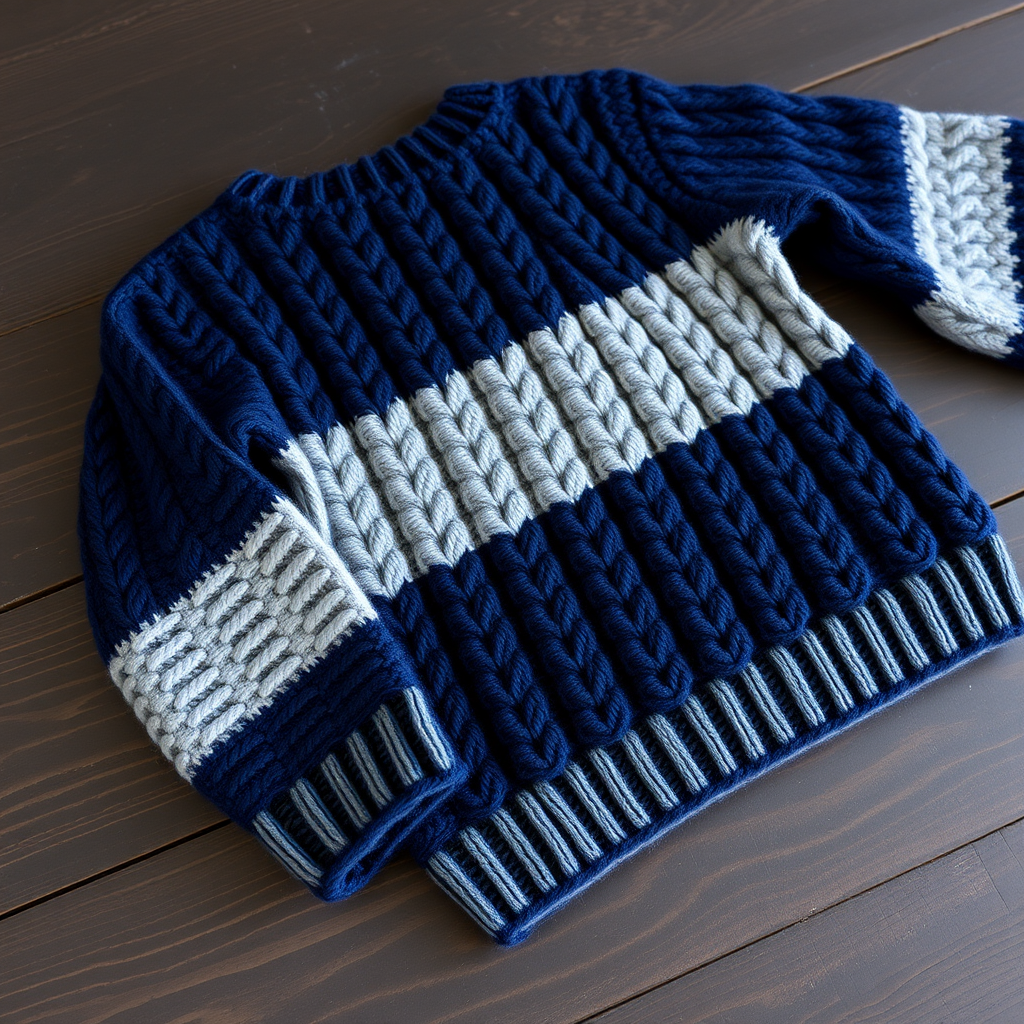
- Work in double crochet (dc) for 20 rows. To create the striped effect, alternate colors every 4 rows. For example, if you start with lavender, switch to mint green after 4 rows, then to cream after another 4 rows, and repeat.
2. Front Panel
- Chain 80 stitches just like the back panel.
- Work in double crochet for 10 rows. After 10 rows, begin the V-neck shaping:
- To shape the V-neck, decrease 1 stitch at the center of the row every row for the next 10 rows. This means you will crochet until you have 1 stitch left before the center, then skip the center stitch and continue crocheting the rest of the row.
- After completing the V-neck shaping, continue working in double crochet until the front panel matches the length of the back panel, ensuring to maintain the stripe pattern.
3. Sleeves
- For each sleeve, chain 40 stitches.
- Work in double crochet for 30 rows. To add some width to the sleeves, increase 1 stitch at each end of the row every 5 rows. This means that at the beginning of the row, you will add an extra dc stitch before your first stitch, and at the end of the row, you will add another dc stitch after your last stitch.
4. Assembly
- Once all pieces are completed, it's time to assemble your sweater. Start by sewing the shoulder seams of the back and front panels together.
- Next, attach the sleeves to the armholes of the body. Make sure to align the seams properly for a neat finish.
- Finally, sew the side seams of the sweater, ensuring that the body and sleeves are securely joined.
5. Finishing Touches
- To give your sweater a polished look, work a single crochet stitch around the neckline. This will create a neat edge and help prevent the neckline from stretching out.
- Weave in any loose ends with a yarn needle to tidy up your work.
Congratulations! You have successfully crocheted your very own Aubrey Easy Striped V Neck Sweater. Enjoy wearing your cozy creation or gift it to someone special!