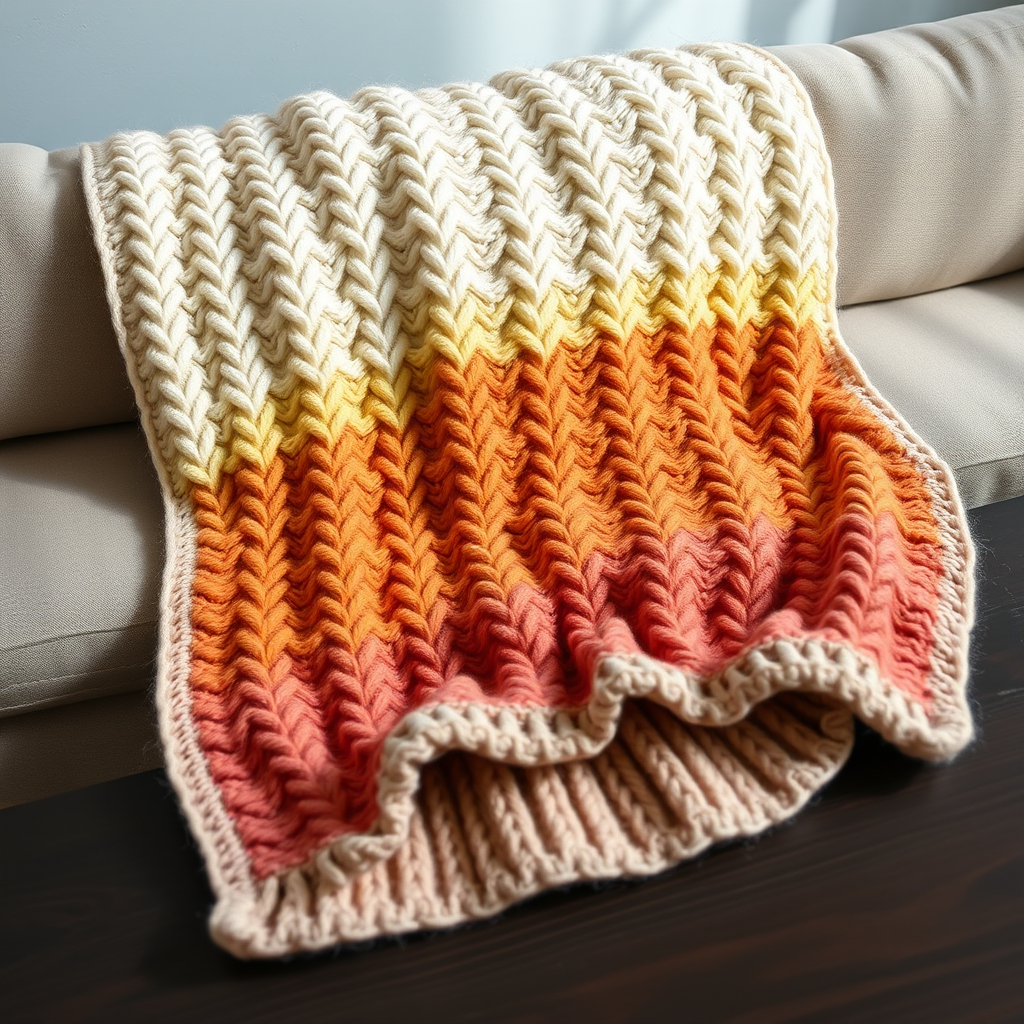
Willow Whorl Knitted Wall Basket Free Pattern – A Textured Boho Organizer

Willow Whorl Knitted Wall Basket Free Pattern – A Textured Boho Organizer
Bring warmth and organic texture to your walls with this hand-knitted basket, crafted in a spiral of soft cotton and wool blend yarn. Perfect for holding dried flowers, mail, or small treasures, it adds a cozy, artisanal touch to any room. This free pattern is designed for beginners and intermediate knitters alike, featuring simple knit and purl stitches that create a stunning, dense fabric. The Willow Whorl basket is not just a storage solution—it's a piece of art that brings the boho aesthetic into your home.
Materials Needed
Before you begin, gather the following materials to ensure a smooth knitting experience. All items are readily available at your local craft store or online.
- Yarn: Worsted weight cotton-wool blend (e.g., Lion Brand Wool-Ease) in natural cream, terracotta, and sage green – approximately 200g total. This blend provides the perfect balance of structure and softness.
- Knitting Needles: US 8 (5mm) knitting needles for the main body of the basket.
- Crochet Hook: US G/6 (4mm) crochet hook for finishing edges and creating the hanging loop.
- Gauge: 18 stitches and 24 rows = 4 inches in stockinette stitch (knit flat, before shaping). This gauge ensures the basket is dense and sturdy.
- Extras: Yarn needle for seaming and weaving in ends, scissors, and a bowl or container for shaping the finished basket.
Step-by-Step Instructions
This basket is knitted flat in a spiral pattern, then seamed and shaped. It uses a combination of knit and purl stitches to create a dense, sturdy fabric. Follow these detailed instructions carefully, and you'll have a beautiful basket in no time.
Abbreviations
- K = knit
- P = purl
- K2tog = knit two together (decrease)
- P2tog = purl two together (decrease)
- St(s) = stitch(es)
- RS = right side
- WS = wrong side
Base (Worked Flat)
The base of the basket is a simple rectangle that will later be folded and seamed to form the bottom. This section is worked entirely in stockinette stitch with the cream yarn.
- Cast On: With cream yarn, cast on 40 stitches using your preferred method (long-tail cast on works well).
- Row 1 (RS): Knit all stitches.
- Row 2 (WS): Purl all stitches.
- Repeat: Continue repeating Rows 1 and 2 until the piece measures 6 inches from the cast-on edge. This forms the base rectangle. End with a WS row.
Sides (Spiral Texture)
Now we'll create the beautiful spiral ribbed texture that gives the basket its name. This section uses a simple 2x2 rib pattern in horizontal bands of color.
- Switch to Terracotta: Attach the terracotta yarn.
- Row 1 (RS): *K2, P2*; repeat from * to end of row.
- Row 2 (WS): *P2, K2*; repeat from * to end of row. (This creates the ribbed texture.)
- Repeat: Continue repeating Rows 1 and 2 for 4 inches, ending with a WS row.
- Switch to Sage Green: Attach the sage green yarn and continue the same rib pattern (Rows 1 and 2) for another 4 inches, ending with a WS row.
- Switch Back to Cream: Attach the cream yarn and work in stockinette stitch (K on RS, P on WS) for 2 inches, ending with a WS row.
Shaping the Top (Gathered Opening)
This section decreases the stitch count to create the gathered top opening of the basket. Work these decreases carefully to maintain an even shape.
- Decrease Row 1 (RS): K2tog across all stitches. You will now have 20 stitches remaining.
- Next Row (WS): Purl all stitches.
- Decrease Row 2 (RS): K2tog across all stitches. You will now have 10 stitches remaining.
- Cut Yarn: Cut the yarn, leaving a long tail (at least 12 inches). Thread the tail through a yarn needle, then pass it through the remaining 10 stitches on the needle. Slip the stitches off the needle, pull the tail tight to gather the opening, and secure with a knot.
Finishing and Assembly
Now it's time to transform your flat piece into a three-dimensional basket. Take your time with the seaming to ensure a clean, professional finish.
- Fold and Seam: Fold the base rectangle in half so the cast-on edge and the side edges align, forming a square. Using the cream yarn and a mattress stitch, seam the bottom edges together. This creates the flat base of the basket.
- Turn Right Side Out: Turn the basket right side out. The ribbed sides will naturally spiral upward, creating the beautiful whorl effect.
- Reinforce the Top: Using the US G/6 (4mm) crochet hook and cream yarn, work a round of single crochet around the gathered top opening. This reinforces the edge and gives it a polished look. To do this, insert the hook into a stitch, yarn over, pull up a loop, yarn over, and pull through both loops on the hook. Repeat around the entire opening.
- Weave in Ends: Use the yarn needle to weave in all loose ends securely, trimming any excess yarn.
Shaping and Drying
This final step is crucial for achieving the perfect basket shape. The wet-blocking technique allows the fibers to relax and mold to your desired form.
- Wet the Basket: Lightly wet the entire basket with cool water. You can do this by submerging it briefly or using a spray bottle. Gently squeeze out excess water—do not wring.
- Shape: Place a bowl or container inside the basket to stretch it to the desired shape. The bowl should be slightly larger than the base to create the tapered, rounded look. Adjust the sides and top opening as needed.
- Dry Completely: Allow the basket to dry completely, which may take 24-48 hours. Once dry, the basket will hold its shape beautifully.
Optional Hanging Loop
To hang your basket on the wall, add a simple crochet loop to the back.
- Create the Loop: With the crochet hook and cream yarn, chain 20 stitches.
- Attach: Slip stitch to the back top edge of the basket to form a loop. Secure the yarn and weave in the ends.
Your Willow Whorl Knitted Wall Basket is now complete! Fill it with dried flowers, mail, or small treasures, and enjoy the warm, artisanal touch it brings to your space. This pattern is a wonderful way to practice your knitting skills while creating a functional piece of decor. Happy knitting!