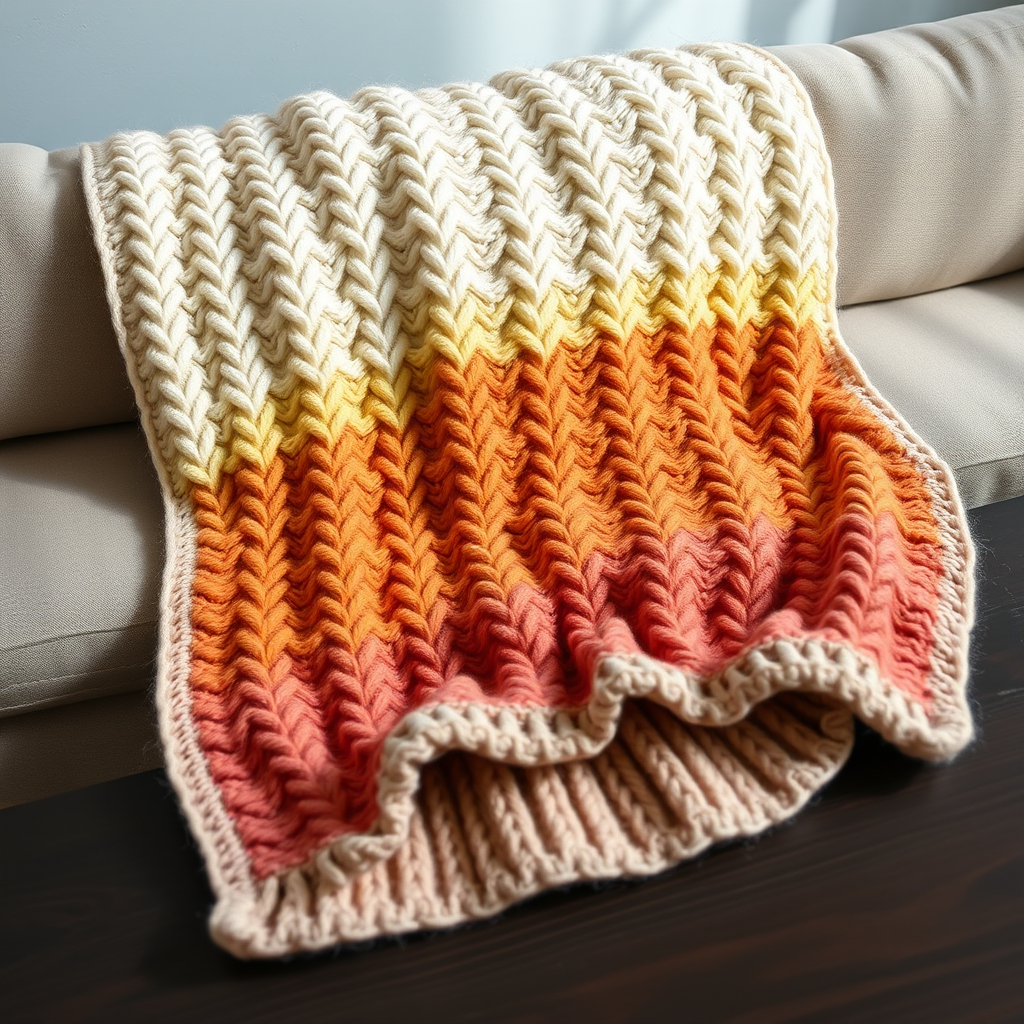
Aurora Borealis Driftwood Wall Hanging Free Knitting Pattern

Bring the Magic of the Northern Lights Into Your Home
Imagine capturing the ethereal, dancing colors of the aurora borealis and weaving them into a cozy, textured piece of art for your wall. With this free knitting pattern, you can create a stunning Aurora Borealis Driftwood Wall Hanging that brings a touch of bohemian elegance and natural warmth to any room. This project is perfect for intermediate beginners looking to expand their skills with colorwork, while still being simple enough for a determined novice. The result is a beautiful, textured panel that mimics the soft, wavy gradients of the night sky, mounted on a unique piece of driftwood for a rustic, organic finish.
This pattern uses the intarsia method to create bold, shifting color blocks. Don't let that scare you—it's simply a way to knit with multiple colors in one row, and we'll walk you through every step. The chunky yarn and large needles mean this project works up quickly, giving you near-instant gratification. Let's get started on creating your very own piece of sky-inspired art!
Materials Needed
Before you begin, gather your supplies. This project relies on a specific yarn weight to achieve the chunky, cozy look, so be sure to check your labels.
- Yarn: Lion Brand Wool-Ease Thick & Quick (super bulky, weight 6) in the following colors (approximately 1 skein each):
- Midnight Blue (A)
- Teal (B)
- Emerald (C)
- Golden Yellow (D)
- Cream (E)
- Knitting Needles: US 13 (9 mm) knitting needles. Straight needles are perfect for this project.
- Tapestry Needle: For weaving in ends and sewing the casing.
- Driftwood Branch: A sturdy, weathered branch approximately 24-26 inches long. The width of your finished piece will be about 24 inches, so your branch should be slightly wider.
- Scissors: For cutting yarn.
- Optional: A nail or wall hook for hanging.
Gauge
To ensure your wall hanging is the correct size, it's important to check your gauge. In garter stitch (knitting every row), the gauge is 8 stitches and 10 rows = 4 inches. Use this to adjust your needle size if needed to achieve the correct tension.
Step-by-Step Instructions
This beautiful wall hanging is knitted in one piece from the bottom up. We'll use the intarsia method for the color blocks, which means you'll have separate balls of yarn for each section. The key to a professional finish is twisting the yarns together at every color change to prevent holes from forming. Let's begin!
Knitted Panel
Foundation:
Row 1 (RS): With Midnight Blue (A), cast on 30 stitches.
Base Section (Midnight Blue):
Rows 2-10: Knit all stitches in Midnight Blue (A). This creates a solid garter stitch base for your hanging.
First Color Transition (Teal & Midnight Blue):
Row 11: Switch to Teal (B). Knit 10 stitches in Teal (B), 10 stitches in Midnight Blue (A), 10 stitches in Teal (B). Remember to twist the yarns at each color change.
Rows 12-20: Continue in garter stitch, maintaining the color pattern. On each Right Side (RS) row, you will shift the color blocks by 2 stitches to create a diagonal movement. Here is the breakdown for these rows:
- Row 13 (RS): Knit 8 Teal (B), 14 Midnight Blue (A), 8 Teal (B).
- Row 15 (RS): Knit 6 Teal (B), 18 Midnight Blue (A), 6 Teal (B).
- Row 17 (RS): Knit 4 Teal (B), 22 Midnight Blue (A), 4 Teal (B).
- Row 19 (RS): Knit 2 Teal (B), 26 Midnight Blue (A), 2 Teal (B).
Note: For the Wrong Side (WS) rows (12, 14, 16, 18, 20), simply knit the stitches as they appear to you, following the same color pattern from the previous row.
Second Color Transition (Emerald & Teal):
Row 21: Switch to Emerald (C). Knit 10 stitches in Emerald (C), 10 stitches in Teal (B), 10 stitches in Emerald (C).
Rows 22-30: Continue in garter stitch, shifting the color blocks by 2 stitches each RS row to create the opposite diagonal movement.
- Row 23 (RS): Knit 8 Emerald (C), 14 Teal (B), 8 Emerald (C).
- Row 25 (RS): Knit 6 Emerald (C), 18 Teal (B), 6 Emerald (C).
- Row 27 (RS): Knit 4 Emerald (C), 22 Teal (B), 4 Emerald (C).
- Row 29 (RS): Knit 2 Emerald (C), 26 Teal (B), 2 Emerald (C).
Third Color Transition (Golden Yellow & Emerald):
Row 31: Switch to Golden Yellow (D). Knit 10 stitches in Golden Yellow (D), 10 stitches in Emerald (C), 10 stitches in Golden Yellow (D).
Rows 32-40: Continue in garter stitch, shifting the color blocks by 2 stitches each RS row.
- Row 33 (RS): Knit 8 Golden Yellow (D), 14 Emerald (C), 8 Golden Yellow (D).
- Row 35 (RS): Knit 6 Golden Yellow (D), 18 Emerald (C), 6 Golden Yellow (D).
- Row 37 (RS): Knit 4 Golden Yellow (D), 22 Emerald (C), 4 Golden Yellow (D).
- Row 39 (RS): Knit 2 Golden Yellow (D), 26 Emerald (C), 2 Golden Yellow (D).
Final Section (Cream):
Row 41: Switch to Cream (E). Knit all 30 stitches in Cream (E).
Rows 42-50: Knit all stitches in Cream (E) (garter stitch).
Bind Off: Bind off all 30 stitches loosely. This prevents the top edge from being too tight when you attach it to the driftwood.
Finishing Touches
Now that your panel is complete, it's time to turn it into a beautiful wall hanging.
- Weave in Ends: Using your tapestry needle, carefully weave in all loose yarn ends on the wrong side (back) of the panel. Make sure they are secure and hidden.
- Attach to Driftwood: Lay the knitted panel flat with the right side facing you. Place the driftwood branch horizontally along the top edge of the panel. Fold the top edge of the fabric over the branch, creating a casing of about 1 inch. Ensure the fold is even across the entire width.
- Sew the Casing: Thread your tapestry needle with a length of Cream or Midnight Blue yarn. Sew the folded edge down securely to the back of the panel, creating a neat casing that the branch slides through. Make sure your stitches are secure but not too tight, so the fabric isn't puckered.
- Add Fringe (Optional): For an extra bohemian touch, cut several 12-inch lengths of yarn in the various colors. Fold each strand in half, and using a crochet hook or your fingers, pull the loop through a stitch along the bottom edge of the panel. Pull the ends through the loop and tighten to create a fringe. Alternate the colors to match the gradient of your panel.
- Hang Your Art: Finally, place a nail or hook in your wall and simply rest the driftwood branch on it. The natural texture of the wood will hold it securely in place.
Congratulations! You've just created a stunning, one-of-a-kind piece of knitted wall art. The soft, chunky texture and mesmerizing colors will bring a sense of calm and wonder to your space, just like the real aurora borealis. Enjoy your new cozy, bohemian decor!