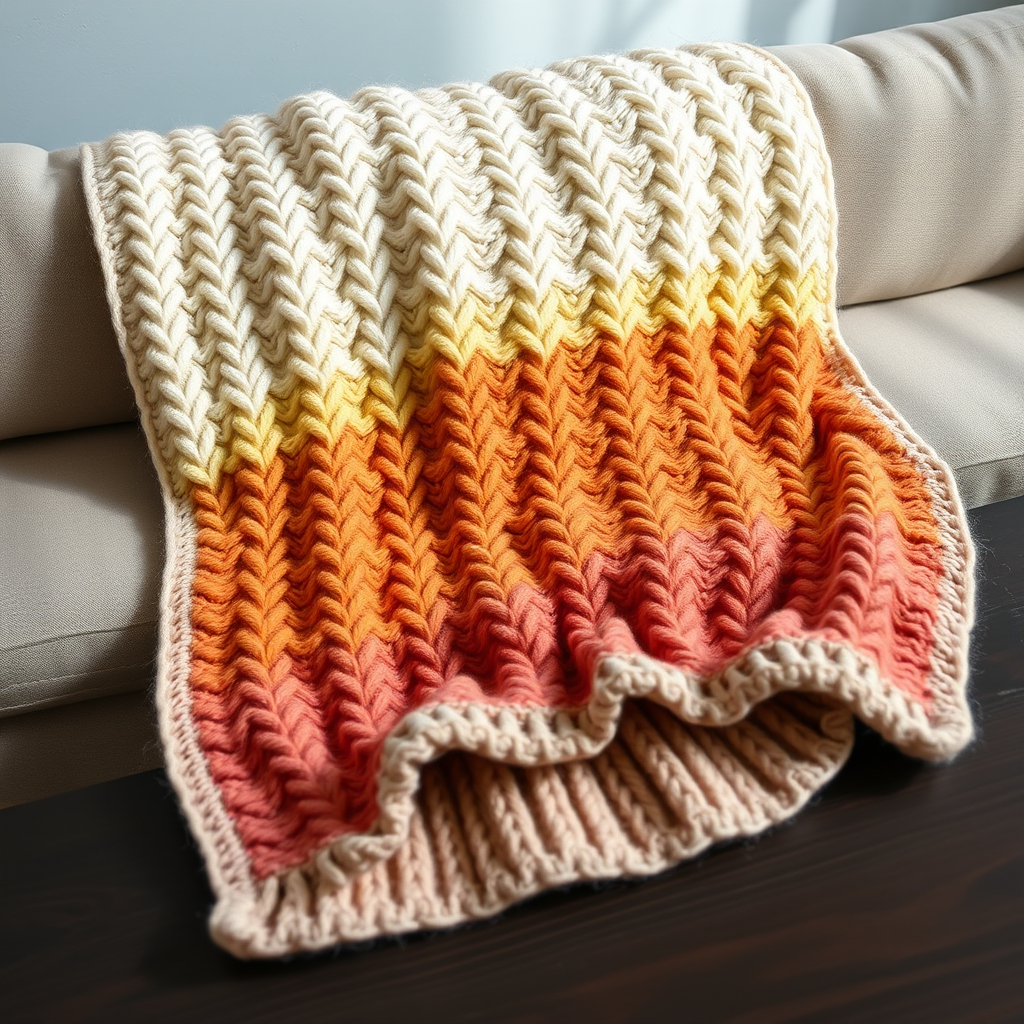
The Enchanted Orchard Harvest Wreath Free Pattern – A Knitted Foliage and Fruit Door Decoration

The Enchanted Orchard Harvest Wreath: A Free Knitted Foliage & Fruit Door Decoration
Bring the cozy charm of a fall orchard to your front door with this lush, knitted wreath adorned with textured leaves, acorns, and miniature apples. It's a warm, handmade welcome that celebrates the season's bounty. This free pattern is perfect for intermediate knitters looking for a rewarding project, and even confident beginners can tackle it with patience. The result is a stunning, dimensional piece of home decor that will make your entryway the envy of the neighborhood.
This project is wonderfully versatile. The rich autumnal palette of rust, burnt orange, mustard yellow, olive green, deep burgundy, and warm brown creates a vibrant, textured display. Because the gauge is flexible, you can use any worsted weight yarn you have on hand, making it a great stash-busting project. Let's dive into creating this heirloom-quality decoration.
Materials Needed
Before you begin, gather all your materials. Having everything ready will make the process smooth and enjoyable.
- Yarn: Worsted weight yarn in autumn tones: rust (A), burnt orange (B), mustard yellow (C), olive green (D), deep burgundy (E), and warm brown (F). Approx. 200g total. (You can substitute any worsted weight yarn in similar colors.)
- Knitting Needles: US Size 7 (4.5 mm) knitting needles.
- Crochet Hook: US Size G/6 (4.0 mm) crochet hook for acorn caps and stems.
- Tapestry Needle: For sewing pieces together and weaving in ends.
- Wreath Form: 12-inch (30 cm) foam or wire wreath form.
- Hot Glue Gun & Glue Sticks: For secure attachment of pieces.
- Scissors: For cutting yarn.
- Yarn Scraps: For stuffing the apples, acorns, and berries.
Abbreviations
- CO: Cast on
- K: Knit
- P: Purl
- K2tog: Knit two together (decrease)
- SSK: Slip, slip, knit (decrease)
- YO: Yarn over (increase)
- M1: Make one (increase)
- St(s): Stitch(es)
- Rep: Repeat
- Rnd: Round
- Ch: Chain
- Sc: Single crochet
- Sl st: Slip stitch
Step-by-Step Instructions
This pattern is broken down into five parts. Work through each part, creating all the individual components before assembling your wreath. This makes the final assembly quick and enjoyable.
Part 1: Knitted Leaves (Make 12-15 Leaves in Various Colors)
These textured leaves are the foundation of your wreath. Make them in a variety of colors (A, B, C, D, or E) for a rich, organic look.
- Using your knitting needles and chosen leaf color, CO 3 sts.
- Row 1: K1, YO, K1, YO, K1 (5 sts).
- Row 2: P all sts.
- Row 3: K2, YO, K1, YO, K2 (7 sts).
- Row 4: P all sts.
- Row 5: K3, YO, K1, YO, K3 (9 sts).
- Row 6: P all sts.
- Row 7: K4, YO, K1, YO, K4 (11 sts).
- Row 8: P all sts.
- Row 9: K2, K2tog, K1, SSK, K1, K2tog, K2 (8 sts). This begins the leaf's taper.
- Row 10: P all sts.
- Row 11: K1, K2tog, K1, SSK, K2 (6 sts).
- Row 12: P all sts.
- Row 13: K1, K2tog, SSK, K1 (4 sts).
- Row 14: P all sts.
- Row 15: K2tog, SSK (2 sts).
- Row 16: K2tog, fasten off, leaving a long tail for sewing.
Tip: Weave in ends or use the long tails to attach leaves to the wreath. The natural curling of the stockinette stitch adds wonderful dimension.
Part 2: Knitted Acorns (Make 8-10 Acorns)
These adorable acorns add a whimsical touch. They consist of a knitted body and a crocheted cap.
Acorn Body (Using Color E or B)
- CO 6 sts.
- Row 1: K all sts.
- Row 2: K1, M1, K4, M1, K1 (8 sts).
- Row 3: K all sts.
- Row 4: K1, M1, K6, M1, K1 (10 sts).
- Row 5: K all sts.
- Row 6: K1, M1, K8, M1, K1 (12 sts).
- Rows 7-10: K all sts (stockinette).
- Row 11: K2tog across (6 sts).
- Row 12: K2tog across (3 sts).
- Cut yarn, thread through remaining sts, pull tight, and sew the side seam to form a small pouch. Stuff lightly with yarn scraps. Leave a small opening.
Acorn Cap (Using Crochet Hook and Color F)
- Make a magic ring, ch 1, work 6 sc into ring. Pull tight.
- Rnd 2: 2 sc in each st around (12 sc). Sl st to join, fasten off, leaving a tail.
- Sew the cap onto the top of the acorn body, wrapping the cap edge slightly over the body.
- Add a small crochet stem: ch 4, sl st into the top of the cap, fasten off.
Part 3: Knitted Apples (Make 6-8 Apples)
Plump, round apples are the stars of this wreath. Use deep burgundy (E) or rust (A) for a rich contrast against the leaves.
- Using color E or A, CO 6 sts.
- Row 1: K all sts.
- Row 2: K1, M1, K4, M1, K1 (8 sts).
- Row 3: K all sts.
- Row 4: K1, M1, K6, M1, K1 (10 sts).
- Rows 5-8: K all sts (stockinette).
- Row 9: K2tog across (5 sts).
- Row 10: K2tog, K1, K2tog (3 sts).
- Cut yarn, thread through remaining sts, pull tight, and sew the side seam to form a round pouch. Stuff firmly with yarn scraps to create a plump apple shape. Sew the bottom closed.
Apple Stem and Leaf
- Stem: Using crochet hook and color F, ch 5, fasten off, and sew to the top of the apple.
- Leaf: Using knitting needles and color D, CO 3 sts, work 4 rows of stockinette, then K2tog, K1, K2tog, fasten off. Sew the leaf next to the stem.
Part 4: Knitted Berries (Make 10-12 Small Berries)
These tiny berries add pops of color and fill in gaps beautifully. Use color E or B.
- CO 4 sts.
- Row 1: K all sts.
- Row 2: K1, M1, K2, M1, K1 (6 sts).
- Rows 3-4: K all sts.
- Row 5: K2tog across (3 sts).
- Cut yarn, thread through remaining sts, pull tight, and sew the side seam to form a tiny ball. Stuff lightly. Sew closed.
Part 5: Assembly
Now for the fun part—bringing your wreath to life! Take your time to arrange the pieces beautifully.
- Arrange: Lay out your knitted leaves, acorns, apples, and berries around the wreath form in a balanced, organic pattern. Play with color placement to create visual interest. Don't be afraid to move things around until you're happy with the layout.
- Attach: Using the long tails from each piece, sew them securely onto the wreath form. For extra security, use hot glue to attach the pieces firmly. This ensures they will stay put even in windy weather.
- Layer: Continue layering pieces until the wreath is lush and full. Overlap leaves and tuck berries and acorns into gaps. The goal is to completely cover the wreath form.
- Adjust: Once all pieces are attached, step back and assess your work. Look for any sparse areas and add extra leaves or berries as needed to create a balanced, abundant look.
- Hanging Loop: To hang, attach a loop of yarn or ribbon to the back of the wreath form. A simple knot or a few stitches will do.
- Display: Display on your door, wall, or as a centerpiece with a candle inside. This wreath is sure to be a conversation starter!
Your Enchanted Orchard Harvest Wreath is now complete! This handmade piece brings the warmth and beauty of autumn into your home. Enjoy the compliments and the cozy feeling it brings every time you walk through the door.