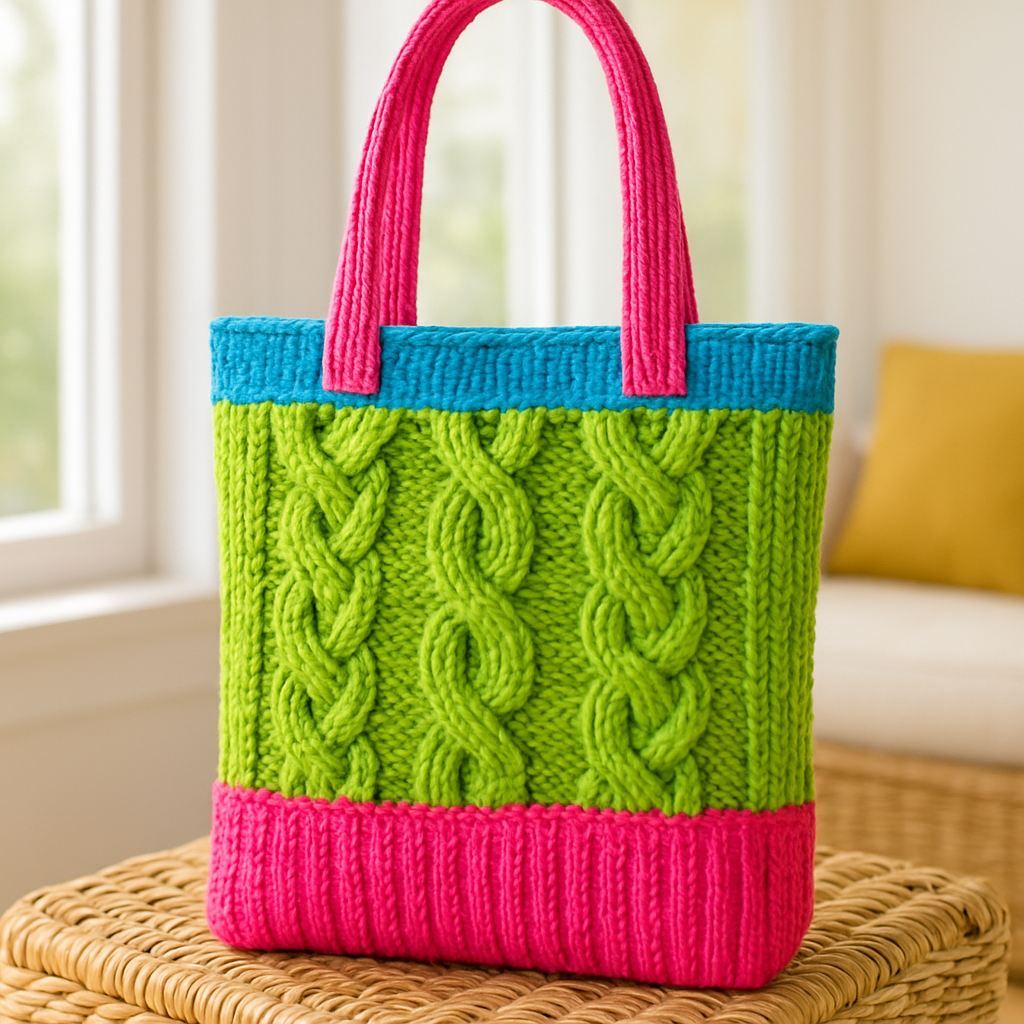
The Dune Drifter Crossbody Tote Free Pattern – A Knitted Textured Sand-and-Sea Bag

The Dune Drifter Crossbody Tote Free Pattern – A Knitted Textured Sand-and-Sea Bag
Carry a piece of the shoreline with you wherever you go! The Dune Drifter Crossbody Tote is a stunning knitted bag that captures the essence of a peaceful beach day. Featuring a mesmerizing wave stitch that mimics gentle ocean ripples, this tote is worked in warm sand, soft seafoam, and driftwood tones that evoke sun-bleached shores and tranquil tides. Whether you're heading to the beach, strolling through a local market, or simply running daily errands, this hands-free crossbody bag is the perfect companion. Best of all, this free pattern is beginner-friendly and creates a soft, slightly slouchy, organic shape that feels beautifully handmade.
Materials Needed
Before you begin, gather the following supplies. All materials are readily available at your local yarn shop or online.
- Yarn: Worsted weight cotton yarn (e.g., Lion Brand 24/7 Cotton) in three colors:
- Sand (Color A) – approximately 250g (about 5 balls)
- Seafoam (Color B) – approximately 100g (about 2 balls)
- Driftwood (Color C) – approximately 100g (about 2 balls)
- Needles: US 7 (4.5 mm) knitting needles
- Notions: Tapestry needle for weaving in ends and seaming, scissors, stitch markers (optional)
- Optional: Fabric for lining (about 1/2 yard) and matching thread if you want extra durability
Gauge: 20 stitches and 28 rows = 4 inches in stockinette stitch (after blocking). Be sure to check your gauge to ensure your bag turns out the correct size.
Step-by-Step Instructions
This pattern is worked flat in one large rectangle, then seamed at the sides. The wave stitch creates a beautiful textured pattern that is surprisingly simple once you get the hang of it. Follow along carefully, and you'll have a gorgeous tote in no time.
Bag Body (Worked Flat, Then Seamed)
Foundation: With yarn A (Sand), cast on 40 stitches.
Rows 1–4: Work in garter stitch (knit every row). This creates a sturdy, non-curling base for your bag.
Row 5 (right side): Begin the wave stitch pattern. This is where the magic happens!
- Knit 4 (edge stitches), then repeat the following sequence until the last 4 stitches: k2tog, k2tog, (yo, k1) 4 times, yo, k2tog, k2tog. Finish with knit 4.
Row 6 (wrong side): Purl all stitches.
Row 7 (right side): Knit all stitches.
Row 8 (wrong side): Purl all stitches.
Row 9 (right side): Knit 4, then repeat the following sequence until the last 4 stitches: k1, (yo, k1) 4 times, yo, k2tog, k2tog, k2tog, k2tog. Finish with knit 4.
Row 10 (wrong side): Purl all stitches.
Row 11 (right side): Knit all stitches.
Row 12 (wrong side): Purl all stitches.
Repeat Rows 5–12 to continue the wave pattern. The combination of yarn overs and knit-two-togethers creates the undulating wave effect that makes this bag so special.
Stripe Sequence
Follow this color sequence to create the beautiful sand-and-sea striping. Each "repeat" refers to completing Rows 5–12 of the wave pattern once.
- With yarn A (Sand): Work 4 repeats of the wave pattern (32 rows total).
- Switch to yarn B (Seafoam): Work 2 repeats (16 rows).
- Switch to yarn C (Driftwood): Work 2 repeats (16 rows).
- Switch to yarn A (Sand): Work 4 repeats (32 rows).
- Switch to yarn B (Seafoam): Work 2 repeats (16 rows).
- Switch to yarn C (Driftwood): Work 2 repeats (16 rows).
- Switch to yarn A (Sand): Work 4 repeats (32 rows).
When changing colors, simply tie off the old color and start the new one at the beginning of a right-side row. Weave in ends as you go or leave them for the finishing step.
Top Edge
With yarn A (Sand), work 6 rows in garter stitch (knit every row). This creates a clean, sturdy top edge for your bag. Bind off loosely so the edge doesn't pucker.
Finishing the Bag Body
Fold the rectangle in half with right sides together, matching the cast-on and bind-off edges. The fold will become the bottom of your bag. Using a tapestry needle and a length of yarn A, sew the side seams using a mattress stitch. Leave the top open. Turn the bag right side out.
Straps (Make 2)
With yarn A (Sand), cast on 8 stitches. Work in stockinette stitch (knit on right side, purl on wrong side) for 24 inches, or until the strap reaches your desired length. For a crossbody bag, 24 inches is a good starting point—you can make them longer or shorter depending on your preference. Bind off.
Attach one end of each strap to the inside of the bag at the side seams, about 1 inch down from the top edge. Sew securely using a tapestry needle and yarn A. Make sure the straps are evenly placed so the bag hangs straight.
Weave in All Ends
Using your tapestry needle, weave in all loose ends carefully. Trim any excess yarn. This step is essential for a polished, professional finish.
Optional Lining
For extra durability and to prevent small items from slipping through the stitches, you can add a fabric lining. Cut a piece of fabric to fit the inside of the bag (about 14 inches wide by 16 inches tall, depending on your gauge). Sew the fabric into a bag shape with right sides together, leaving the top open. Place the lining inside the knitted bag and hand-stitch it to the top edge using a needle and thread. This is a lovely touch that makes the bag even more functional.
Your Dune Drifter Awaits
Congratulations! You've just created your very own Dune Drifter Crossbody Tote. This bag is as beautiful as it is practical—perfect for carrying your beach essentials, market finds, or everyday items. The textured wave stitch and coastal color palette make it a standout accessory that you'll reach for again and again. Share your creation with friends and family, and enjoy the compliments that are sure to come your way. Happy knitting!