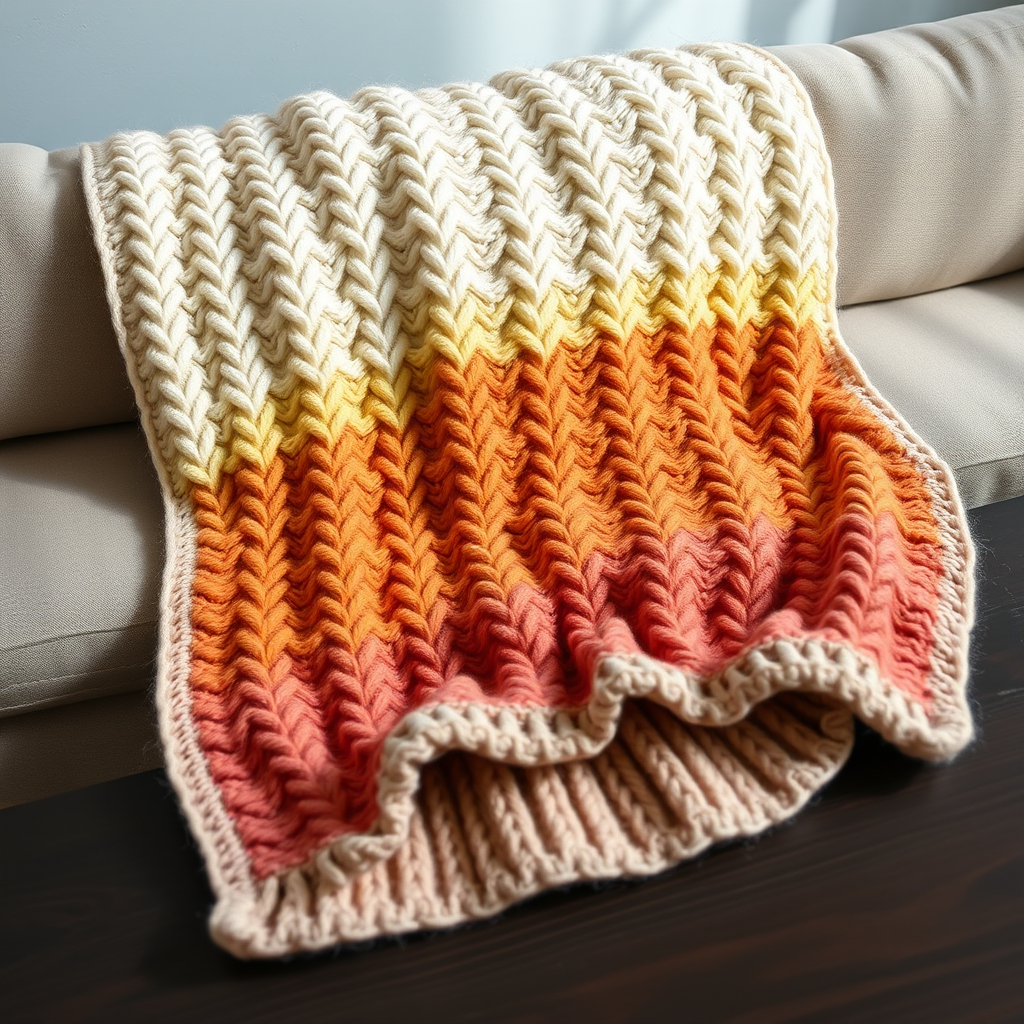
The Alpine Aurora Chunky Knit Throw Pillow Free Pattern – A Textured Nordic Dream

The Alpine Aurora Chunky Knit Throw Pillow Free Pattern – A Textured Nordic Dream
Bring the cozy magic of a snowy mountain cabin into your living room with this plush, textured knit pillow cover. The intricate cable and bobble pattern creates a stunning Nordic-inspired design that is both luxurious and inviting. Whether you're curling up with a good book or hosting a hygge-inspired gathering, this chunky throw pillow adds warmth, depth, and handcrafted charm to any space. Best of all, this free pattern is beginner-friendly with clear instructions—so grab your needles and let's get started!
Materials Needed
Before you begin, gather the following supplies. Using the exact materials will ensure your pillow matches the intended size and texture, but feel free to substitute with similar super bulky yarns if needed.
- Yarn: Super bulky weight yarn (size 6), approximately 250–300 yards in a soft cream/off-white (e.g., Lion Brand Wool-Ease Thick & Quick in "Fisherman")
- Knitting Needles: US 13 (9 mm) straight needles
- Cable Needle: For C4F and C4B maneuvers
- Tapestry Needle: For weaving in ends and seaming
- Buttons: 2 large decorative buttons (approx. 1 inch diameter) for the envelope closure
- Pillow Form: 16x16 inch insert
Gauge: 8 stitches and 10 rows = 4 inches in stockinette stitch (blocked). Always knit a swatch to confirm your gauge—this ensures your pillow cover fits the form perfectly.
Step-by-Step Instructions
This pattern creates a 16x16 inch pillow cover with a cable and bobble motif. It is knitted flat and seamed, with a buttoned envelope closure on the back. The front panel features the stunning Alpine Aurora design, while the back is a smooth stockinette with a garter border and two buttonholes.
Abbreviations
- CO: Cast on
- K: Knit
- P: Purl
- C4F: Slip 2 stitches to cable needle, hold in front, knit 2, knit 2 from cable needle
- C4B: Slip 2 stitches to cable needle, hold in back, knit 2, knit 2 from cable needle
- MB (Make Bobble): (K1, P1, K1, P1, K1) into same stitch, then pass the 2nd, 3rd, 4th, and 5th stitches over the 1st stitch (one bobble made)
- K2tog: Knit 2 stitches together
- SSK: Slip, slip, knit (decrease)
- BO: Bind off
- YO: Yarn over
Front Panel (Make 1)
CO 40 stitches.
Rows 1–4 (Garter Border): Knit all stitches.
Row 5 (Right Side): K4 (border), P2, K6, P2, K12 (center cable section), P2, K6, P2, K4 (border).
Row 6 (Wrong Side): K4, K2 (knit the purl stitches from previous row), P6, K2, P12, K2, P6, K2, K4.
Row 7: K4, P2, C4F, C4B, P2, K12, P2, C4F, C4B, P2, K4.
Row 8: Repeat Row 6.
Row 9: K4, P2, K6, P2, K12, P2, K6, P2, K4.
Row 10: Repeat Row 6.
Row 11: K4, P2, K6, P2, K3, MB, K4, MB, K3, P2, K6, P2, K4.
Row 12: Repeat Row 6.
Row 13: Repeat Row 9.
Row 14: Repeat Row 6.
Row 15: K4, P2, C4B, C4F, P2, K12, P2, C4B, C4F, P2, K4.
Row 16: Repeat Row 6.
Row 17: Repeat Row 9.
Row 18: Repeat Row 6.
Rows 19–20: Repeat Rows 11–12.
Rows 21–22: Repeat Rows 13–14.
Row 23: Repeat Row 15.
Row 24: Repeat Row 6.
Rows 25–28: Repeat Rows 5–6.
Rows 29–32 (Garter Border): Knit all stitches.
BO all stitches loosely.
Back Panel (Make 1)
CO 40 stitches.
Rows 1–4: Knit all stitches (garter border).
Row 5: K4, P32, K4.
Row 6: K4, K32, K4 (knit all stitches).
Repeat Rows 5–6 until piece measures 12 inches from cast-on edge, ending with a Row 6.
Next Row (Buttonhole Row): K4, P2, K2tog, YO (yarn over), P2, K22, P2, K2tog, YO, P2, K4. (This creates two buttonholes.)
Continue in pattern (Row 5 and 6) for another 4 inches, ending with a Row 6.
Rows 1–4: Knit all stitches (garter border).
BO all stitches loosely.
Finishing
- Weave in all ends using your tapestry needle to ensure a clean, professional finish.
- Block both pieces to 16x16 inches. Wet block or steam block according to your yarn's care instructions. This step is crucial for achieving crisp cable definition and the correct dimensions.
- Place the front panel and back panel with right sides together. Sew the bottom and two side seams using a mattress stitch or whip stitch, leaving the top open.
- Turn right side out. Insert the 16x16 inch pillow form through the opening.
- Overlap the back panel's buttonhole flap over the front panel's top edge. Sew buttons onto the front panel to align with the buttonholes, and button to close.
And there you have it—a stunning Alpine Aurora chunky knit throw pillow that will be the centerpiece of your cozy decor. The combination of twisted cables and raised bobbles creates a tactile, Nordic-inspired texture that invites touch and admiration. Perfect for gifting or treating yourself, this pattern is a rewarding project that delivers heirloom-quality results. Happy knitting!