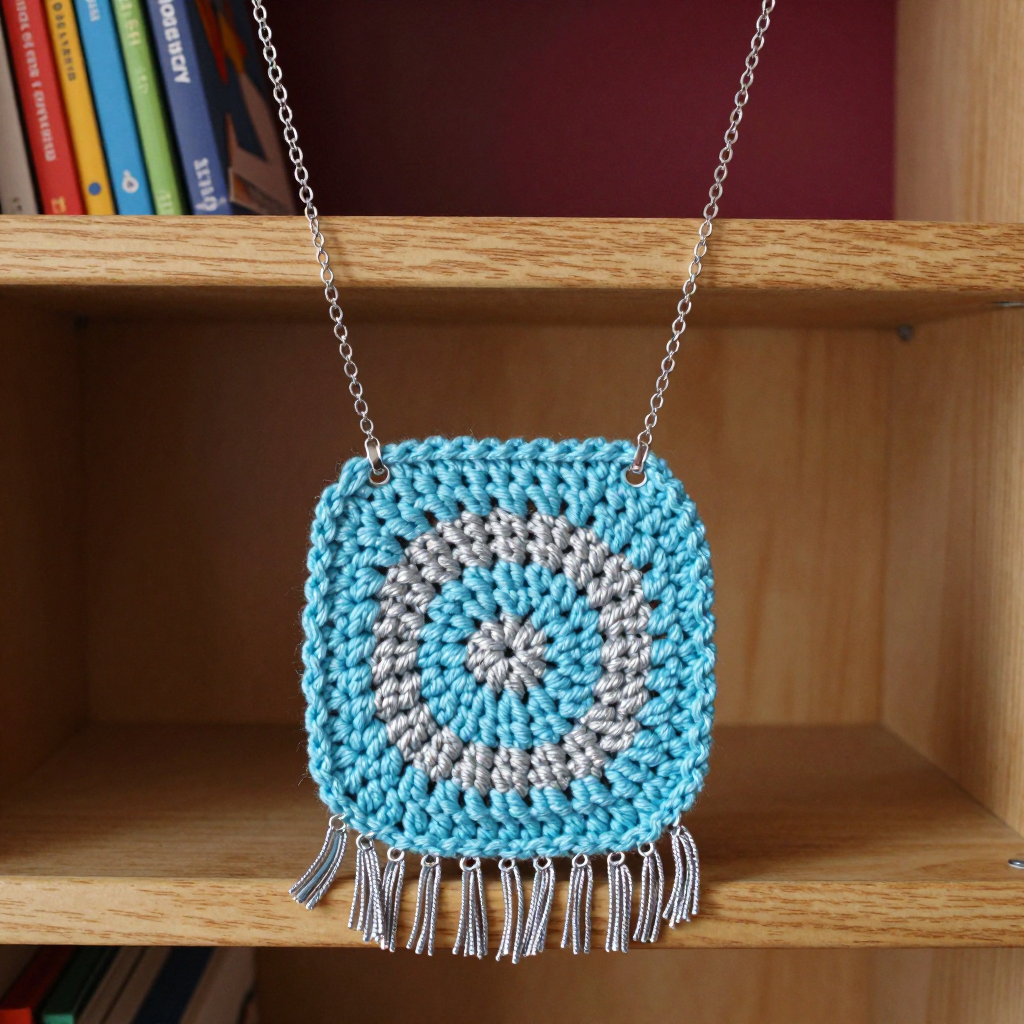
Teal Satin Ribbon Pouch Crochet Free Pattern

Teal Satin Ribbon Pouch Crochet Free Pattern
Introduction
If you have never held a crochet hook before, this little pouch is the perfect first "real" project for you. It is worked as one simple flat rectangle of double crochet, folded in half, and seamed up the sides, which means you only ever need to master one main stitch. The finished pouch is a soft, satin-sheened teal bag about 18 cm (7 in) wide and 16 cm (6.25 in) tall, decorated with three coral slip-stitch "ribbon" stripes across the front and a sweet coral tassel at the side. It looks boutique-made and ballet-core delicate, yet it is genuinely beginner-friendly. By the end you will have a polished, giftable purse and a whole new skill.
Materials Needed
- Yarn: DK weight (category 3) yarn, approximately 100 g / 210 m total: 80 g teal (main color) and 20 g coral (contrast color). The sample uses a smooth mercerized cotton DK for a satin-like sheen.
- Crochet hook: G/6 (4 mm), or the size needed to match gauge.
- Stitch marker: 1 (helpful for counting rows).
- Tapestry needle: a blunt-tipped needle with a large eye, for seaming and weaving in ends.
- Scissors.
- Finished size: Width 18 cm / 7 in. Height 16 cm / 6.25 in (folded pouch). Strap drop 22 cm / 8.75 in.
Abbreviations and Beginner Glossary
Every pattern is written in shorthand. Here is every abbreviation used in this pattern, explained as if you have never crocheted before. All terms are US crochet terms.
- ch – chain: make a loop with the yarn on your hook, then pull the yarn through the loop. Each loop you pull through is one chain. Chains form your starting foundation.
- sc – single crochet: insert your hook into the stitch, pull up a loop (2 loops on hook), then pull the yarn through both loops. This makes a short, firm stitch.
- dc – double crochet: yarn over (wrap yarn around hook), insert hook into the stitch, pull up a loop (3 loops on hook), yarn over and pull through 2 loops, yarn over and pull through the last 2 loops. This makes a taller stitch.
- sl st – slip stitch: insert hook into the stitch, yarn over, and pull the yarn straight through both the stitch and the loop on your hook in one motion. It makes a flat, almost invisible joining stitch.
- st(s) – stitch(es): one completed stitch or several stitches.
- sk – skip: pass over a stitch without working into it.
- turn – flip your work over so you can work back across the row you just made.
- fasten off – cut the yarn a few inches from your work, then pull the tail all the way through the last loop to lock it.
- whipstitch – a simple seaming stitch: pass the needle over the edge of both pieces and back through, like a spiral of small slanted stitches.
- mattress stitch – a seaming stitch that goes back and forth between the two edges to create a nearly invisible join.
Gauge
14 dc x 9 rows = 10 cm / 4 in square in double crochet, worked in turned rows (turning at the end of each row).
Why gauge matters: Gauge is how many stitches and rows fit into a set measurement. If your stitches are bigger than the pattern's, your pouch will come out larger than 18 cm wide; if smaller, it will be too small. Checking gauge first means your finished size will match.
How to make a gauge swatch: With teal and your 4 mm hook, chain 20. Work double crochet rows until the piece is about 12 cm (5 in) tall. Lay it flat and measure a 10 cm / 4 in square in the middle. Count the stitches across and the rows up. If you have more than 14 stitches in 10 cm, your stitches are too tight — try a larger hook. If you have fewer, your stitches are too loose — try a smaller hook. Adjust and re-check before starting the pouch.
Beginner Tips Before You Start
- Count your chains carefully. The very first row depends on an accurate starting chain. Count the 27 chains twice before you begin Row 1.
- Use your stitch marker. Place it in the first stitch of each row so you never lose your place, especially while repeating Row 2 many times.
- Do not pull the yarn too tight. Keep an even, relaxed tension. Tight stitches make the fabric stiff and shrink your finished size.
- Keep your turning chain consistent. The ch 2 at the start of every row counts as your first double crochet — do not work an extra stitch into it.
- Work the stripes after seaming. The coral stripes go onto the finished, right-side-out pouch, so do not add them to the flat rectangle.
- Steam gently at the end. A light steam smooths the seams and makes the stripes sit flat and parallel.
Step-by-Step Instructions
Panel (make 1)
With teal, ch 27.
Row 1: Dc in the 3rd ch from hook and in each ch across, turn. (25 dc)
Row 2: Ch 2 (counts as first dc here and throughout), dc in each st across, turn. (25 dc)
Rows 3–29: Repeat Row 2. (25 dc per row; 29 rows total)
Fasten off teal, leaving a 40 cm / 16 in tail for seaming.
Size check: 25 dc ÷ 14 sts per 10 cm = approx. 18 cm / 7 in wide. 29 rows ÷ 9 rows per 10 cm = approx. 32 cm / 12.5 in long. Folded in half, this gives a finished pouch 18 cm wide x 16 cm high.
Seaming
Fold the rectangle in half with right sides together so the two 18 cm edges meet. Using the long teal tail and a tapestry needle, whipstitch or mattress stitch the two side seams closed, working from the fold up to the opening. Do not seam the top opening. Turn the pouch right side out and gently shape the corners.
Coral Ribbon Stripes (make 3)
The stripes are worked in coral slip stitch directly onto the front of the finished pouch, working horizontally across the front panel.
Stripe 1: Join coral with a sl st at the left side seam, 4 cm / 1.5 in up from the bottom edge. Work sl st in each dc row end across the front to the right side seam. Fasten off.
Stripe 2: Join coral 4 cm / 1.5 in above Stripe 1 and work the same way across the front.
Stripe 3: Join coral 4 cm / 1.5 in above Stripe 2 and work the same way across the front.
Weave in all ends. Each stripe should sit flat and parallel to the others.
Coral Tassel
Cut 12 strands of coral, each 20 cm / 8 in long. Fold the bundle in half and tie a 15 cm / 6 in length of coral tightly around the top to form the tassel head. Wrap the tie 3–4 times and knot securely. Trim the ends evenly. Using the crochet hook, pull the tassel head through the right side seam at the top edge of the pouch, about 2 cm / 0.75 in below the opening, and knot it on the inside. Trim the tassel to 6 cm / 2.5 in.
Strap
With teal, ch 61.
Row 1: Sc in the 2nd ch from hook and in each ch across, turn. (60 sc)
Row 2: Ch 1, sc in each st across. Fasten off, leaving a 20 cm / 8 in tail.
Attach one end of the strap to the inside of the left side seam at the top edge, and the other end to the inside of the right side seam at the top edge, using the tails and a tapestry needle. Reinforce with a few extra stitches.
Assembly and Finishing
Seam the sides: With the pouch still inside out, thread the long teal tail onto your tapestry needle. Working from the folded bottom edge up to the opening, pass the needle through both layers in small, even stitches (whipstitch or mattress stitch). Keep the stitches snug but not tight so the seam stays flat. Repeat on the other side. Turn right side out and poke the corners out gently with your finger.
Attach the strap: Thread a strap tail onto the needle and sew it firmly to the inside of each top side seam, going through the strap and the pouch layers several times. Knot on the inside and trim.
Weave in ends: Thread each loose tail onto the tapestry needle and weave it back and forth through the back of several stitches, then trim close to the work. Never knot ends on the outside of the pouch.
Blocking: Lightly steam the pouch (hold the iron 2–3 cm above the fabric, never touching it) to smooth the seams and stripes. Do not press the tassel. Let it dry completely before use.
Pro Tips and Variations
- Change the colors: Swap teal for dusty rose and coral for cream for a softer ballet look, or use a self-striping DK for a playful finish. Keep the same yarn weight so your gauge stays true.
- Adjust the size: To make a larger pouch, add 14 chains to the starting chain (each 14 sts adds about 10 cm / 4 in of width) and add rows in multiples of 9 (each 9 rows adds about 10 cm / 4 in of length). Keep the fold in half so the proportions stay balanced.
- Substitute yarn: Any smooth DK (category 3) works well. Cotton gives a crisp, satin sheen; acrylic is softer and more affordable. Always re-check your gauge with a new yarn.
- Add more stripes: Work a fourth coral stripe 4 cm above Stripe 3 for a bolder ribbon effect, or use a contrasting color for the strap to tie the look together.