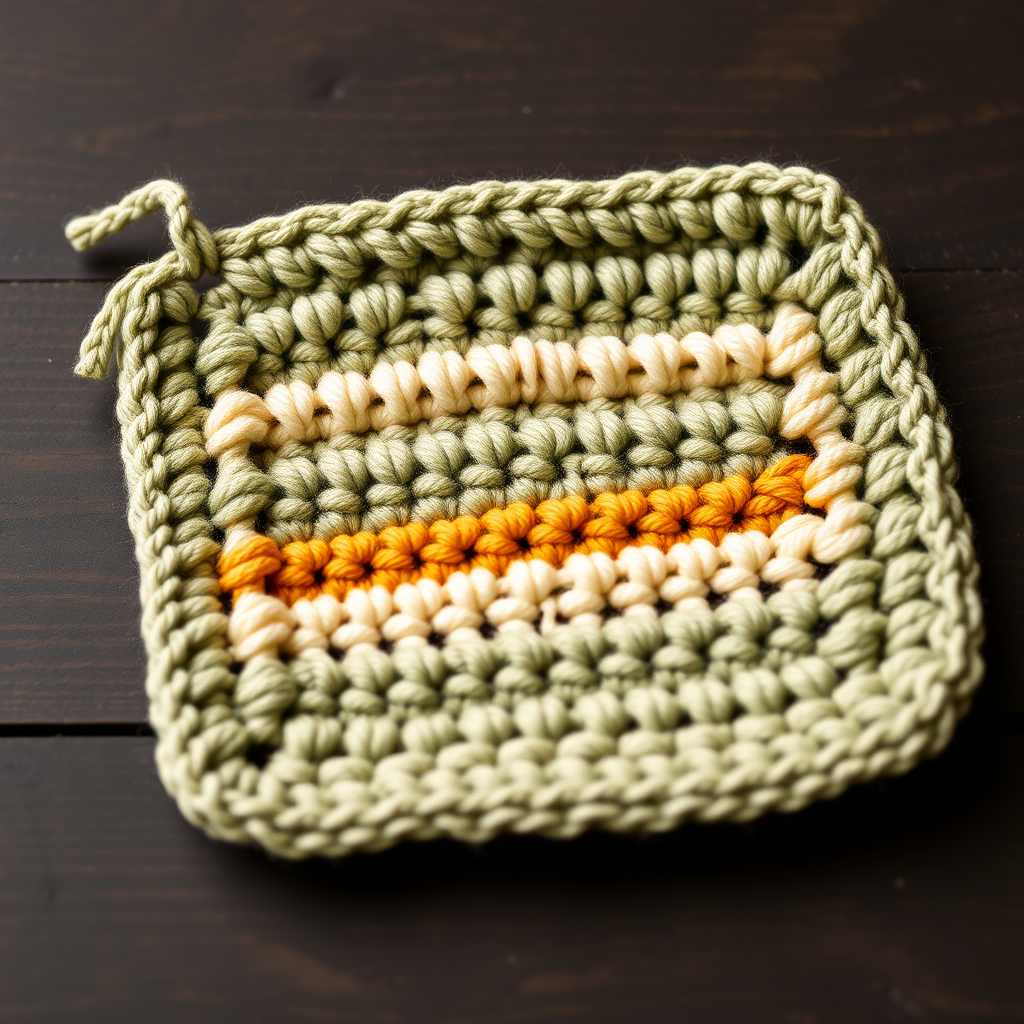
Sunflower Harvest Hot Pad Free Pattern – Crochet a Radiant Table Protector

Sunflower Harvest Hot Pad Free Pattern – Crochet a Radiant Table Protector
Bring a burst of golden sunshine to your kitchen with this textured sunflower hot pad, crafted in warm autumn hues. This sturdy, double-layered crochet design protects your table while adding a handcrafted, farmhouse-chic touch. Whether you're an experienced crocheter or a curious beginner, this pattern offers a rewarding project that combines beauty with functionality. The dimensional petals and leafy border create a stunning visual centerpiece for your dining table, and the thick cotton construction ensures your surfaces stay safe from hot dishes.
Why You'll Love This Sunflower Hot Pad
This isn't just a practical kitchen accessory—it's a statement piece. The three layers of golden-yellow petals give the sunflower incredible depth and texture, while the deep green leaf border adds a natural, organic finish. The warm brown center mimics the seed head of a real sunflower, creating a realistic yet whimsical design. Plus, because it's made with 100% cotton yarn, it's highly heat-resistant and absorbent, making it perfect for everyday use.
Materials Needed
Before you begin, gather the following supplies. All items are readily available at craft stores or online.
- Yarn: Worsted weight cotton yarn (e.g., Lily Sugar'n Cream) in three colors:
- Sunflower yellow (approx. 100 yards)
- Warm brown (approx. 50 yards)
- Leaf green (approx. 100 yards)
- Crochet Hook: 5.0 mm (H-8) crochet hook
- Other Tools: Yarn needle for weaving in ends, scissors
Gauge & Tension
Gauge: 4" x 4" = 16 sc x 18 rows (not critical for this project, but keep consistent tension).
While gauge isn't crucial for this project since it's a flat circular piece, maintaining even tension throughout will ensure your hot pad lies flat and looks professional.
Finished Size & Abbreviations
Finished Size: Approximately 8 inches in diameter
Abbreviations Used
- ch = chain
- sl st = slip stitch
- sc = single crochet
- hdc = half double crochet
- dc = double crochet
- tr = treble crochet
- rnd = round
- st(s) = stitch(es)
- sk = skip
- sp = space
Special Stitches
- Picot: ch 3, sl st in 3rd ch from hook (used for decorative edging, though not required for this pattern)
- Cluster (cl): Yarn over, insert hook in indicated st, yarn over and pull up a loop, yarn over and draw through 2 loops (2 loops on hook). Repeat 2 more times in same st (4 loops on hook). Yarn over and draw through all 4 loops.
Step-by-Step Instructions
Follow these detailed instructions carefully. Each round builds on the previous one, so take your time and count your stitches as you go.
Center (with Brown Yarn)
Rnd 1: Make a magic ring, ch 2 (counts as first hdc), work 11 hdc into ring. Join with sl st to top of ch-2. (12 hdc)
Tip: If you're new to magic rings, you can alternatively ch 4 and sl st to form a ring, then work into the center.
Rnd 2: Ch 2, hdc in same st, 2 hdc in each st around. Join with sl st. (24 hdc)
Tip: This doubling round creates the flat, circular base. Make sure your increases are even to avoid ruffling.
Rnd 3: Ch 2, hdc in same st, hdc in next st, *2 hdc in next st, hdc in next st* repeat from * to * around. Join with sl st. (36 hdc)
Tip: This round adds one stitch between increases, maintaining the circle's flat shape. Fasten off brown yarn and weave in the end.
Petal Layer (with Yellow Yarn)
Rnd 4: Join yellow yarn in any st. Ch 1, sc in same st, *ch 3, sk 2 sts, sc in next st* repeat from * to * around, ending with ch 3, sl st to first sc. (12 ch-3 spaces)
Tip: These chain spaces form the foundation for your first set of petals. Ensure you skip exactly 2 stitches each time for even spacing.
Rnd 5: Sl st into first ch-3 sp. Ch 1, (sc, hdc, 3 dc, hdc, sc) in each ch-3 sp around. Join with sl st to first sc. (12 petals)
Tip: This creates the first, smallest layer of petals. The combination of sc, hdc, and dc gives each petal its rounded, plump shape.
Rnd 6: Ch 1, sc in same st, *ch 4, sk to next petal (skip the hdc and dc of previous petal), sc in the sc between petals (the sc from Rnd 4)* repeat from * to * around. Join with sl st. (12 ch-4 spaces)
Tip: You're now working behind the first petal layer to create the foundation for larger petals. The "sc between petals" refers to the single crochet stitches you made in Rnd 4.
Rnd 7: Sl st into first ch-4 sp. Ch 1, (sc, hdc, 5 dc, hdc, sc) in each ch-4 sp around. Join with sl st. (12 larger petals)
Tip: Notice the increase from 3 dc to 5 dc—this makes the second petal layer larger and more pronounced.
Rnd 8: Ch 1, sc in same st, *ch 5, sk to next petal, sc in the sc between petals* repeat from * to * around. Join with sl st. (12 ch-5 spaces)
Tip: The chain length increases again to accommodate the final, largest petal layer.
Rnd 9: Sl st into first ch-5 sp. Ch 1, (sc, hdc, 7 dc, hdc, sc) in each ch-5 sp around. Join with sl st. (12 largest petals)
Tip: This final petal layer with 7 dc creates the dramatic, ruffled outer edge of your sunflower. Fasten off yellow yarn and weave in ends.
Leaf Border (with Green Yarn)
Rnd 10: Join green yarn in any sc between petals. Ch 1, sc in same st, *ch 6, sc in next sc between petals* repeat from * to * around. Join with sl st. (12 ch-6 spaces)
Tip: The green yarn begins the leafy border that frames your sunflower beautifully.
Rnd 11: Sl st into first ch-6 sp. Ch 1, (sc, hdc, 9 dc, hdc, sc) in each ch-6 sp around. Join with sl st. (12 green leaves)
Tip: These first leaves are elongated and pointed, mimicking the shape of sunflower foliage.
Rnd 12: Ch 1, sc in same st, *ch 7, sc in next sc between leaves* repeat from * to * around. Join with sl st. (12 ch-7 spaces)
Tip: The chain increases again to create a second, larger layer of leaves.
Rnd 13: Sl st into first ch-7 sp. Ch 1, (sc, hdc, 11 dc, hdc, sc) in each ch-7 sp around. Join with sl st. (12 final leaves)
Tip: This final round of leaves with 11 dc creates a lush, full border. Fasten off green yarn and weave in ends.
Backing (Optional but Recommended for Heat Protection)
For maximum heat protection and a professional finish, add a solid backing to your hot pad.
Step 1: With green yarn, repeat Rnds 1-3 of the center (brown section) to make a solid circle.
Tip: This creates the base of your backing.
Step 2: Continue in sc rounds, increasing evenly until it matches the diameter of the front (about 8 inches).
Tip: To increase evenly in sc rounds, use this formula: Rnd 4: *2 sc in first st, sc in next 2 sts* repeat around. Rnd 5: *2 sc in first st, sc in next 3 sts* repeat around. Continue this pattern, adding one more sc between increases each round.
Step 3: Place front and backing wrong sides together. With green yarn, sc through both layers around the edge, working 2 sc in each corner space and 1 sc in each sc.
Tip: This joining round secures both layers together and creates a neat, finished edge.
Step 4: At the end, ch 10 for a hanging loop, sl st to the first sc, fasten off and weave in ends.
Tip: The hanging loop allows you to display your hot pad on a hook when not in use.
Finishing Touches & Care Instructions
Once you've completed all rounds and woven in all loose ends, gently block your hot pad to ensure it lies flat. To block, lightly mist with water and shape with your hands, then allow to dry completely. Your sunflower hot pad is now ready to use!
Care: Machine wash cold, lay flat to dry. The cotton yarn will soften with each wash, making your hot pad even more pliable and absorbent over time.
Creative Variations to Try
Once you've mastered this pattern, consider these fun variations:
- Color Swap: Use cream and burgundy for a fall-themed version, or bright pink and teal for a modern twist.
- Mini Version: Use DK weight yarn and a 4.0 mm hook to create smaller coasters.
- Add a Picot Edge: Work a picot stitch (ch 3, sl st in 3rd ch from hook) between each leaf for a delicate, lacy finish.
This sunflower hot pad makes a wonderful gift for housewarmings, weddings, or holiday hostesses. Its handmade charm and practical utility make it a cherished item that will be used and admired for years to come. Happy crocheting!