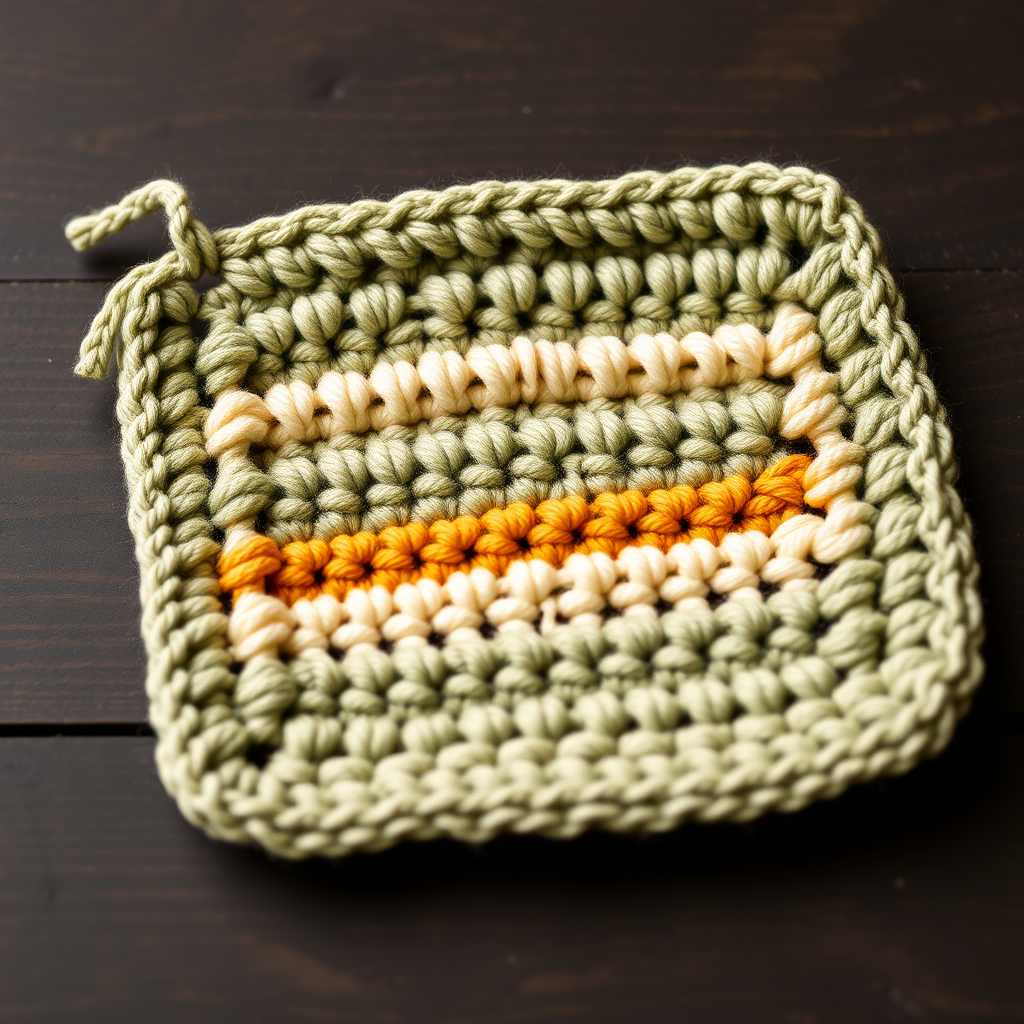
Sunburst Harvest Potholder Free Pattern – Textured Crochet Sunflower with Woven Petals

Sunburst Harvest Potholder Free Pattern – Textured Crochet Sunflower with Woven Petals
Bring a slice of golden summer to your kitchen with this richly textured sunflower potholder, featuring dimensional petals and a sturdy double-thick center. This pattern is the perfect blend of rustic farmhouse charm and practical heat protection for your home. Whether you're an experienced crocheter or a confident beginner looking for a rewarding project, this sunflower potholder is a delightful way to add a handmade touch to your kitchen decor. The dense, double-layered center provides excellent insulation, while the layered petals create a stunning, tactile visual that will be the envy of every guest.
Materials Needed
Before you begin, gather the following materials. Using the specified yarn weight and hook size will ensure your potholder matches the intended dimensions and heat-resistant properties.
- Yarn: Worsted weight cotton yarn (e.g., Lion Brand Kitchen Cotton) in the following colors:
- Sunflower Yellow (for outer petals)
- Warm Orange (for inner petals)
- Chocolate Brown (for the center)
- Leaf Green (for the hanging loop)
- Hook: 5.0 mm (H-8) crochet hook
- Other: Yarn needle for weaving in ends, scissors
Gauge: 4 sc = 1 inch; 4 rows = 1 inch. Gauge is not critical for this project, but maintaining consistent tension is important to achieve a flat, even circle for the center.
Step-by-Step Instructions
Follow these detailed instructions carefully. The pattern is broken down into three main sections: creating the double-thick center, joining the layers, and adding the two petal layers. Take your time and enjoy the process!
Part 1: The Center (Make 2 Identical Pieces)
You will create two identical chocolate brown circles. These will be joined together to form a thick, heat-resistant core.
Round 1: With chocolate brown, make a magic ring. Chain 1 (does not count as a stitch), work 8 single crochet (sc) into the ring. Pull the tail tight to close the ring. Slip stitch (sl st) to the first sc to join. (8 sc)
Round 2: Chain 1, work 2 sc in each sc around. Slip stitch to the first sc to join. (16 sc)
Round 3: Chain 1, *sc in the next sc, 2 sc in the next sc*; repeat from * to * around. Slip stitch to the first sc to join. (24 sc)
Round 4: Chain 1, *sc in the next 2 sc, 2 sc in the next sc*; repeat from * to * around. Slip stitch to the first sc to join. (32 sc)
Round 5: Chain 1, *sc in the next 3 sc, 2 sc in the next sc*; repeat from * to * around. Slip stitch to the first sc to join. (40 sc)
Round 6: Chain 1, *sc in the next 4 sc, 2 sc in the next sc*; repeat from * to * around. Slip stitch to the first sc to join. (48 sc)
Round 7: Chain 1, *sc in the next 5 sc, 2 sc in the next sc*; repeat from * to * around. Slip stitch to the first sc to join. (56 sc)
Round 8: Chain 1, *sc in the next 6 sc, 2 sc in the next sc*; repeat from * to * around. Slip stitch to the first sc to join. (64 sc)
Round 9: Chain 1, *sc in the next 7 sc, 2 sc in the next sc*; repeat from * to * around. Slip stitch to the first sc to join. (72 sc)
Round 10: Chain 1, *sc in the next 8 sc, 2 sc in the next sc*; repeat from * to * around. Slip stitch to the first sc to join. (80 sc)
Fasten off and weave in the ends securely. Repeat this entire process to create a second identical center piece.
Part 2: Joining the Centers
Now we will combine the two circles to create a sturdy, double-thick base for the petals.
Hold the two center pieces together with their wrong sides facing each other (the "right" sides, which will be visible, should be facing out). With chocolate brown yarn, join the yarn with a slip stitch through both layers at any point along the edge.
Chain 1, then single crochet evenly around the entire edge, working through both layers. Work 1 sc in each sc from the last round (Round 10). This will create a neat, solid border. At the end of the round, slip stitch to the first sc to join. Do not fasten off. You will continue to use this yarn for the next step.
Part 3: The Petal Layers
This is where the magic happens! We will create two distinct layers of dimensional petals by working into the front loops and back loops of the joined edge. This technique creates a beautiful, overlapping effect.
First Petal Layer (Sunflower Yellow – Outer Petals)
Note: This layer is worked into the front loops only of the joined edge.
Round 1: With sunflower yellow, join the yarn with a slip stitch in any front loop of the outer edge. Chain 1, sc in the same loop. *Chain 2, skip the next front loop, sc in the next front loop*; repeat from * to * around. End with a chain 2, then slip stitch to the first sc to join. (You should have 40 chain-2 spaces).
Round 2: Slip stitch into the first chain-2 space. In each chain-2 space around, work the following sequence: (sc, hdc, dc, ch 2, sl st in the 2nd ch from hook to form a picot, dc, hdc, sc). This creates a teardrop-shaped petal with a delicate picot point. Slip stitch to the first sc to join. Fasten off and weave in the ends.
Second Petal Layer (Warm Orange – Inner Petals)
Note: This layer is worked into the back loops only of the joined edge. These are the loops that were left unworked from the previous layer.
Round 1: With warm orange, join the yarn with a slip stitch in any back loop of the outer edge. Chain 1, sc in the same loop. *Chain 3, skip the next back loop, sc in the next back loop*; repeat from * to * around. End with a chain 3, then slip stitch to the first sc to join. (You should have 40 chain-3 spaces).
Round 2: Slip stitch into the first chain-3 space. In each chain-3 space around, work the following sequence: (sc, hdc, 2 dc, ch 2, sl st in the 2nd ch from hook to form a picot, 2 dc, hdc, sc). This creates a slightly fuller petal that will peek out from behind the yellow layer. Slip stitch to the first sc to join. Fasten off and weave in the ends.
Part 4: The Hanging Loop
To finish your potholder, add a convenient hanging loop.
With leaf green yarn, join the yarn with a slip stitch at the edge of the potholder, between two petals. Chain 12, then slip stitch to the same point where you joined the yarn to form a loop. Fasten off and weave in the ends very securely, as this loop will bear the weight of the potholder.
Your Sunburst Harvest Potholder is complete! Admire your beautiful, functional work of art. The rich, earthy colors and textured petals will bring a touch of handmade warmth to your kitchen for years to come.