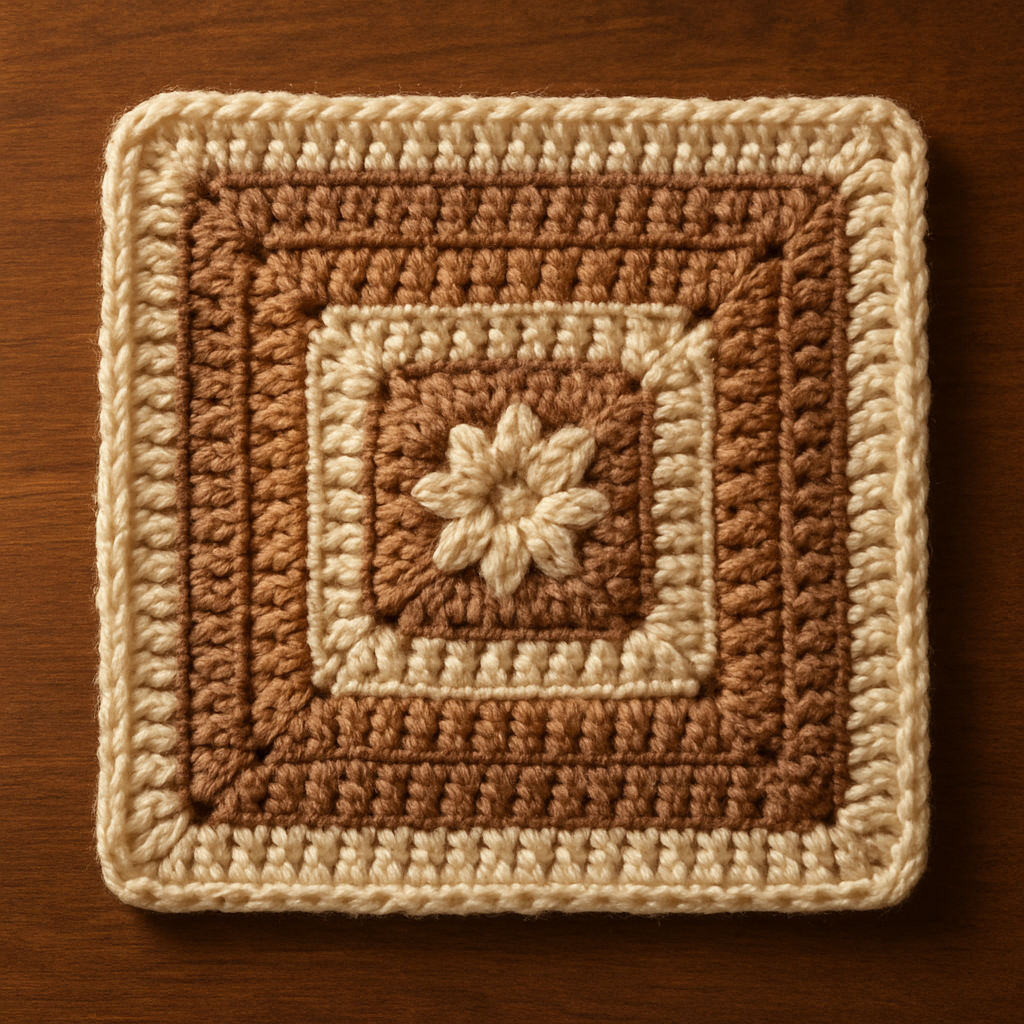
Sunburst Mosaic Granny Square Throw Free Pattern – A Crocheted Stained Glass Garden

Sunburst Mosaic Granny Square Throw Free Pattern – A Crocheted Stained Glass Garden
Imagine wrapping yourself in a cozy blanket that looks like a vibrant stained-glass window. That's exactly what you'll create with this stunning Sunburst Mosaic Granny Square Throw! This pattern reimagines the beloved classic granny square as a mosaic of jewel-toned sunbursts, each one a miniature work of art. The clever joining technique creates a seamless, modern grid that will elevate any living space with a touch of boho-chic charm.
Whether you're a seasoned crocheter looking for a new project or a confident beginner ready for a challenge, this throw is the perfect way to add a handmade, artistic centerpiece to your home. With its rich palette of saffron yellow, burnt orange, deep magenta, and teal, all framed by a creamy border, this blanket is sure to become a treasured heirloom.
Materials Needed
Before you begin your crochet journey, gather these essential supplies. The beauty of this pattern is that it uses standard worsted weight yarn, making it easy to find and work with.
- Yarn: Worsted weight yarn in 5 colors:
- Color A (Saffron Yellow) – for the sunburst centers
- Color B (Burnt Orange) – for the radiating warmth
- Color C (Deep Magenta) – for rich contrast
- Color D (Teal) – for a cool, calming edge
- Color E (Cream) – for joining and the final border
- Crochet Hook: 5.5 mm (I-9) crochet hook
- Gauge: One completed square measures 6 inches x 6 inches. Gauge is not critical for this project, but consistency is key for easy joining.
- Extras: Yarn needle for weaving in ends, scissors, and stitch markers (optional but helpful).
Step-by-Step Instructions
This pattern creates a beautiful 4x4 grid of 16 squares, each worked in the round. Don't be intimidated – the repetitive nature of the rounds makes it a relaxing, meditative project once you get the hang of it. Let's dive in!
Square Motif (Make 16)
Each square is a burst of color, built from the center outwards. Follow these rounds carefully, and you'll have a perfect 6-inch square every time.
Round 1: The Sunburst Center
With color A (Saffron Yellow), make a magic ring. This technique creates a tight, seamless center.
- Ch 3 (this counts as your first double crochet).
- Work 11 double crochet (dc) into the ring. You should now have 12 dc total (including the initial ch-3).
- Slip stitch (sl st) to the top of the ch-3 to join the round. Pull the magic ring tail to close the center tightly.
You now have 12 dc in a circle.
Round 2: Doubling Up
This round doubles your stitch count, expanding the sunburst.
- Ch 3 (counts as dc). Work 1 dc in the same stitch (this is your increase).
- Work 2 dc in each dc around the circle.
- Sl st to the top of the ch-3 to join. You should have 24 dc.
- Fasten off color A and weave in the end.
Round 3: Adding Warmth
Time to introduce color B (Burnt Orange) for a beautiful gradient effect.
- Join color B in any dc from the previous round.
- Ch 3 (counts as dc). Work 1 dc in the same stitch (increase made).
- *Dc in the next dc, then 2 dc in the following dc.*
- Repeat from * to * around the circle.
- Sl st to join. You should have 36 dc. Fasten off color B.
Round 4: Deepening the Palette
Now we bring in color C (Deep Magenta) to add richness and depth.
- Join color C in any dc.
- Ch 3 (counts as dc). Work 1 dc in the same stitch.
- *Dc in the next 2 dc, then 2 dc in the following dc.*
- Repeat from * to * around.
- Sl st to join. You should have 48 dc. Fasten off color C.
Round 5: The Teal Transition
Color D (Teal) brings a cool, calming contrast to the warm center.
- Join color D in any dc.
- Ch 3 (counts as dc). Work 1 dc in the same stitch.
- *Dc in the next 3 dc, then 2 dc in the following dc.*
- Repeat from * to * around.
- Sl st to join. You should have 60 dc. Fasten off color D.
Round 6: Creating the Square Corners
This is where the circle becomes a square! We'll use color E (Cream) to create the corners and straight sides.
- Join color E in any dc.
- Ch 3 (counts as dc). Work 1 dc in the same stitch.
- *Dc in the next 14 dc. Then, in the next dc, work (2 dc, ch 2, 2 dc) – this creates your corner.*
- Repeat from * to * 3 more times. On the last repeat, after the corner, work dc in the next 14 dc.
- Finally, work 2 dc in the starting dc (the one where you joined), ch 2, and sl st to the top of the ch-3 to join.
Each side of your square now has 18 dc, with ch-2 spaces at each corner. Fasten off color E and weave in all ends. Repeat this entire process to make 16 beautiful squares!
Joining Your Squares
Now for the magic – assembling your mosaic! This flat joining method creates a beautiful, seamless grid.
- Arrange: Lay out your 16 squares in a 4x4 grid. For a dynamic mosaic effect, alternate the starting color positions. For example, rotate some squares so the yellow centers are in different corners, creating a more organic, stained-glass look.
- Join Vertically: With color E, use the flat slip stitch join method on the wrong side of the work. This means you'll hold two squares with their right sides together and slip stitch through the back loops of both edges. Start by joining the vertical seams first – connect all squares in each column.
- Join Horizontally: Once your vertical seams are done, work the horizontal seams. Ensure all corners align perfectly for a crisp, professional finish.
Adding the Border
The border frames your masterpiece and gives it a polished, finished look.
Border Round 1
- With color E, join your yarn in any corner ch-2 space of the assembled blanket.
- Ch 3 (counts as dc). Work (dc, ch 2, 2 dc) in the same corner space.
- *Dc in each dc across to the next corner. Then work (2 dc, ch 2, 2 dc) in the corner space.*
- Repeat from * to * around the entire blanket.
- Sl st to join.
Border Round 2
- Ch 3 (counts as dc).
- Dc in each dc around the blanket. When you reach a corner ch-2 space, work (2 dc, ch 2, 2 dc) in that space.
- Sl st to join. Fasten off and weave in all ends securely.
Congratulations! You've just created a stunning Sunburst Mosaic Granny Square Throw. This piece is more than just a blanket – it's a testament to your creativity and skill. The vibrant colors and intricate pattern will bring warmth and artistry to any room. Whether you drape it over a rustic wooden chair, like in the inspiration photo, or spread it across your bed, this throw is sure to be admired. Happy crocheting!