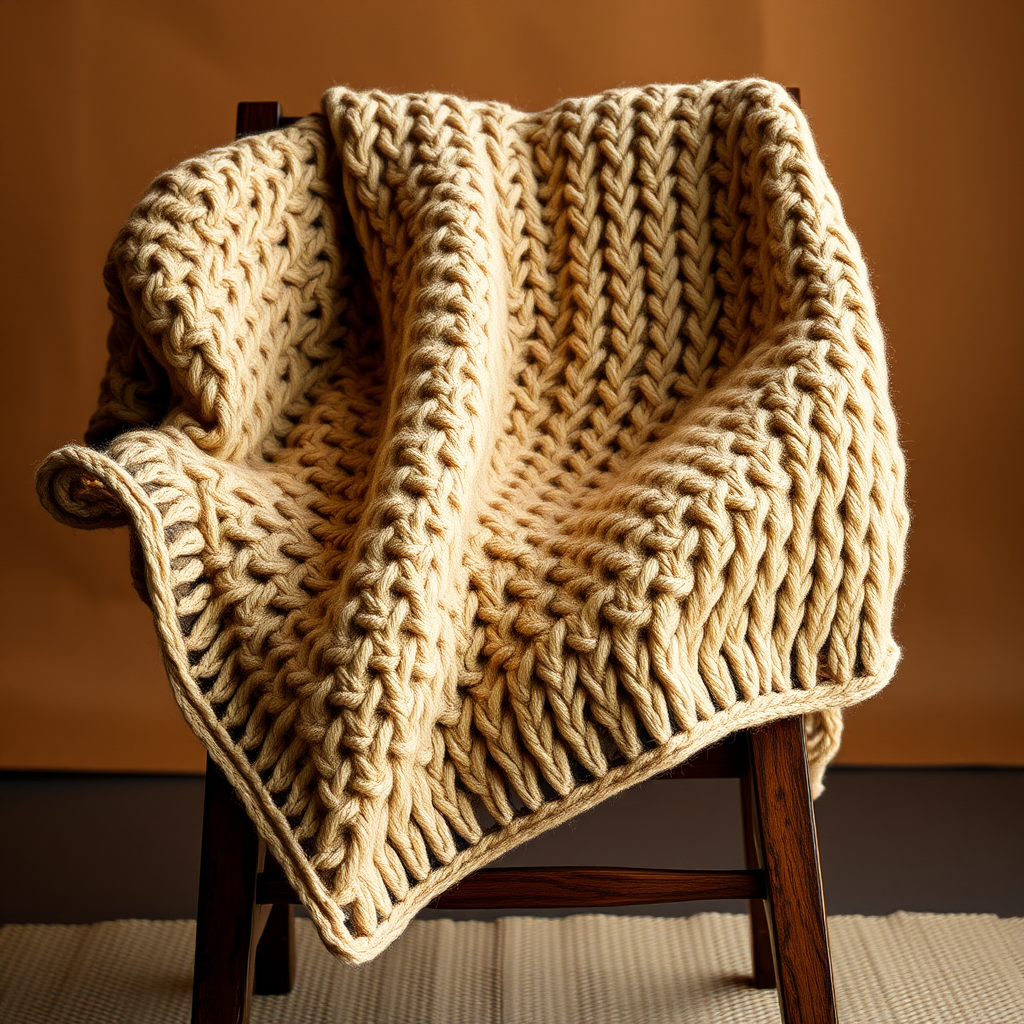
Sun-Kissed Citrus Grove Blanket Free Pattern – Textured Knit Throw with Bobbles and Stripes

Sun-Kissed Citrus Grove Blanket: A Free Knitting Pattern for a Textured Throw
Wrap yourself in the juicy warmth of a hand-knit citrus grove with this vibrant, textured throw. Bobbles mimic ripe fruit while soft stripes evoke sun-drenched orchard rows, creating a cozy centerpiece for any room. This pattern is perfect for intermediate knitters looking to add texture and color to their home, and the repetitive stripe sequence makes it a relaxing, meditative project once you get into the rhythm.
This blanket isn't just a pretty face—it's a tactile experience. The raised bobbles scattered across the orange sections give it a playful, dimensional quality that invites you to run your hands over it. Whether draped over a sofa, folded at the foot of a bed, or wrapped around your shoulders on a cool evening, this throw brings a slice of summer into your living space all year round.
Materials Needed
Before you cast on, gather these supplies to ensure a smooth knitting experience:
- Yarn: Worsted weight cotton or cotton-blend yarn in three colors:
- Color A (Orange): Approximately 500g
- Color B (Yellow): Approximately 350g
- Color C (Leaf Green): Approximately 350g
- Needles: US 8 (5mm) knitting needles
- Gauge: 18 stitches and 24 rows = 4 inches in stockinette stitch (knit on RS, purl on WS)
- Notions: Tapestry needle for weaving in ends, scissors, stitch markers (optional but helpful)
Pattern Overview
Finished Size
Approximately 50 x 60 inches (127 x 152 cm) after blocking
Abbreviations
- CO: Cast on
- K: Knit
- P: Purl
- K2tog: Knit two stitches together (decrease)
- KFB: Knit front and back (increase)
- MB: Make bobble (see detailed instructions below)
- St(s): Stitch(es)
- Rep: Repeat
- RS: Right side
- WS: Wrong side
Pattern Notes
- The blanket is worked flat in one piece from bottom to top.
- Carry yarn up the side when changing colors to avoid weaving in ends. Simply twist the new color around the old one at the edge of the row.
- Bobbles are worked on right-side rows only, creating a raised texture on the front of the blanket.
- The stripe sequence is: 8 rows of color B, then an orange bobble row, 4 rows of orange, 8 rows of color C, then an orange bobble row, 4 rows of orange—and this pattern repeats throughout.
How to Make a Bobble (MB)
This bobble technique creates a plump, rounded texture. Follow these steps carefully:
- Knit into the next stitch but do not drop it off the left needle.
- Purl into the same stitch (still on the left needle).
- Knit into the same stitch again.
- Purl into the same stitch once more.
- Knit into the same stitch a final time. You now have 5 stitches on the right needle from that one original stitch.
- Turn your work. Purl across these 5 stitches.
- Turn again. Knit across these 5 stitches.
- Turn again. Now decrease: P2tog, P1, P2tog (you now have 3 stitches).
- Turn one final time. K3tog (knit three together) to reduce back to 1 stitch.
- Continue with the pattern as written.
Tip: If bobbles feel fiddly at first, practice on a swatch. Once you get the rhythm, they become quick and satisfying!
Step-by-Step Instructions
Foundation
With Color A (orange), cast on 180 stitches using your preferred method (long-tail cast on works well).
Bottom Border
Rows 1–6: Knit every row (garter stitch) with Color A. This creates a neat, sturdy edge.
First Stripe Sequence
Row 7 (RS): Switch to Color B (yellow). Knit across.
Row 8 (WS): Purl across.
Rows 9–14: Repeat rows 7–8 three more times. You should have 8 total rows of stockinette in Color B.
Row 15 (RS): Switch to Color A. K1, *K2, MB, K2; repeat from * to the last stitch, K1. This creates the first row of bobbles.
Row 16 (WS): Purl across with Color A.
Rows 17–20: Continue in stockinette stitch with Color A (knit on RS, purl on WS).
Row 21 (RS): Switch to Color C (green). Knit across.
Row 22 (WS): Purl across.
Rows 23–28: Repeat rows 21–22 three more times. You should have 8 total rows of stockinette in Color C.
Row 29 (RS): Switch to Color A. K1, *K2, MB, K2; repeat from * to the last stitch, K1.
Row 30 (WS): Purl across with Color A.
Rows 31–34: Continue in stockinette stitch with Color A.
Continuing the Pattern
Now that you understand the rhythm, continue following this sequence. Each "stripe block" consists of:
- 8 rows of stockinette in Color B (yellow)
- 1 bobble row in Color A (orange)
- 4 rows of stockinette in Color A
- 8 rows of stockinette in Color C (green)
- 1 bobble row in Color A
- 4 rows of stockinette in Color A
Repeat this full sequence 10 times total (including the first one you already completed). Here's the complete row-by-row breakdown for clarity:
Rows 35–42: Color B stockinette (8 rows)
Row 43: Color A bobble row (K1, *K2, MB, K2; rep from * to last st, K1)
Row 44: Color A purl across
Rows 45–48: Color A stockinette
Rows 49–56: Color C stockinette (8 rows)
Row 57: Color A bobble row
Row 58: Color A purl across
Rows 59–62: Color A stockinette
Rows 63–70: Color B stockinette (8 rows)
Row 71: Color A bobble row
Row 72: Color A purl across
Rows 73–76: Color A stockinette
Rows 77–84: Color C stockinette (8 rows)
Row 85: Color A bobble row
Row 86: Color A purl across
Rows 87–90: Color A stockinette
Rows 91–98: Color B stockinette (8 rows)
Row 99: Color A bobble row
Row 100: Color A purl across
Rows 101–104: Color A stockinette
Rows 105–112: Color C stockinette (8 rows)
Row 113: Color A bobble row
Row 114: Color A purl across
Rows 115–118: Color A stockinette
Rows 119–126: Color B stockinette (8 rows)
Row 127: Color A bobble row
Row 128: Color A purl across
Rows 129–132: Color A stockinette
Rows 133–140: Color C stockinette (8 rows)
Row 141: Color A bobble row
Row 142: Color A purl across
Rows 143–146: Color A stockinette
Rows 147–154: Color B stockinette (8 rows)
Row 155: Color A bobble row
Row 156: Color A purl across
Rows 157–160: Color A stockinette
Rows 161–168: Color C stockinette (8 rows)
Row 169: Color A bobble row
Row 170: Color A purl across
Rows 171–174: Color A stockinette
Rows 175–182: Color B stockinette (8 rows)
Row 183: Color A bobble row
Row 184: Color A purl across
Rows 185–188: Color A stockinette
Rows 189–196: Color C stockinette (8 rows)
Row 197: Color A bobble row
Row 198: Color A purl across
Rows 199–202: Color A stockinette
Rows 203–210: Color B stockinette (8 rows)
Row 211: Color A bobble row
Row 212: Color A purl across
Rows 213–216: Color A stockinette
Rows 217–224: Color C stockinette (8 rows)
Row 225: Color A bobble row
Row 226: Color A purl across
Rows 227–230: Color A stockinette
Rows 231–238: Color B stockinette (8 rows)
Row 239: Color A bobble row
Row 240: Color A purl across
Rows 241–246: Color A stockinette (6 rows)
Top Border
Rows 247–252: Switch to Color A. Knit every row (garter stitch) for 6 rows to match the bottom border.
Bind Off
Bind off loosely in knit stitch. To avoid a tight edge, use a larger needle for binding off or bind off in pattern (knit the knit stitches, purl the purl stitches).
Finishing Touches
Weaving in Ends
Using your tapestry needle, weave in all loose ends carefully. If you carried yarn up the sides, you'll only have ends at the cast-on and bind-off edges, plus where you joined new balls of yarn. Weave these in securely on the wrong side of the blanket.
Blocking
Blocking is essential for this blanket to achieve its full potential. Here's how:
- Fill a basin or sink with cool water and add a small amount of gentle wool wash or mild detergent.
- Submerge the blanket and let it soak for 15–20 minutes. Do not agitate or wring.
- Gently press out excess water (roll in a towel to remove moisture).
- Lay the blanket flat on a blocking mat or clean towels.
- Gently stretch it to the finished measurements (50 x 60 inches), pinning edges if needed.
- Allow to dry completely before unpinning.
Tips for Success
- Count your stitches: The bobble row can be tricky—make sure you have 180 stitches before starting each bobble row.
- Keep tension even: When switching colors, don't pull the yarn too tight along the edge, or the blanket will pucker.
- Use stitch markers: Place a marker every 30 stitches on your bobble rows to help you keep track of the pattern repeat.
- Take breaks: This is a large project. Set it aside when you need a rest—it'll be waiting for you!
This Sun-Kissed Citrus Grove Blanket is a labor of love that rewards you with a stunning, textured heirloom piece. The combination of smooth stockinette stripes and playful bobbles creates visual interest while remaining surprisingly simple once you master the rhythm. Whether you're making it for yourself or as a gift, this throw is sure to become a cherished favorite.
Happy knitting! Share your progress and finished blanket with us—we'd love to see your citrus grove come to life.