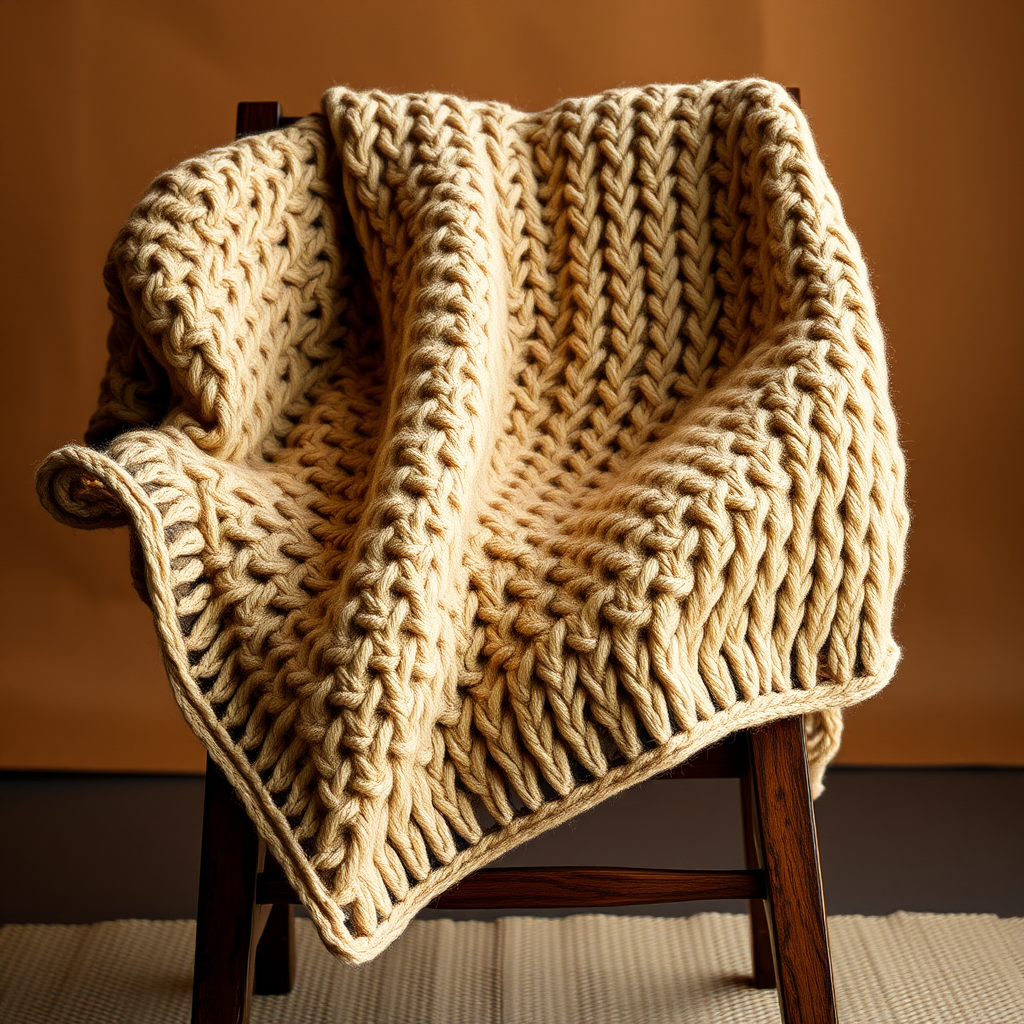
Ember & Ash Woven Texture Throw Free Pattern – Knit a Cozy Campfire Blanket

Ember & Ash Woven Texture Throw: A Cozy Campfire Knitting Pattern
Imagine wrapping yourself in the warmth of a crackling campfire on a cool evening—that's the feeling this Ember & Ash Woven Texture Throw brings to life. This richly textured blanket features a unique woven-like stitch pattern that combines deep, fiery ember tones with soft, soothing ash greys. The result is a stunning, generously sized throw that adds warmth and handcrafted charm to any living space. Whether you're curling up with a good book or looking for a meaningful handmade gift, this pattern is designed to be accessible for beginners while still offering a satisfying, textured knit for more experienced crafters.
This free knitting pattern creates a beautiful basketweave-like texture using simple slipped stitches and two contrasting colors. The construction is straightforward—knitted in one piece from the bottom up—making it a relaxing weekend project that yields a professional-looking, heirloom-quality blanket.
Materials Needed
Before you begin, gather the following materials to ensure a smooth knitting experience:
- Yarn: Worsted weight yarn in two colors:
- Color A (Ember): Burnt orange/terracotta – 1200 yards
- Color B (Ash): Warm grey/cream – 800 yards
- Knitting Needles: US 9 (5.5 mm) knitting needles. A 32-inch circular needle is recommended for the large number of stitches, but straight needles will also work.
- Gauge: 18 stitches and 24 rows = 4 inches in stockinette stitch (after blocking). While gauge isn't critical for this project, maintaining consistent tension is important for an even, beautiful texture.
- Other Tools: Tapestry needle for weaving in ends, stitch markers (optional), and blocking pins.
Pattern Overview & Key Information
This throw is knitted in one piece from the bottom up. The pattern uses a simple 4-row repeat that creates a beautiful woven basketweave-like texture. All slipped stitches are slipped purlwise with yarn in back (wyib) unless otherwise noted.
Finished Size: Approximately 50 inches wide x 60 inches long (after blocking).
Abbreviations:
- K = knit
- P = purl
- Sl = slip stitch purlwise
- Wyib = with yarn in back
- RS = right side
- WS = wrong side
- Rep = repeat
Step-by-Step Instructions
Step 1: Cast On
With Color A (Ember), cast on 224 stitches loosely. Use a long-tail cast on or your preferred stretchy method. A loose cast-on is essential to prevent a tight, puckered edge on your finished blanket.
Step 2: Bottom Border (Garter Stitch)
Work the bottom border in Color A (Ember):
- Rows 1-6: Knit all stitches. This creates a clean, sturdy garter stitch border that frames the blanket beautifully.
Step 3: Main Body – Texture Pattern
Now you'll begin the woven texture pattern. Follow these 8 rows carefully, repeating them until your blanket reaches the desired length:
- Row 1 (RS): With Color A, knit all stitches.
- Row 2 (WS): With Color A, purl all stitches.
- Row 3 (RS): With Color B (Ash), K1, *Sl 2 wyib, K2; rep from * to last 3 stitches, Sl 2 wyib, K1.
- Row 4 (WS): With Color B, K1, *Sl 2 wyib, P2; rep from * to last 3 stitches, Sl 2 wyib, K1.
- Row 5 (RS): With Color A, knit all stitches.
- Row 6 (WS): With Color A, purl all stitches.
- Row 7 (RS): With Color B, K3, *Sl 2 wyib, K2; rep from * to last 1 stitch, K1.
- Row 8 (WS): With Color B, K3, *Sl 2 wyib, P2; rep from * to last 1 stitch, K1.
Important Note: The offset in Rows 7 and 8 (starting with K3 instead of K1) is what creates the beautiful staggered, woven basketweave effect. This offset shifts the slipped stitches, giving the fabric its dimensional, handwoven appearance.
Repeat Rows 1-8 until the piece measures approximately 56 inches from the cast-on edge, ending with Row 6 or Row 8 (a WS row). This ensures you finish the main body on a complete pattern repeat.
Step 4: Top Border (Garter Stitch)
Work the top border in Color A (Ember) to mirror the bottom border:
- Rows 1-6: Knit all stitches.
Step 5: Bind Off
With Color A, bind off all stitches loosely. To prevent a tight edge, use a larger needle (e.g., US 10 or 10.5) or a stretchy bind-off method such as the "Jeny's Surprisingly Stretchy Bind-Off" or a simple knit-two-together bind-off. A tight bind-off will cause the blanket to curl at the edges, so take your time here.
Step 6: Finishing & Blocking
Weave in all ends securely using a tapestry needle. Make sure to weave ends in on the wrong side of the work, following the direction of the stitches to keep them invisible.
Blocking is essential for this pattern. The texture will relax and become more defined after blocking. To block:
- Fill a spray bottle with cool water or use a garment steamer.
- Lay the blanket flat on a clean surface (like a blocking mat or a towel-covered bed).
- Pin the blanket to the specified dimensions (approximately 50 inches wide x 60 inches long) using rust-proof blocking pins. Gently stretch it to shape.
- Lightly mist the blanket with water or steam it, being careful not to saturate it.
- Allow it to dry completely before unpinning. This can take 24-48 hours depending on humidity.
Tips for Success
- Keep Tension Consistent: The slipped stitches will look best if your tension is even. Try to keep your yarn floats loose when slipping stitches wyib—don't pull the yarn too tight.
- Count Your Stitches: Periodically count your stitches to ensure you haven't accidentally dropped or added any. The pattern repeat is 4 stitches, so your stitch count should always remain 224.
- Use Stitch Markers: Place a marker every 56 stitches to help you keep track of your place in the pattern, especially when working the long rows.
- Carry Yarn Up the Side: When switching between Color A and Color B, simply carry the unused yarn up the side of your work. This eliminates the need to cut and rejoin yarn at each color change.
Once your Ember & Ash Woven Texture Throw is complete and blocked, you'll have a beautiful, cozy blanket that evokes the warmth of a campfire. The rich texture and earthy color palette make it a versatile piece that complements rustic, modern, and farmhouse decor alike. Whether you keep it for yourself or gift it to someone special, this throw is sure to be treasured for years to come. Happy knitting!