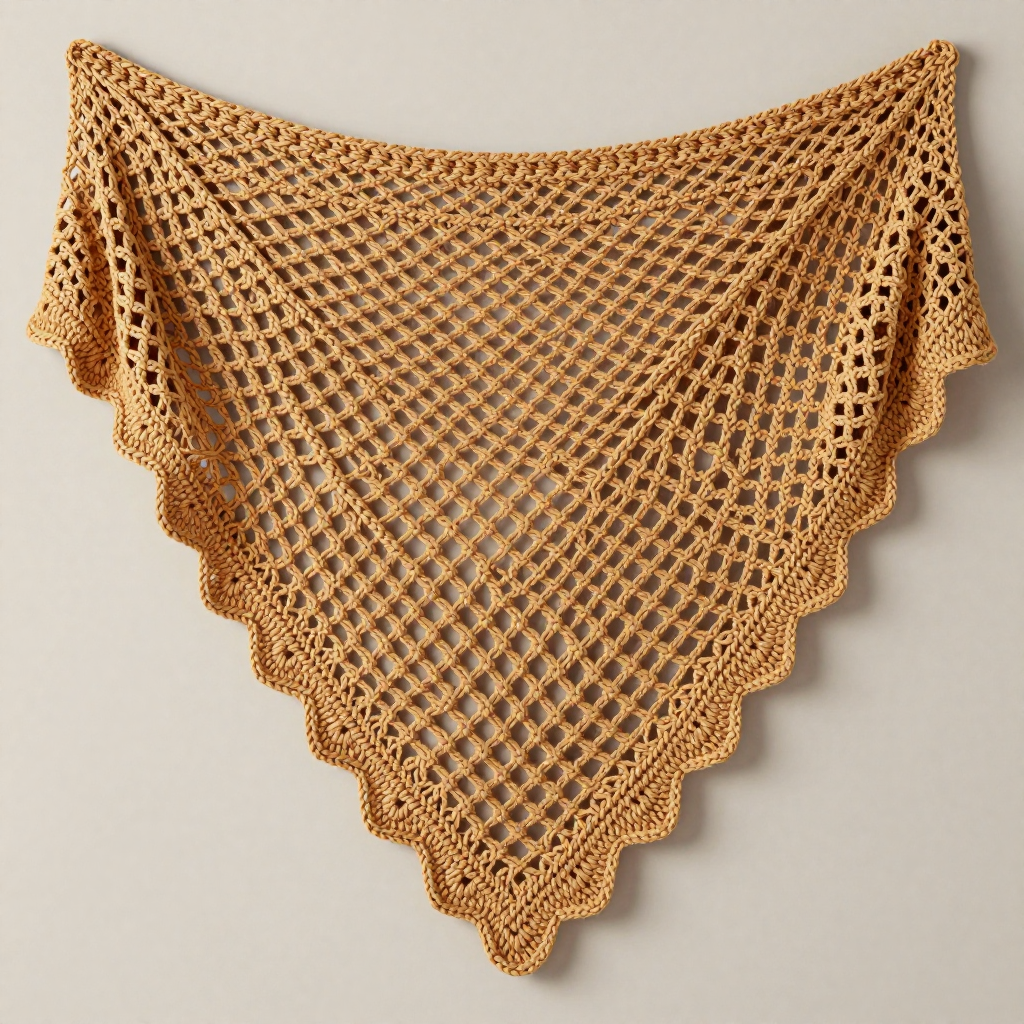
Starlight Snowflake Charm Ornament Free Pattern

Starlight Snowflake Charm Ornament: A Free Crochet Pattern for Festive Magic
There's something truly special about adorning your holiday tree with handmade treasures. This Starlight Snowflake Charm Ornament pattern is the perfect way to add a touch of personalized warmth to your festive decor. With its delicate picot edges, open chain loops, and a subtle shimmer, this snowflake captures the crisp, magical essence of winter. Best of all, it's a quick, beginner-friendly project that requires only a small amount of yarn—making it ideal for last-minute gifts, gift toppers, or a cozy afternoon of crafting. Let's get started on creating a snowflake that will sparkle on your tree for years to come.
Materials Needed
Before you begin, gather these simple supplies. The beauty of this project is its minimalism—you likely have most of these items in your stash already.
- Yarn: Worsted weight cotton or acrylic yarn in white, silver, or icy blue (approximately 20 yards). For a frosty, magical look, consider a yarn with a subtle metallic or shimmer thread blended in.
- Crochet Hook: 5.5 mm crochet hook (US size I/9).
- Other Notions: Yarn needle for weaving in ends, scissors, and a small piece of ribbon or thread for hanging.
Gauge: Not critical for this project. The key is to aim for a tight, firm fabric to help the snowflake hold its shape. If your stitches are loose, try using a slightly smaller hook.
Step-by-Step Instructions
Follow these detailed instructions to create your own Starlight Snowflake. The pattern uses standard US crochet abbreviations. Let's break it down into manageable rounds.
Getting Started: The Magic Ring
We'll begin with a magic ring (also known as a magic circle). This technique allows you to pull the center of your work tight, leaving no hole in the middle of your snowflake.
- Wrap the yarn around your finger twice to form a loop.
- Insert your hook into the loop, yarn over, and pull up a loop.
- Chain 1 to secure the ring. You are now ready to work your first round into the center of the ring.
Round 1: Building the Center
This round creates a solid, tight circle that forms the heart of your snowflake.
- Chain 3 (this counts as your first double crochet).
- Work 11 double crochet (dc) into the center of the magic ring.
- After completing the 11th dc, you should have 12 stitches total (including the initial ch-3).
- Pull the tail of the magic ring gently to close the circle completely.
- Join with a slip stitch (sl st) to the top of the beginning chain-3. (You should have 12 dc).
Round 2: Creating the Six Arms
Now we'll form the six points of the snowflake by creating open chain loops.
- Chain 1 (this does not count as a stitch).
- Work a single crochet (sc) into the same stitch where you joined.
- Chain 5.
- Skip the next double crochet from Round 1.
- Work a single crochet (sc) into the next double crochet.
- Repeat the sequence (chain 5, skip next dc, sc in next dc) around the circle. You will do this a total of 6 times.
- After your final chain-5, join with a slip stitch (sl st) to the very first single crochet of this round. (You should have 6 chain-5 loops).
Round 3: Adding the Picot Edges
This final round adds the delicate, textured points that give the snowflake its star-like charm. We'll be working inside the chain-5 loops from the previous round.
- Slip stitch (sl st) into the first chain-5 loop to position your yarn.
- Chain 1.
- In the same chain-5 loop, work the following sequence: (sc, ch 3, picot, sc). To make the picot: chain 3, then slip stitch into the 3rd chain from your hook. This creates a tiny, sharp point.
- Chain 3 to bridge to the next loop.
- In the next chain-5 loop, repeat the sequence: (sc, ch 3, picot, sc).
- Continue this pattern around: *ch 3, (sc, ch 3, picot, sc) in next loop*. Repeat from * to * for all 6 loops.
- After the last picot sequence, chain 3.
- Join with a slip stitch (sl st) to the very first single crochet of this round.
- Fasten off by cutting your yarn, leaving a 6-inch tail. Pull the tail through the loop on your hook to secure.
Finishing Touches: Blocking and Hanging
To ensure your snowflake lies flat and shows off its beautiful points, a little blocking goes a long way.
- Weave in all loose ends using your yarn needle, being careful not to distort the stitches.
- Block the snowflake lightly. You can do this by pinning it to a flat surface (like a foam board) and gently misting it with water. Allow it to dry completely. This opens up the picots and loops for a crisp, defined shape. If you're using acrylic yarn, you can also gently steam it (without touching the yarn) with an iron.
- Once dry, attach a small ribbon or thread loop through the top picot point of the snowflake for hanging.
And there you have it—a beautiful, handcrafted Starlight Snowflake Charm! Make several in different colors to create a cohesive theme, or gift them to loved ones as a heartfelt, handmade token of the season. Happy crocheting!