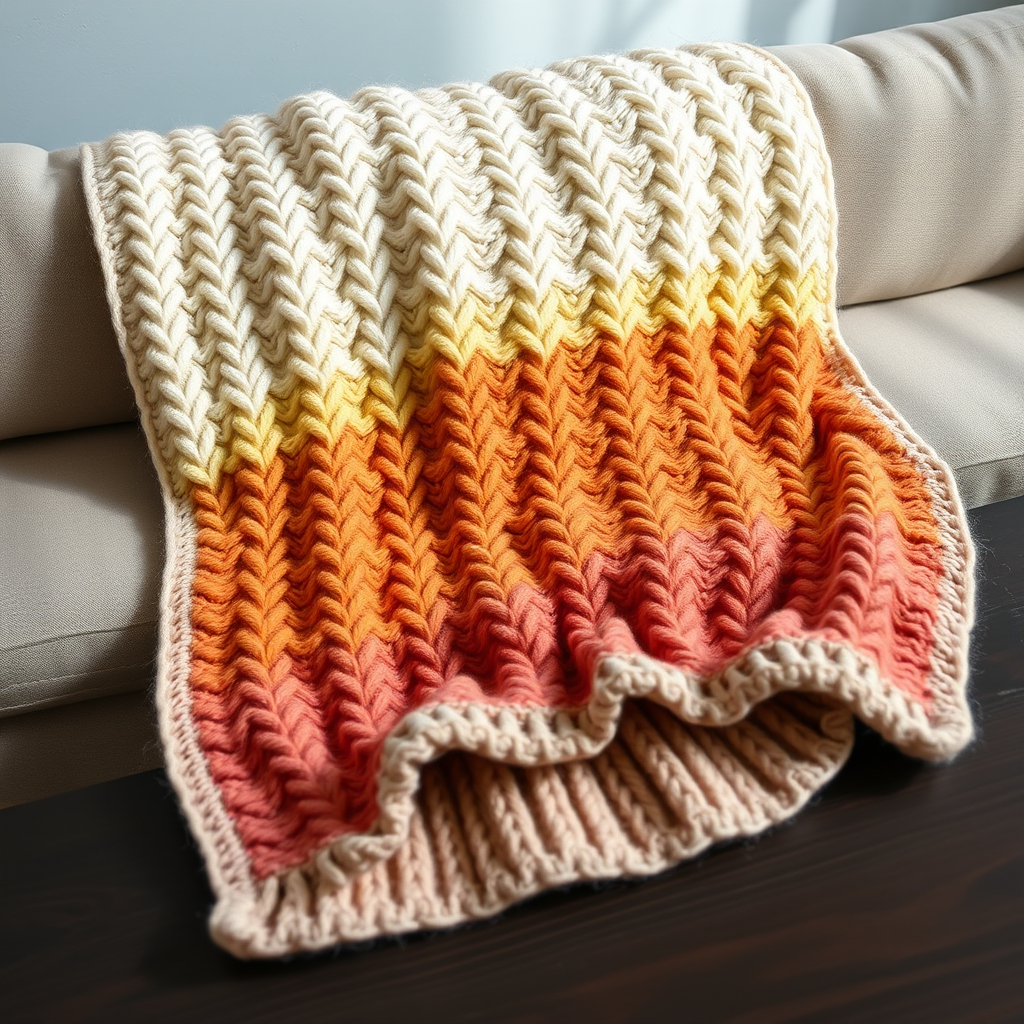
Citrus Grove Coasters Free Pattern – Knit Zesty Lime Squares

Knit Zesty Lime Squares: Free Citrus Grove Coasters Pattern
Bring a burst of fresh citrus to your coffee table with these knitted lime sherbet coasters. The textured stitch pattern mimics the rind of a lime, creating a vibrant and functional accent for any room. This is a perfect quick weekend project for beginners looking to add a handmade touch to their home decor. The combination of a luscious lime green with a crisp white border creates a modern, clean aesthetic that pops against any surface. Let's dive into this delightful knit!
Materials Needed
Before you begin, gather the following supplies. This project is wonderfully portable and requires minimal materials, making it ideal for on-the-go crafting.
- Yarn: Worsted weight cotton yarn in lime green (MC) and white (CC). Cotton is ideal for coasters as it is absorbent and durable. You will need approximately 50 yards of the main color and 20 yards of the contrasting color for all four coasters.
- Needles: US Size 6 (4.0 mm) knitting needles. Straight needles are perfectly fine for this project.
- Notions: A yarn needle for weaving in ends, scissors, and optionally a crochet hook (size G/4.0mm) if you choose to add the crochet border.
- Gauge: 20 stitches and 28 rows = 4 inches in stockinette stitch. While gauge is not critical for a coaster, matching it will ensure your coasters come out to the intended 4-inch square size.
Step-by-Step Instructions
This pattern creates a 4-inch square coaster. The instructions below are for making one coaster; repeat to make a total of four. The stitch pattern is simple to memorize and creates a beautiful, textured fabric that resembles the dimpled skin of a lime.
Abbreviations
- CO: Cast on
- K: Knit
- P: Purl
- K2tog: Knit two stitches together (decrease)
- YO: Yarn over (increase, creates an eyelet hole)
- Sl: Slip one stitch purlwise
- PSSO: Pass slipped stitch over
Coaster (Make 4)
Let's begin! With your main color (MC) yarn, cast on 20 stitches.
Rows 1-4: Work in garter stitch by knitting every row. This creates a solid, non-curling border for the bottom of your coaster.
Row 5 (Right Side): K3, *K2tog, YO, K1, YO, Sl 1, K2tog, PSSO, YO, K1, YO, K2tog, K1*; repeat from * to * once more, end K3. (20 stitches)
Tip: The Sl 1, K2tog, PSSO is a double decrease that creates the center of the diamond shape. Ensure your yarn overs are not too tight so the eyelets are visible.
Row 6 (Wrong Side): Purl all stitches. This row provides a clean separation between the textured rows.
Row 7: K3, *K1, YO, Sl 1, K2tog, PSSO, YO, K3, YO, Sl 1, K2tog, PSSO, YO, K1*; repeat from * to * once more, end K3.
Notice how the pattern is shifting. The decreases and yarn overs are staggered to form the diamond lattice effect.
Row 8: Purl all stitches.
Row 9: K3, *K2tog, YO, K1, YO, Sl 1, K2tog, PSSO, YO, K1, YO, K2tog, K1*; repeat from * to * once more, end K3.
This row mirrors Row 5, completing the diamond shape.
Row 10: Purl all stitches.
Rows 11-14: Work in garter stitch (knit every row). This creates the top border, balancing the bottom edge.
Bind off all stitches knitwise. This will create a neat, stretchy edge that matches the garter stitch border.
Finishing
Now for the final touches to make your coaster look polished and professional.
- Weave in all ends: Using your yarn needle, carefully weave in the cast-on and bind-off tails on the wrong side of the work. Also weave in any yarn tails from color changes if you are adding the border.
- Block lightly: To ensure your coaster lies flat and has crisp corners, lightly block it. You can pin it to a blocking mat and spritz with water, or gently press it with a warm iron over a damp cloth. This will help even out the stitches and open up the lace eyelets.
- Add a crochet border (optional): For a polished finish and to add a pop of contrasting color, use your white (CC) yarn and a crochet hook. Single crochet evenly around the entire edge of the coaster, working 3 single crochet stitches into each corner to help them turn nicely. Join with a slip stitch to the first single crochet and fasten off. Weave in this end as well.
Repeat these steps to create your set of four coasters. Once complete, arrange them on your coffee table, perhaps with a few fresh lime slices for a stylist's touch, and enjoy the handmade charm they bring to your space. Happy knitting!