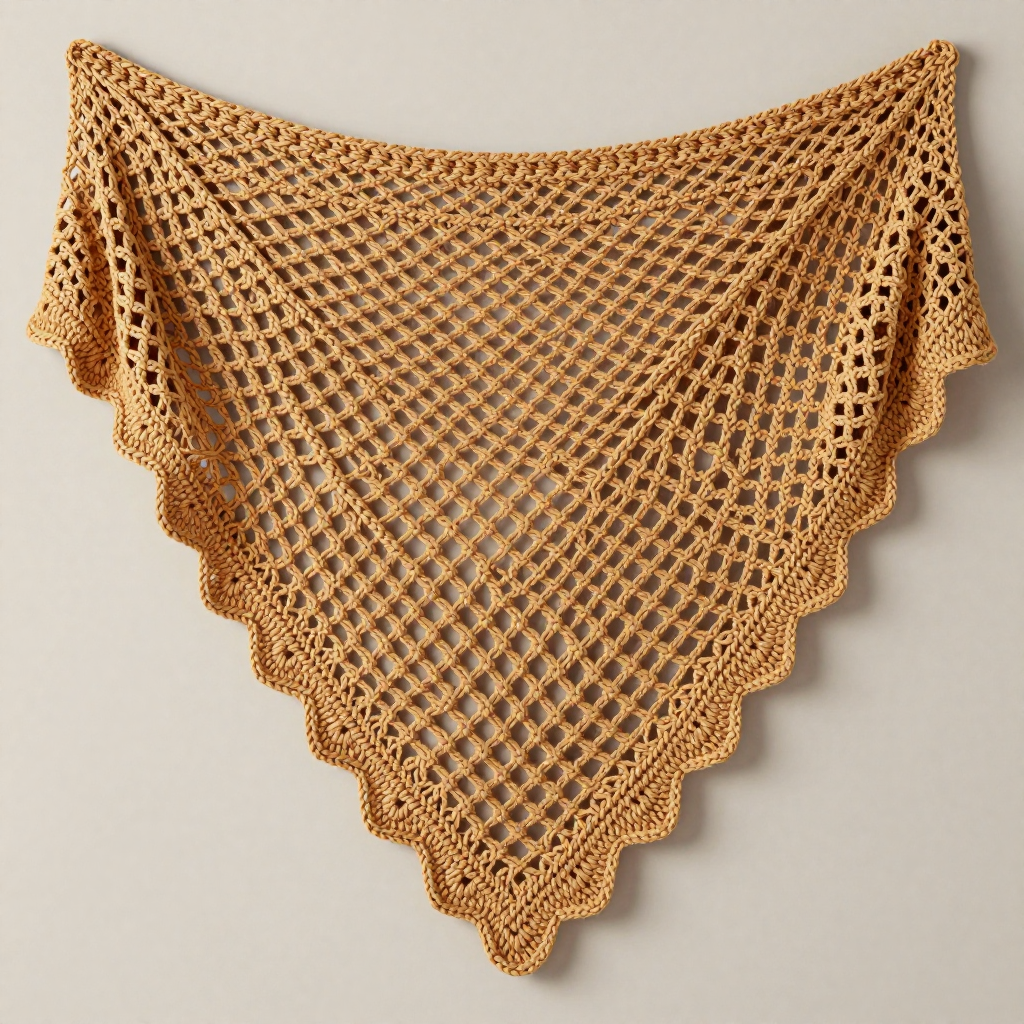
Aurora Twist Headband Free Pattern

The Aurora Twist Headband: A Cozy, Double-Layered Crochet Pattern for Beginners
Wrap yourself in the cozy embrace of the Aurora Twist Headband, a double-layered crochet accessory that combines warmth with a touch of celestial charm. This quick project uses bulky yarn and a large hook to create a plush, reversible design perfect for chilly days. Whether you're a seasoned maker or picking up a hook for the first time, this free pattern is designed to be your new favorite winter accessory—stylish, functional, and surprisingly simple to create.
The magic of this design lies in its clever construction. Instead of crocheting a flat strip and seaming it, you'll create a double-thick fabric by working two layers from a single foundation chain. Then, a simple half-twist before seaming transforms a basic rectangle into a stunning, infinity-style loop that sits beautifully on your head. The result is a dense, ribbed, and incredibly warm ear warmer that looks like it came straight from a boutique.
In this comprehensive guide, we'll walk you through every step, from gathering your materials to the final whip stitch. By the end, you'll have a gorgeous, handcrafted headband that you'll be proud to wear or gift. Let's dive in!
Materials Needed: Your Shopping List for Success
Before you begin, gather the following supplies. This project is wonderfully minimal, requiring just a few key items.
Yarn
- Bulky weight yarn (Category 5), approximately 80-100 yards. The pattern suggests Lion Brand Wool-Ease Thick & Quick in the color 'Aurora' (a soft variegated blue-purple) for a celestial look, or a solid cream like 'Fisherman' for a classic, versatile accessory. Any bulky yarn will work beautifully.
Hook and Notions
- US L/11 (8.0 mm) crochet hook – The large hook is essential for creating a soft, drapey fabric that isn't too stiff.
- Tapestry needle – For weaving in ends and seaming the headband together.
- Scissors – For cutting your yarn.
- Stitch markers (optional) – Helpful for keeping track of your rows, especially if you're a beginner.
Gauge and Size
- Gauge: 12 stitches and 8 rows = 4 inches in single crochet (sc) worked in the back loop only. While gauge isn't critical for this project, matching it ensures a snug, comfortable fit.
- Finished Size: One size fits most adults (approx. 20-22 inches circumference, 4 inches wide).
Step-by-Step Instructions: Crafting Your Aurora Twist Headband
Let's get to the fun part! Follow these detailed instructions carefully. We'll break this down into manageable sections. Remember, the key to a polished finish is patience and attention to detail.
Understanding Your Pattern
First, let's review the abbreviations you'll need to know:
- ch = chain
- sc = single crochet
- blo = back loop only
- st(s) = stitch(es)
- sl st = slip stitch
- rnd = round
Pattern Notes: The headband is worked in two layers that are joined at the end. The first layer is a simple rectangle, and the second layer is worked directly into the same foundation chain but on the opposite side, creating a double-thick fabric. The twist is created by folding the rectangle before seaming.
Layer 1: The Outer Layer
This is the foundation of your headband. We'll start by creating a chain and working single crochet rows.
- Foundation Chain: Make a slip knot and chain 12 (ch 12).
- Row 1: Single crochet (sc) in the 2nd chain from your hook. Then, sc in each of the remaining chains across. You should have a total of 11 single crochet stitches. (11 sc)
- Row 2: Chain 1 (ch 1), then turn your work. Now, work a single crochet in the back loop only (blo) of each stitch across. (11 sc)
- Rows 3-28: Repeat Row 2. Continue to ch 1, turn, and sc in the blo of each stitch. Keep repeating this until your piece measures approximately 20 inches (or your desired head circumference minus 2 inches for stretch). Do not fasten off. You will be using this working yarn to start Layer 2.
Pro-Tip: Working in the back loop only creates those beautiful, horizontal ribbed ridges that give the headband its texture. It also makes the fabric more stretchy and comfortable.
Layer 2: The Inner Layer
Now for the clever part! Instead of starting a new piece, we'll work into the unused loops of our very first foundation chain. This creates a seamless, double-thick tube.
- Positioning: Do not turn your work. Instead, rotate the piece so you are looking at the bottom edge—the original foundation chain. You'll see a series of "V" shapes. You already worked into the top loop of these "V"s in Row 1 of Layer 1. Now, you'll work into the remaining bottom loop of each chain.
- Row 1 (Inner): Ch 1. Working in the remaining loops of the foundation chain, sc in each chain across. You should have 11 single crochet stitches. (11 sc)
- Row 2 (Inner): Ch 1, turn. Sc in the blo in each st across. (11 sc)
- Rows 3-28 (Inner): Repeat Row 2. Continue until this layer is the exact same length as Layer 1 (approx. 20 inches). Count your rows to be sure! Once complete, fasten off, leaving a long tail (at least 18-20 inches) for seaming.
You now have a long, double-layered rectangle that is open at both ends, resembling a tube.
Creating the Twist and Seaming
This is where the headband transforms from a simple rectangle into a stylish accessory.
- Lay it Flat: Lay the double-layer rectangle flat on a table. Identify the two short ends.
- The Half-Twist: Pick up the piece and give it a single half-twist (180 degrees). You want the seam (where you will join) to now be on the inside of the twist. The two short ends should now be aligned, but the fabric between them has a visible twist.
- Seaming: With the right side facing you, thread your tapestry needle with the long tail. Using a whip stitch, carefully sew the two short ends together. Be sure to catch both layers of each end with your needle to create a secure seam. Maintain the twist as you sew—this is crucial for the final look.
- Weave in Ends: Once you've sewn the seam securely, weave in the yarn tail and any other loose ends using your tapestry needle. Trim any excess yarn.
Finishing Touches
Congratulations! Your headband is now a twisted loop. Here's how to finish it perfectly:
- Turn Right Side Out: If needed, gently turn the headband right side out so the seam is hidden on the inside.
- Position the Twist: The twist will naturally sit at the front or side of your head. Adjust it to your liking.
- Optional Embellishments: While the headband looks beautiful as is, you can add a decorative button or a small crochet flower at the twist point for a personalized touch.
And there you have it—your very own Aurora Twist Headband! This plush, reversible, and stylish accessory is perfect for keeping warm on cold days. Because it's double-layered, it offers extra insulation, making it an ideal project for gifting to loved ones. The pattern is quick to work up, so you might find yourself making one in every color. Happy crocheting!