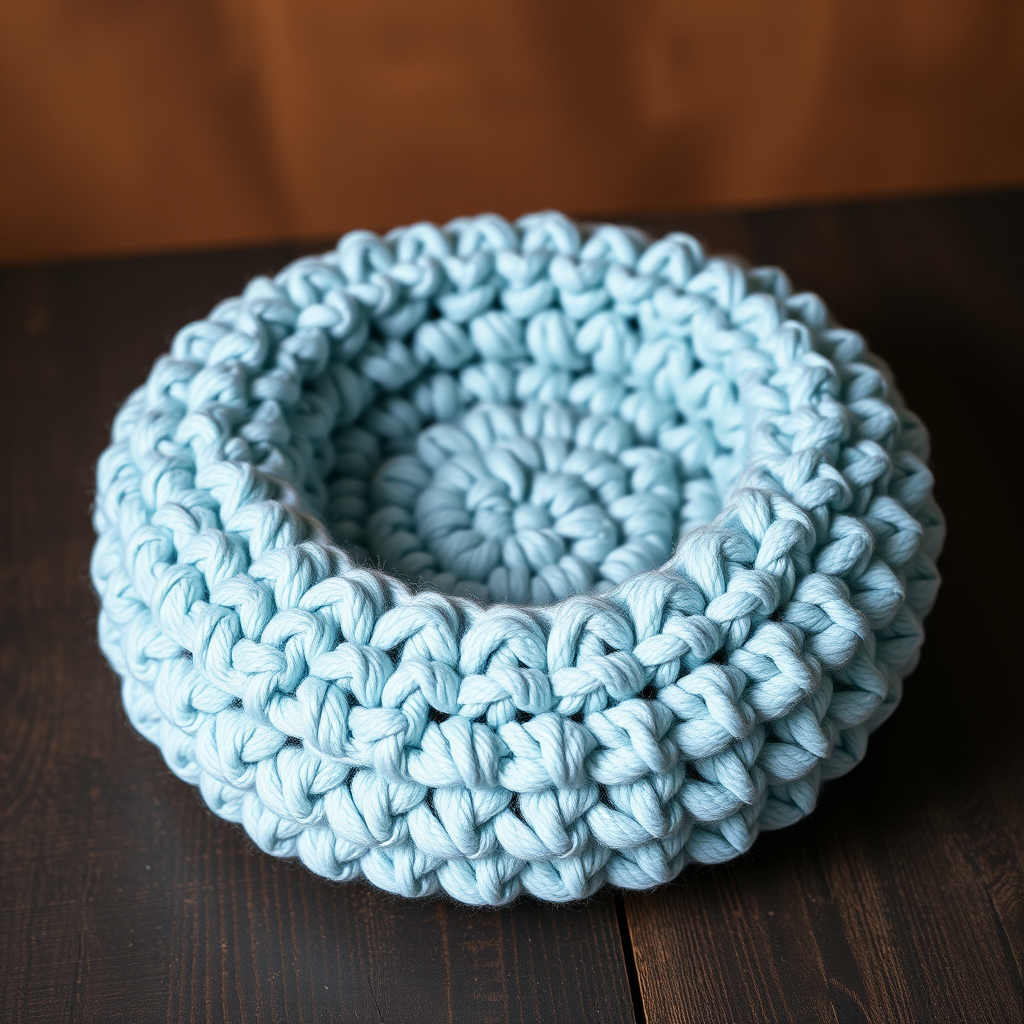
Aurora Tassel Waterfall Pillow Free Pattern – A Crocheted Cascade of Color

The Aurora Tassel Waterfall Pillow: A Free Crochet Pattern for a Cozy Boho Statement
Imagine sinking into your favorite reading nook, surrounded by soft, textured layers of color. That's the magic of the Aurora Tassel Waterfall Pillow. This isn't just a pillow; it's a handcrafted piece of art that brings a touch of bohemian elegance and warmth to any space. With its cascading stripes of earthy tones and a lush waterfall of fringe, this pattern is perfect for intermediate beginners looking to add a stunning, textured accent to their home decor. Let's dive into creating this cozy masterpiece together.
Materials Needed
Before we begin, let's gather our supplies. This project is wonderfully portable and uses simple, worsted-weight yarn, making it a joy to work on.
- Yarn: Worsted weight yarn in 5 colors. You'll need approximately 400g total. Here's the breakdown:
- Color A (Cream): For the base and top border
- Color B (Dusty Rose): For the first color block
- Color C (Sage Green): For the second color block
- Color D (Terracotta): For the third color block
- Color E (Mustard Yellow): For the fourth color block
- Crochet Hook: 5.5mm (I-9) crochet hook
- Other: Yarn needle for weaving in ends and seaming, scissors, and a 16x16 inch pillow form.
Gauge & Key Stitches
Getting your gauge right ensures your pillow fits the form perfectly. Don't skip this step!
- Gauge: 14 single crochet (sc) x 16 rows = 4 inches (10 cm). Always check your gauge and adjust your hook size if needed.
- Stitches Used: Chain (ch), Single Crochet (sc), Front Post Double Crochet (fpdc). The fpdc is what creates that beautiful, raised ribbed texture.
Step-by-Step Instructions
This pattern is worked in two identical panels. We'll make one panel, then repeat for the second. The texture is created by alternating simple sc rows with rows that feature fpdc "ribs."
Panel 1 (Make 2)
Foundation: With Color A, chain (ch) 61.
Row 1: Single crochet (sc) in the 2nd ch from the hook and in each ch across. (60 sc) Turn.
Row 2: Ch 1, sc in each stitch across. Turn.
Rows 3-4: Repeat Row 2. This creates a solid base border.
Creating the Textured Stripes
Now we'll start the fun part—building the raised stripes. The pattern is a simple repeat: a row of sc, then a row with fpdc "ribs" separated by sc.
Row 5 (Color A): Ch 1, sc in the first 10 sts. *Front Post Double Crochet (fpdc) in the next st, sc in the next 4 sts.* Repeat from * to * across, ending with sc in the last 10 sts. (You will have 10 sc, 10 fpdc, and 40 sc). Turn.
Row 6: Ch 1, sc in each st across. Turn.
Row 7: Ch 1, sc in first 10 sts, *fpdc in next st, sc in next 4 sts* repeat from * to * across, ending with sc in last 10 sts. Turn.
Row 8: Ch 1, sc in each st across. Turn.
Rows 9-10: Repeat Rows 7-8. This completes the first Color A stripe section.
Adding the Color Blocks
Now we'll switch colors to create the cascading effect. The pattern for each color block is identical, just with a new yarn color.
Row 11 (Color B - Dusty Rose): Ch 1, sc in first 10 sts, *fpdc in next st, sc in next 4 sts* repeat from * to * across, ending with sc in last 10 sts. Turn.
Row 12: Ch 1, sc in each st across. Turn.
Rows 13-16: Repeat Rows 11-12 twice more. (This gives you a total of 6 rows for the Color B block).
Row 17 (Color C - Sage Green): Ch 1, sc in first 10 sts, *fpdc in next st, sc in next 4 sts* repeat from * to * across, ending with sc in last 10 sts. Turn.
Row 18: Ch 1, sc in each st across. Turn.
Rows 19-22: Repeat Rows 17-18 twice more.
Row 23 (Color D - Terracotta): Ch 1, sc in first 10 sts, *fpdc in next st, sc in next 4 sts* repeat from * to * across, ending with sc in last 10 sts. Turn.
Row 24: Ch 1, sc in each st across. Turn.
Rows 25-28: Repeat Rows 23-24 twice more.
Row 29 (Color E - Mustard Yellow): Ch 1, sc in first 10 sts, *fpdc in next st, sc in next 4 sts* repeat from * to * across, ending with sc in last 10 sts. Turn.
Row 30: Ch 1, sc in each st across. Turn.
Rows 31-34: Repeat Rows 29-30 twice more.
Finishing the Panel
Row 35 (Color A - Cream): Ch 1, sc in each st across. Turn.
Rows 36-38: Repeat Row 35. This creates a matching border at the top.
Fasten off and weave in all your ends securely. Repeat the entire process to create your second panel.
Seaming the Panels Together
Now it's time to join our two beautiful panels.
- Place the two panels together with their right sides facing each other.
- Using your Color A yarn and a crochet hook, slip stitch or single crochet through both layers along the side and top edges. Leave the bottom edge completely open for turning and stuffing.
- Once seamed, carefully turn the pillow cover right side out, pushing out the corners gently.
Creating the Tassel Waterfall
This is what makes the pillow truly special! The waterfall of tassels adds movement and a lush, boho finish.
- Cut your strands: Cut strands of yarn in Colors B, C, D, and E, each 12 inches long. You'll need many strands, so cut a generous batch of each color.
- Form each tassel: For each tassel, hold 3 strands of yarn together. Fold them in half to create a loop.
- Attach the tassel: Insert your crochet hook through the bottom edge of the pillow, from front to back. Pull the folded loop of yarn through the fabric.
- Secure the tassel: Pull the loose ends of the yarn through the loop and pull tight to create a knot. This securely attaches the tassel.
- Placement: Space your tassels approximately 1 inch apart along the entire bottom edge. Alternate the colors (B, C, D, E) as you go to create a beautiful, varied waterfall effect.
- Trim: Once all tassels are attached, hold them together and trim the ends evenly to create a clean, cascading fringe.
Final Assembly
Almost done! The last step is to make it a pillow.
- Carefully insert your 16x16 inch pillow form through the open bottom edge.
- Thread your yarn needle with a long piece of Color A yarn.
- Whip stitch the bottom edge closed, being careful to catch the loops of the tassels securely in your stitches so they stay firmly attached.
- Weave in all remaining ends and give your pillow a gentle fluff.
Congratulations! You've just created a stunning Aurora Tassel Waterfall Pillow. Place it on your sofa, bed, or favorite reading chair and enjoy the cozy, handcrafted beauty you've brought to life. This pattern is a wonderful way to practice texture work and create a truly unique piece for your home. Happy crocheting!