The Whispering Pines Mosaic Pillow: A Free Knitting Pattern for a Textured, Forest-Inspired Home Accent
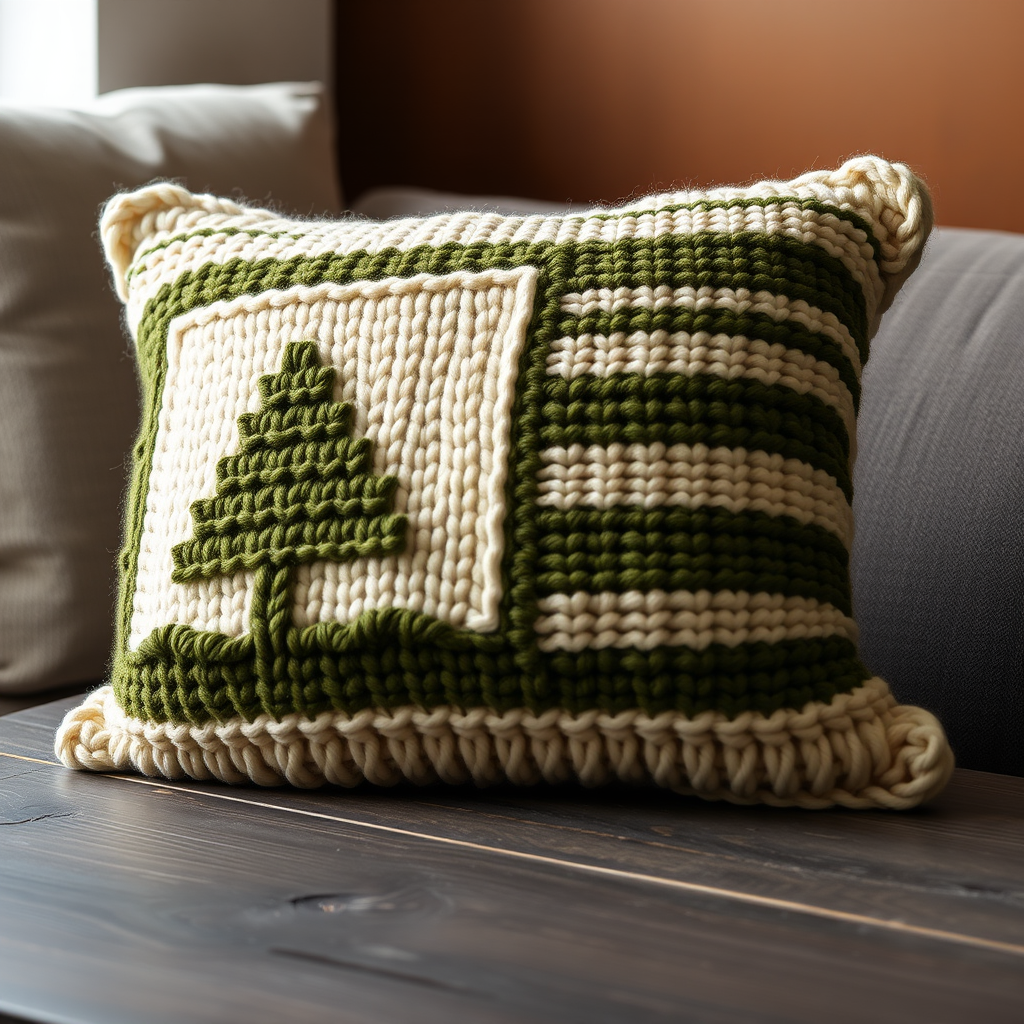
Bring the Forest Home: The Whispering Pines Mosaic Pillow
Bring the serene beauty of a pine forest into your home with this richly textured mosaic knit pillow, featuring a stunning geometric tree motif in earthy tones. This free pattern guides you through creating a cozy, modern accent piece that adds warmth and depth to any room. The mosaic technique creates a beautifully woven, textured look that is surprisingly simple to achieve—perfect for adventurous beginners ready to try slipped stitches.
Materials Needed
Before you begin, gather the following supplies:
- Yarn: Worsted weight yarn in three colors:
- Color A (Forest Green) - 200 yards
- Color B (Moss Green) - 150 yards
- Color C (Cream) - 100 yards
- Needles: US Size 7 (4.5 mm) knitting needles
- Notions: Tapestry needle for weaving ends and seaming
- Other: 12-inch pillow form (or stuffing of your choice)
Gauge & Sizing
Gauge: 20 stitches and 28 rows = 4 inches in stockinette stitch. Always check your gauge to ensure your pillow measures 12 inches square.
Finished Size: 12 inches x 12 inches (fits a standard 12-inch pillow form).
Abbreviations
- CO: cast on
- K: knit
- P: purl
- Sl: slip stitch purlwise with yarn in back (wyib) on RS rows, with yarn in front (wyif) on WS rows
- Color A: Forest Green
- Color B: Moss Green
- Color C: Cream
Step-by-Step Instructions
Front Panel (Mosaic Tree Motif)
Note: The mosaic pattern uses only one color per row. When you slip a stitch, you simply move it from the left needle to the right needle without knitting or purling it. On RS rows, keep the yarn in back (wyib); on WS rows, keep the yarn in front (wyif). This creates the textured, woven look.
Setup: With Color A, CO 60 stitches.
Row 1 (RS): With Color A, K all stitches.
Row 2 (WS): With Color A, P all stitches.
Begin Mosaic Pattern (repeat rows 3-16 for each tree motif):
Row 3 (RS): With Color B, K1, *Sl1, K5* repeat from * to * across, end with K1.
Row 4 (WS): With Color B, P1, *Sl1 wyif, P5* repeat from * to * across, end with P1.
Row 5 (RS): With Color A, K2, *Sl1, K1, Sl1, K3* repeat from * to * across, end with K2.
Row 6 (WS): With Color A, P2, *Sl1 wyif, P1, Sl1 wyif, P3* repeat from * to * across, end with P2.
Row 7 (RS): With Color B, K3, *Sl1, K1, Sl1, K1, Sl1, K1* repeat from * to * across, end with K3.
Row 8 (WS): With Color B, P3, *Sl1 wyif, P1, Sl1 wyif, P1, Sl1 wyif, P1* repeat from * to * across, end with P3.
Row 9 (RS): With Color A, K2, *Sl1, K3, Sl1, K1* repeat from * to * across, end with K2.
Row 10 (WS): With Color A, P2, *Sl1 wyif, P3, Sl1 wyif, P1* repeat from * to * across, end with P2.
Row 11 (RS): With Color B, K1, *Sl1, K5* repeat from * to * across, end with K1.
Row 12 (WS): With Color B, P1, *Sl1 wyif, P5* repeat from * to * across, end with P1.
Row 13 (RS): With Color C, K all stitches.
Row 14 (WS): With Color C, P all stitches.
Row 15 (RS): With Color A, K all stitches.
Row 16 (WS): With Color A, P all stitches.
Repeat rows 3-16 four more times (for a total of 5 tree motifs stacked vertically).
Final rows:
Row 17 (RS): With Color C, K all stitches.
Row 18 (WS): With Color C, P all stitches.
Bind off all stitches loosely. Cut yarn, leaving a 12-inch tail for seaming.
Back Panel (Simple Stripes)
Setup: With Color A, CO 60 stitches.
Rows 1-2: Work in stockinette stitch (K on RS, P on WS) for 2 rows with Color A.
Stripe pattern (work in stockinette stitch throughout):
- 4 rows Color B
- 4 rows Color C
- 4 rows Color A
- 4 rows Color B
- 4 rows Color C
- 4 rows Color A
- 4 rows Color B
- 4 rows Color C
- 4 rows Color A
- 4 rows Color B
- 4 rows Color C
- 4 rows Color A
Bind off all stitches loosely. Cut yarn, leaving a 12-inch tail for seaming.
Assembly
- Block both pieces: Wet block or steam block each panel to 12 inches square. This ensures your pillow lies flat and the seams align perfectly.
- Seam three sides: Place front and back panels with right sides together. Using a tapestry needle and mattress stitch, sew three sides together. Start at one corner and work your way around, leaving one side open.
- Insert pillow form: Turn the pillow cover right side out. Insert your 12-inch pillow form, gently pushing it into the corners.
- Close the fourth side: Fold the raw edges of the open side inward, aligning them with the sewn edges. Use mattress stitch to close the opening neatly.
- Weave in ends: Using your tapestry needle, weave in all remaining yarn tails on the inside of the pillow cover. Trim any excess.
Your Whispering Pines Mosaic Pillow is complete! Enjoy the cozy, forest-inspired texture and the modern geometric design that brings a touch of nature indoors.


