The Whispering Dune Cardigan: A Free Knitting Pattern for a Textured, Asymmetrical Cocoon Coat
Introducing the Whispering Dune Cardigan
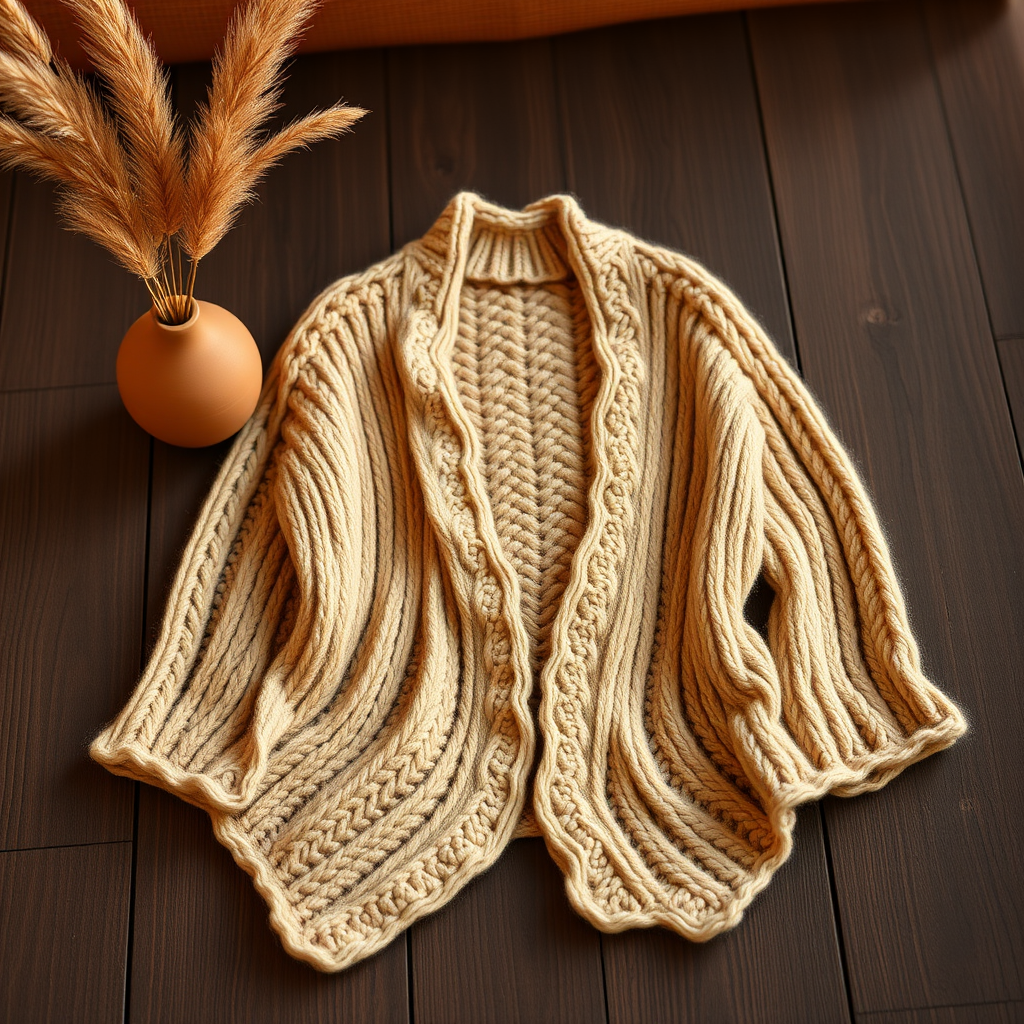
Embrace the serene beauty of desert landscapes with this free knitting pattern for a uniquely textured, asymmetrical cocoon cardigan. The Whispering Dune features a mesmerizing blend of slipped stitches and gentle waves, creating a garment that feels like a warm, sandy breeze. This modern, cozy piece is perfect for beginner and intermediate knitters alike, offering a relaxed, oversized silhouette with a dramatic asymmetrical hem. The textured stitch pattern mimics the wind-swept dunes, making this cardigan a true statement piece for your wardrobe.
Materials Needed
Yarn
- Weight: Worsted weight (Category 4) yarn
- Amount: Approximately 1200 (1350, 1500, 1650) yards
- Sample shown in: Lion Brand Wool-Ease in 'Sand'
Needles
- Main needle: US Size 8 (5.0 mm) circular needles, 32-inch or longer (for magic loop or working flat)
- Ribbing needle: US Size 7 (4.5 mm) circular needles
Gauge
18 stitches and 24 rows = 4 inches in stockinette stitch on larger needles, after blocking.
Additional Supplies
- Stitch holders or waste yarn
- Tapestry needle for weaving ends
- Stitch markers (optional)
- Measuring tape
Step-by-Step Instructions
Sizes & Finished Measurements
- Sizes: XS/S (M, L, XL/XXL)
- Finished bust: 38 (44, 50, 56) inches
- Length: 26 (28, 30, 32) inches
Abbreviations
- CO: cast on
- K: knit
- P: purl
- Sl1 wyif: slip 1 stitch purlwise with yarn in front
- Sl1 wyib: slip 1 stitch purlwise with yarn in back
- K2tog: knit 2 together
- SSK: slip slip knit
- St(s): stitch(es)
- yo: yarn over
- WS: wrong side
- RS: right side
Pattern Notes
- The cardigan is worked in one piece from the top down, starting with the back neck, then splitting for the sleeves and body.
- The asymmetrical hem is created by working short rows at the bottom edges.
- The textured stitch pattern is a simple 4-row repeat.
Stitch Pattern (Multiple of 4 + 2)
Row 1 (RS): K2, *Sl1 wyif, K3; repeat from * to last 2 sts, Sl1 wyif, K1.
Row 2 (WS): P2, *Sl1 wyib, P3; repeat from * to last 2 sts, Sl1 wyib, P1.
Row 3 (RS): K1, *K2tog, yo, K2; repeat from * to last st, K1.
Row 4 (WS): Purl all sts.
Repeat Rows 1-4 for pattern.
Back
With larger needles, CO 82 (94, 106, 118) sts.
Work in Stitch Pattern for 12 (14, 16, 18) inches, ending with a WS row.
Shape Sleeves
Next Row (RS): CO 40 (44, 48, 52) sts at beginning of row for left sleeve. Work across all sts in pattern.
Next Row (WS): CO 40 (44, 48, 52) sts at beginning of row for right sleeve. Work across all sts in pattern. Total sts: 162 (182, 202, 222) sts.
Work even in pattern for 8 (8, 9, 9) inches, ending with a WS row.
Divide for Fronts
Next Row (RS): Work 81 (91, 101, 111) sts for left front, place remaining 81 (91, 101, 111) sts on holder for right front.
Left Front
Work even in pattern for 6 (7, 8, 9) inches, ending with a WS row.
Shape Asymmetrical Hem (Short Rows)
Row 1 (RS): Work in pattern to last 10 sts, wrap next st, turn.
Row 2 (WS): Work in pattern to end.
Row 3: Work in pattern to last 20 sts, wrap next st, turn.
Row 4: Work in pattern to end.
Continue in this manner, working 10 fewer sts each RS row, until you have wrapped sts 4 times total. Then work 1 RS row across all sts, working wraps together with wrapped sts. Bind off loosely.
Right Front
Return held sts to needle. With RS facing, join yarn. Work even in pattern for 6 (7, 8, 9) inches, ending with a WS row.
Shape Asymmetrical Hem (Short Rows)
Row 1 (WS): Work in pattern to last 10 sts, wrap next st, turn.
Row 2 (RS): Work in pattern to end.
Row 3: Work in pattern to last 20 sts, wrap next st, turn.
Row 4: Work in pattern to end.
Continue in this manner, working 10 fewer sts each WS row, until you have wrapped sts 4 times total. Then work 1 WS row across all sts, working wraps together with wrapped sts. Bind off loosely.
Sleeves
With smaller needles, pick up and knit 60 (66, 72, 78) sts around armhole edge. Join to work in the round.
Work in K2, P2 ribbing for 2 inches. Bind off in pattern.
Finishing
Weave in all ends. Block to measurements, gently stretching the asymmetrical hem to lie flat.
Optional Closure
Add a single large button at the neckline for closure, or leave open for a flowing, open-front look.


