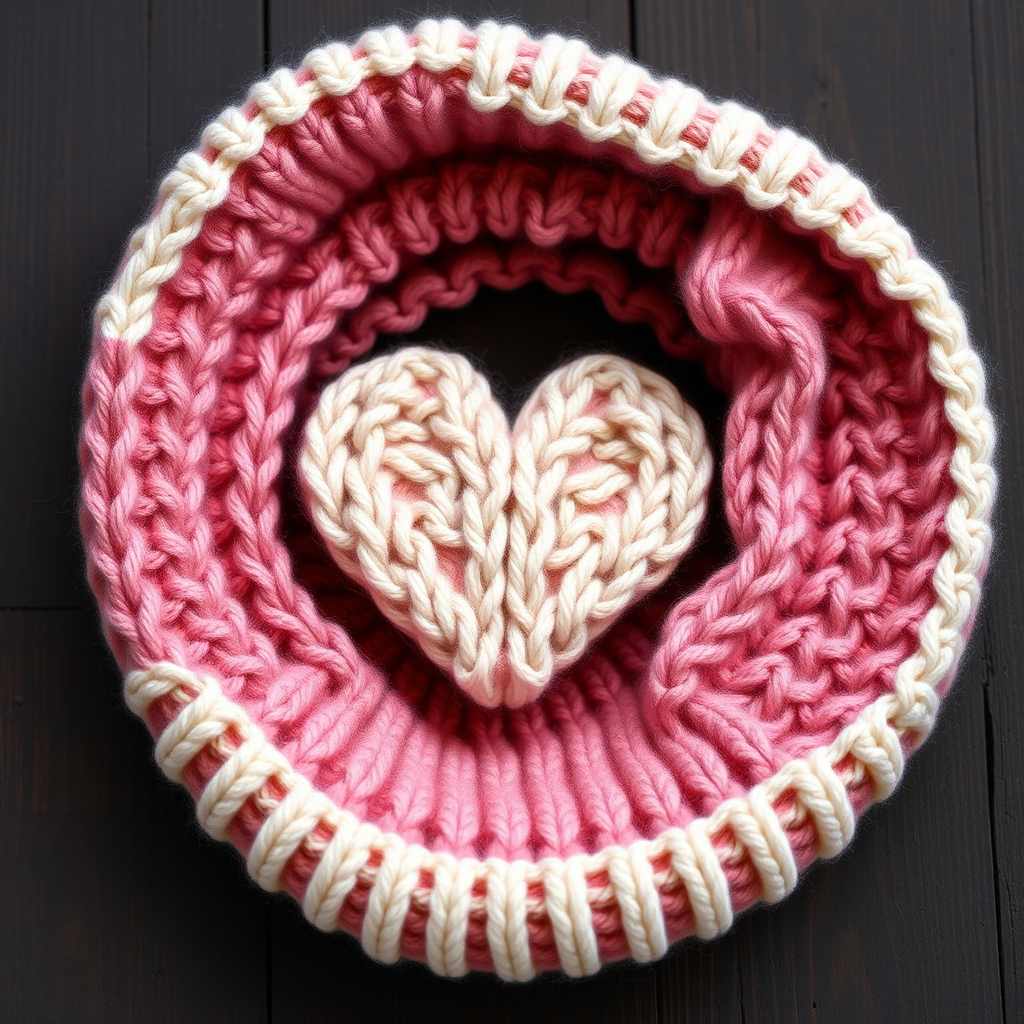
The Serpentine Spiral Cowl: A Free Knitting Pattern for a Textured, Bi-Colored Neck Warmer

Wrap Yourself in Texture: Introducing the Serpentine Spiral Cowl
Are you ready to create a stunning, modern accessory that looks far more complex than it actually is? The Serpentine Spiral Cowl is a mesmerizing, bi-colored neck warmer that uses a simple slip-stitch technique to build an undulating, sculptural fabric. This double-layered cowl is the perfect project for adventurous beginners and experienced knitters alike, offering a quick, satisfying knit with a high-impact, architectural result. The rhythmic color changes and textured coils will make this your new favorite winter accessory, adding a touch of elegant warmth to any outfit.
Materials Needed
Before you begin, gather the following supplies. The pattern is designed for a specific gauge and yarn weight to achieve the perfect drape and texture.
- Yarn: Worsted weight yarn (Category 4). You will need two contrasting colors:
- Color A (Main Color): 150 yards of a solid or heathered shade (e.g., a soft grey).
- Color B (Contrast Color): 150 yards of a rich, deep shade (e.g., a deep teal).
- Needles: US Size 8 (5.0 mm) 16-inch circular knitting needle, or size needed to obtain gauge.
- Notions: Stitch marker, tapestry needle for weaving in ends.
- Gauge: 20 stitches and 28 rows = 4 inches in Stockinette stitch, after blocking. Getting gauge is crucial for the correct size and fabric density.
Step-by-Step Instructions
This cowl is worked in the round from the bottom up. The slip-stitch pattern creates a dense, warm fabric, and the cowl is designed to be worn folded over for a double-layer effect. Follow these instructions carefully, and you'll have a beautiful, textured cowl in no time.
Abbreviations
- CO: Cast on
- k: Knit
- p: Purl
- sl1 wyif: Slip 1 stitch purlwise with yarn in front
- sl1 wyib: Slip 1 stitch purlwise with yarn in back
- rep: Repeat
- rnd(s): Round(s)
- BO: Bind off
Getting Started: Cast On and Ribbing
Step 1: With Color A, CO 120 stitches. Place a stitch marker to mark the beginning of the round, and join in the round, being very careful not to twist your stitches.
Step 2: Ribbing (Rounds 1-6):
- Rnd 1: *k2, p2; rep from * to end of round.
- Rnds 2-6: Repeat Rnd 1. This creates a neat, stretchy 2x2 ribbed edge.
Creating the Serpentine Body (Slip-Stitch Pattern)
This is where the magic happens. The pattern repeats every 8 rounds. Pay close attention to the yarn position when slipping stitches.
- Rnd 7 (Color A): Knit all stitches.
- Rnd 8 (Color A): Purl all stitches.
- Rnd 9 (Color B): *k1, sl1 wyif; rep from * to end. (Knit one stitch, then slip the next stitch purlwise with the yarn held in front of the work).
- Rnd 10 (Color B): *p1, sl1 wyib; rep from * to end. (Purl one stitch, then slip the next stitch purlwise with the yarn held in back of the work).
- Rnd 11 (Color A): Knit all stitches.
- Rnd 12 (Color A): Purl all stitches.
- Rnd 13 (Color B): *sl1 wyif, k1; rep from * to end. (Slip one stitch with yarn in front, then knit the next stitch).
- Rnd 14 (Color B): *sl1 wyib, p1; rep from * to end. (Slip one stitch with yarn in back, then purl the next stitch).
Repeat Rounds 7-14 until the cowl measures approximately 10 inches from the cast-on edge, ending after a Rnd 14 repeat. This will give you a full, double-layer cowl when folded.
Finishing Touches: Top Ribbing and Bind Off
Step 1: Top Ribbing (Rounds 1-6): Switch back to Color A. Work Rounds 1-6 of the Ribbing pattern exactly as you did at the beginning.
Step 2: Bind Off: BO loosely in pattern. This means you will knit the knit stitches and purl the purl stitches as you bind off. A stretchy bind-off (like the Jenny's Surprisingly Stretchy Bind Off) is recommended for a flexible edge.
Step 3: Finishing: Cut your yarn, leaving a 6-inch tail. Weave in all ends securely using a tapestry needle. Block the cowl gently by soaking it in lukewarm water, gently squeezing out excess water (do not wring), and laying it flat to dry. Blocking will open up the slip-stitch texture and even out the stitches, revealing the beautiful, undulating coils.
Congratulations! You've just created a stunning, textured Serpentine Spiral Cowl. Wear it folded over for a cozy double layer, or let it stand tall for a dramatic, sculptural look. This pattern is a wonderful way to practice slip-stitch techniques and create a truly unique accessory.