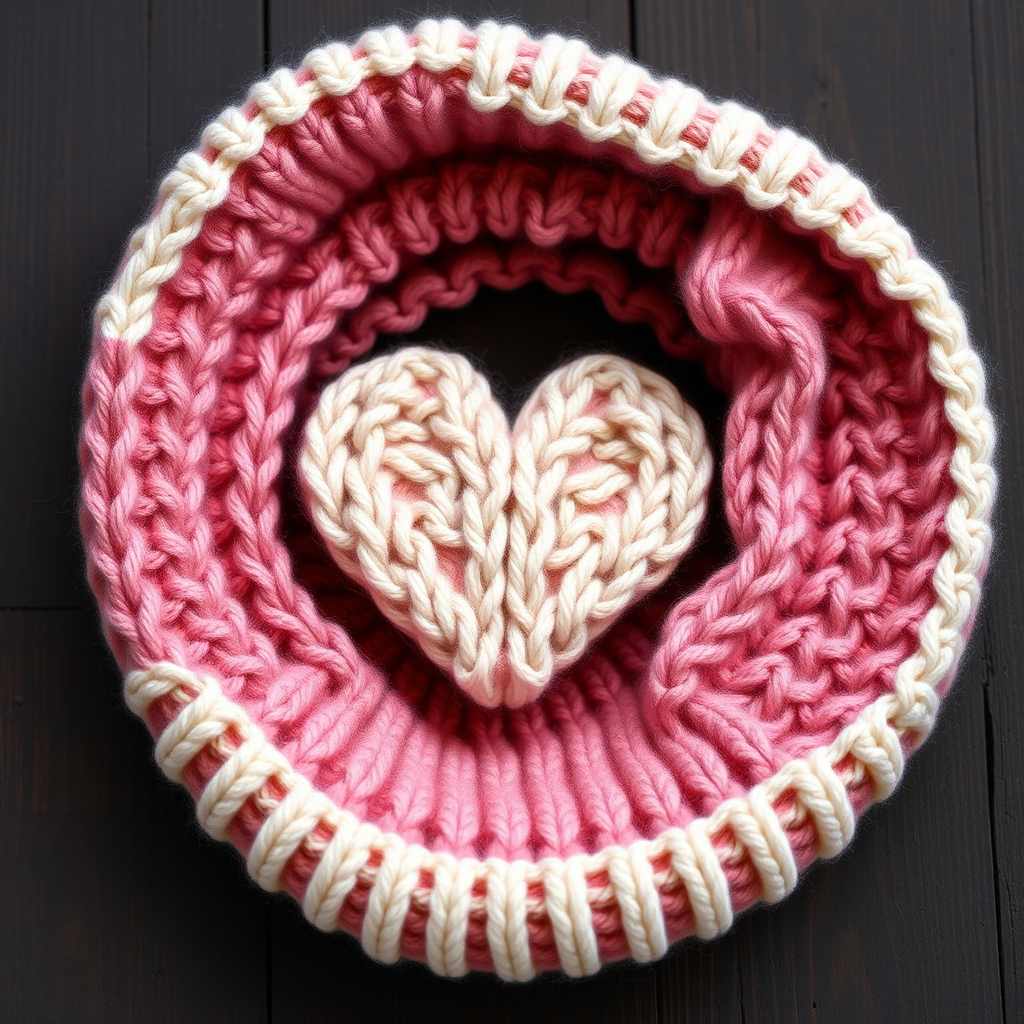
The Patchwork Stitch Cowl: A Free Knitting Pattern for a Textured, Asymmetrical Neck Warmer

The Patchwork Stitch Cowl: A Free Knitting Pattern for a Textured, Asymmetrical Neck Warmer
Embrace the cozy charm of mismatched stitches with this unique cowl, featuring a patchwork of garter, seed, and ribbed panels that create a wonderfully tactile and visually intriguing accessory. Knit flat and seamed, this project is perfect for using up small skeins of worsted-weight yarn in complementary hues. Whether you're a beginner looking to practice different stitch patterns or an experienced knitter wanting a quick, satisfying project, this cowl delivers both style and warmth with its relaxed, asymmetrical drape.
Materials Needed
- Yarn: Worsted weight yarn (approx. 250-300 yards total). Sample uses three colors: Color A (100 yds), Color B (100 yds), Color C (100 yds).
- Needles: US Size 8 (5.0 mm) knitting needles
- Notions: Tapestry needle for seaming, scissors
- Gauge: 18 stitches x 24 rows = 4 inches in stockinette stitch (gauge is not critical for this project, but consistency across panels ensures even seaming)
Step-by-Step Instructions
Panel 1 (Garter Stitch - Color A)
Cast on: Using Color A, cast on 30 stitches.
Row 1 (RS): Knit all stitches.
Row 2 (WS): Knit all stitches.
Repeat: Continue repeating Rows 1-2 until the piece measures 8 inches from the cast-on edge. The fabric will have a ridged, bumpy texture on both sides.
Bind off: Bind off all stitches loosely (use a larger needle or a stretchy bind-off if needed). Cut yarn, leaving a 6-inch tail. Set aside.
Panel 2 (Seed Stitch - Color B)
Cast on: Using Color B, cast on 30 stitches.
Row 1 (RS): *K1, P1; repeat from * to end. (You will end with a knit stitch if you have an even number of stitches, which you do.)
Row 2 (WS): *P1, K1; repeat from * to end. (This creates the alternating bumps of seed stitch.)
Repeat: Continue repeating Rows 1-2 until the piece measures 8 inches from the cast-on edge. The fabric will have a pebbly, textured surface.
Bind off: Bind off all stitches loosely. Cut yarn, leaving a 6-inch tail. Set aside.
Panel 3 (Ribbed Stitch - Color C)
Cast on: Using Color C, cast on 30 stitches.
Row 1 (RS): *K2, P2; repeat from * to last 2 stitches, K2.
Row 2 (WS): *P2, K2; repeat from * to last 2 stitches, P2.
Repeat: Continue repeating Rows 1-2 until the piece measures 8 inches from the cast-on edge. The fabric will have vertical columns of knit and purl stitches, creating a stretchy, structured texture.
Bind off: Bind off all stitches loosely. Cut yarn, leaving a 6-inch tail. Set aside.
Assembly
Step 1: Arrange the three panels in a row on a flat surface: Panel 1 (Color A) on the left, Panel 2 (Color B) in the middle, and Panel 3 (Color C) on the right. Ensure the right sides (the side you want facing outward) are facing up.
Step 2: Thread a tapestry needle with a length of Color A yarn (or matching yarn for each seam). Using a mattress stitch or whip stitch, sew the side edge of Panel 1 to the side edge of Panel 2. Work from the cast-on edge to the bind-off edge, keeping the seam even and not too tight. Repeat to sew Panel 2 to Panel 3. You now have one long rectangle measuring approximately 8 inches tall and 24 inches wide (30 stitches x 3 panels).
Step 3: Fold the rectangle in half lengthwise, bringing the cast-on edge of Panel 1 to meet the bind-off edge of Panel 3. The right sides should be facing each other (the seam will be on the inside). Using a tapestry needle and matching yarn, sew these two edges together to form a loop. This seam will be hidden inside the cowl when worn.
Step 4: Weave in all ends using the tapestry needle, securing them on the wrong side of the fabric. Trim any excess yarn.
Step 5: Block lightly if desired. To block, wet the cowl gently, squeeze out excess water (do not wring), and lay flat to dry, shaping it into a relaxed, circular form. This will even out the stitches and soften the fabric.
Your Patchwork Stitch Cowl is complete! Wear it draped loosely around your neck, with the seams visible as design elements that celebrate the beautiful, mismatched textures of garter, seed, and ribbed stitches.