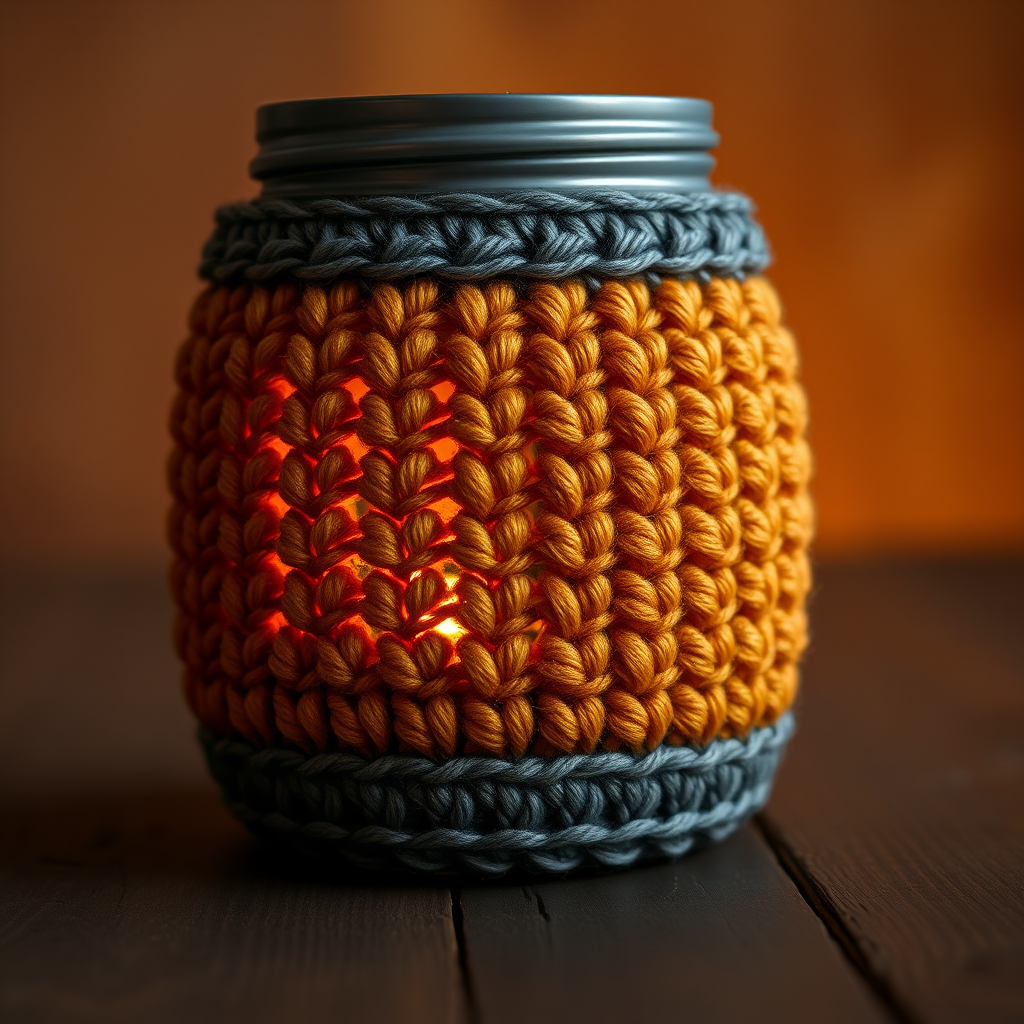
The Cozy Cloud Basket: Stash-Busting Textured Crochet Basket Free Pattern

Introducing the Cozy Cloud Basket: Your New Favorite Stash-Busting Project
Are you looking for a stunning, functional, and beginner-friendly crochet project that will transform your leftover yarn into a work of art? Look no further than the Cozy Cloud Basket. This unique pattern uses a simple combination of post stitches to create a dense, sturdy fabric that is perfect for holding knitting supplies, toys, magazines, or anything else that needs a beautiful home. The best part? It’s designed to be a stash-busting dream, allowing you to use up those partial skeins of bulky yarn in a marled, cloud-like effect. With its sculptural, ruffled top edge, this basket looks like a fluffy cloud come to life, adding a cozy, whimsical touch to any room. Let’s get started!
Materials Needed
Before you begin, gather the following supplies. The key to a sturdy basket is using the right yarn and hook size.
- Yarn: Approximately 400-500 yards of bulky weight yarn (Category 5). For a marled cloud effect, use assorted colors (e.g., soft cream, pale gray, light blue). For a solid color, use 500 yards of a single color. Best choice: 100% cotton or a cotton-acrylic blend for excellent structure and shape retention.
- Crochet Hook: Size J/10 (6.0 mm) crochet hook, or the size needed to achieve gauge. A hook with a comfortable grip is recommended for long sessions.
- Other Notions: Stitch marker (to mark the beginning of rounds), yarn needle (for weaving in ends), scissors, and a steamer or spray bottle for blocking.
Gauge: 12 stitches and 10 rows in pattern stitch = 4 inches (10 cm). Exact gauge is not critical for this project, but consistency is important for a uniform shape. If your gauge is off, adjust your hook size accordingly.
Step-by-Step Instructions
This pattern is worked in continuous rounds from the bottom up. Follow each step carefully, and you’ll have a beautiful cloud basket in no time.
Abbreviations (US Terms)
- ch: chain
- sc: single crochet
- dc: double crochet
- fpdc: front post double crochet
- bpdc: back post double crochet
- sl st: slip stitch
- st(s): stitch(es)
- rnd: round
Pattern Notes
- Work in continuous rounds (do not join unless specified). Use a stitch marker to mark the beginning of each round.
- The basket is worked from the bottom up.
- To create the marled cloud effect, change colors every 2-3 rounds, or use a self-striping yarn. Simply fasten off the old color and join the new color at the beginning of a round.
Basket Bottom
Start by creating a flat, circular base. This will be the foundation of your basket.
- Rnd 1: Make a magic ring, ch 2 (does not count as a stitch), work 8 dc into the ring. Pull the ring tight to close. (8 dc)
- Rnd 2: Work 2 dc in each st around. (16 dc)
- Rnd 3: *Dc in next st, 2 dc in next st; repeat from * around. (24 dc)
- Rnd 4: *Dc in next 2 sts, 2 dc in next st; repeat from * around. (32 dc)
- Rnd 5: *Dc in next 3 sts, 2 dc in next st; repeat from * around. (40 dc)
- Rnd 6: *Dc in next 4 sts, 2 dc in next st; repeat from * around. (48 dc)
- Rnd 7: *Dc in next 5 sts, 2 dc in next st; repeat from * around. (56 dc)
- Rnd 8: *Dc in next 6 sts, 2 dc in next st; repeat from * around. (64 dc)
- Rnd 9: *Dc in next 7 sts, 2 dc in next st; repeat from * around. (72 dc)
- Rnd 10: *Dc in next 8 sts, 2 dc in next st; repeat from * around. (80 dc)
Tip: If your base is curling, it may be too tight. Try using a larger hook or loosening your tension. If it’s wavy, it may be too loose. Adjust as needed.
Basket Sides
Now we’ll build the walls of the basket. The alternating front and back post stitches create a dense, woven-like texture that gives the basket its structure.
- Rnd 11: Ch 1 (does not count as a stitch), working in the back loops only, sc in each st around. Do not join. (80 sc) This creates a clean, defined edge between the base and sides.
- Rnd 12: Ch 2 (counts as first dc), fpdc around the next st, *dc in next st, fpdc around next st; repeat from * around. Join with sl st to top of ch 2. (80 sts)
- Rnd 13: Ch 2 (counts as first dc), bpdc around the next st, *dc in next st, bpdc around next st; repeat from * around. Join with sl st to top of ch 2. (80 sts)
- Rnds 14-25: Repeat Rounds 12 and 13 alternately. This creates a dense, textured fabric. Continue until the sides measure approximately 6-7 inches tall, or to your desired height.
How to work fpdc and bpdc: To work a front post double crochet (fpdc), yarn over, insert your hook from front to back around the post of the stitch below, yarn over and pull up a loop, then complete the double crochet as usual. For a back post double crochet (bpdc), insert your hook from back to front around the post of the stitch below.
Cloud Ruffled Edge
This is the signature feature of the basket. The increases create a wide, undulating ruffled edge that mimics the fluffy top of a cumulus cloud.
- Rnd 26: Ch 1, *sc in next st, 2 sc in next st; repeat from * around. Join with sl st to first sc. (120 sc)
- Rnd 27: Ch 1, *sc in next 2 sts, 2 sc in next st; repeat from * around. Join with sl st to first sc. (160 sc)
- Rnd 28: Ch 1, *sc in next 3 sts, 2 sc in next st; repeat from * around. Join with sl st to first sc. (200 sc)
- Rnd 29: Ch 1, *sc in next 4 sts, 2 sc in next st; repeat from * around. Join with sl st to first sc. (240 sc)
Fasten off and weave in all ends using a yarn needle. Gently steam block the ruffled edge to shape it. To do this, hold a steamer a few inches away from the fabric and let the steam relax the fibers. Alternatively, lightly spray with water and shape with your hands. Allow to dry completely.
Your Cozy Cloud Basket is now complete! Place it on a shelf, fill it with your favorite items, and enjoy the beautiful, textured result of your hard work. Happy crocheting!