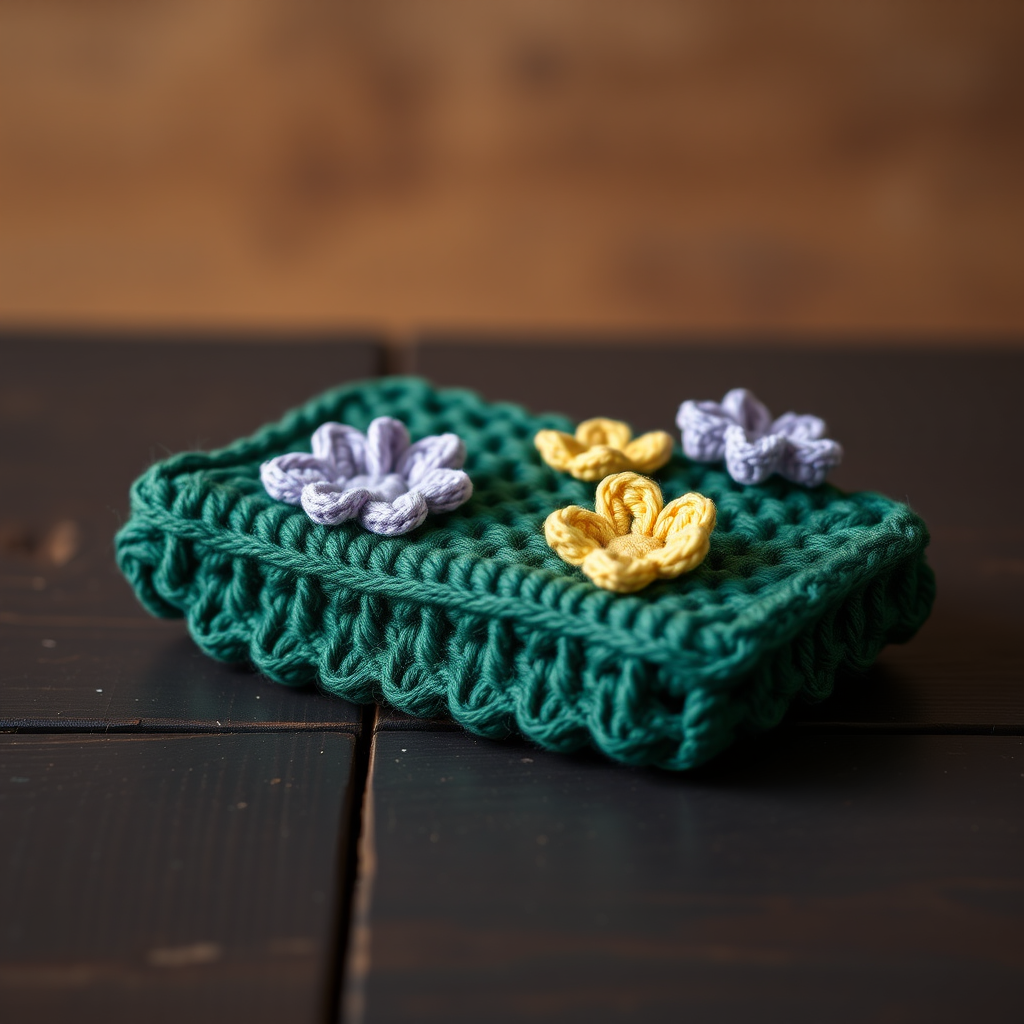
Retro Cassette Tape Pouch Free Pattern

Retro Cassette Tape Pouch Free Pattern
Introduction
Rewind to the past with this charming crocheted cassette tape pouch, perfect for storing small essentials. This nostalgic design combines vibrant colors and intricate stitches to create a delightful accessory that will bring a smile to your face. Whether you're a beginner or an experienced crocheter, this pattern is easy to follow and results in a functional and stylish pouch that showcases your crafting skills.
Materials Needed
- Yarn: Worsted weight cotton yarn in black, white, and two contrasting colors of your choice.
- Hook: 4.0 mm crochet hook.
- Gauge: 16 single crochet (sc) and 20 rows = 4 inches.
- Needle: Tapestry needle for weaving in ends.
- Closure: Zipper or button for securing the pouch.
Step-by-Step Instructions
1. Begin with the Cassette Tape Body
Using black yarn, chain (ch) 21.
Row 1: Single crochet (sc) in the 2nd ch from the hook and in each ch across. Turn. (You should have 20 sc.)
Rows 2-10: Ch 1, sc in each sc across. Turn. Repeat this for a total of 9 rows. Fasten off and leave a long tail for sewing later.
2. Create the Tape Reels
With white yarn, make a magic ring.
Round 1: 6 sc in the ring, join with a slip stitch (sl st) to the first sc.
Round 2: Ch 1, 2 sc in each sc around, join with sl st. Fasten off, leaving a long tail. Make two of these tape reels.
3. Assemble the Front
Position the two white tape reels evenly on the black rectangle you created in step 1. Using the long tail from the reels, sew them onto the black rectangle securely.
4. Add Details
Using your contrasting colors, embroider lines and shapes on the front of the pouch to mimic the classic cassette tape design. Get creative with your designs!
5. Create the Back Panel
Repeat the steps from step 1 to create a second black rectangle for the back panel of the pouch.
6. Join Panels
Place the front and back panels together with the wrong sides facing each other. Using black yarn, sc around three sides of the panels, leaving the top open for the pouch opening.
7. Finishing Touches
Weave in all loose ends using a tapestry needle. Attach a zipper or button closure at the top of the pouch for security, ensuring that it opens and closes smoothly.
Conclusion
Congratulations on creating your very own Retro Cassette Tape Pouch! This charming accessory is not only functional but also a wonderful conversation starter. Enjoy using it to store your small essentials or gift it to a friend who loves retro designs!