Heritage Harvest Potholder Duo Free Knitting Pattern
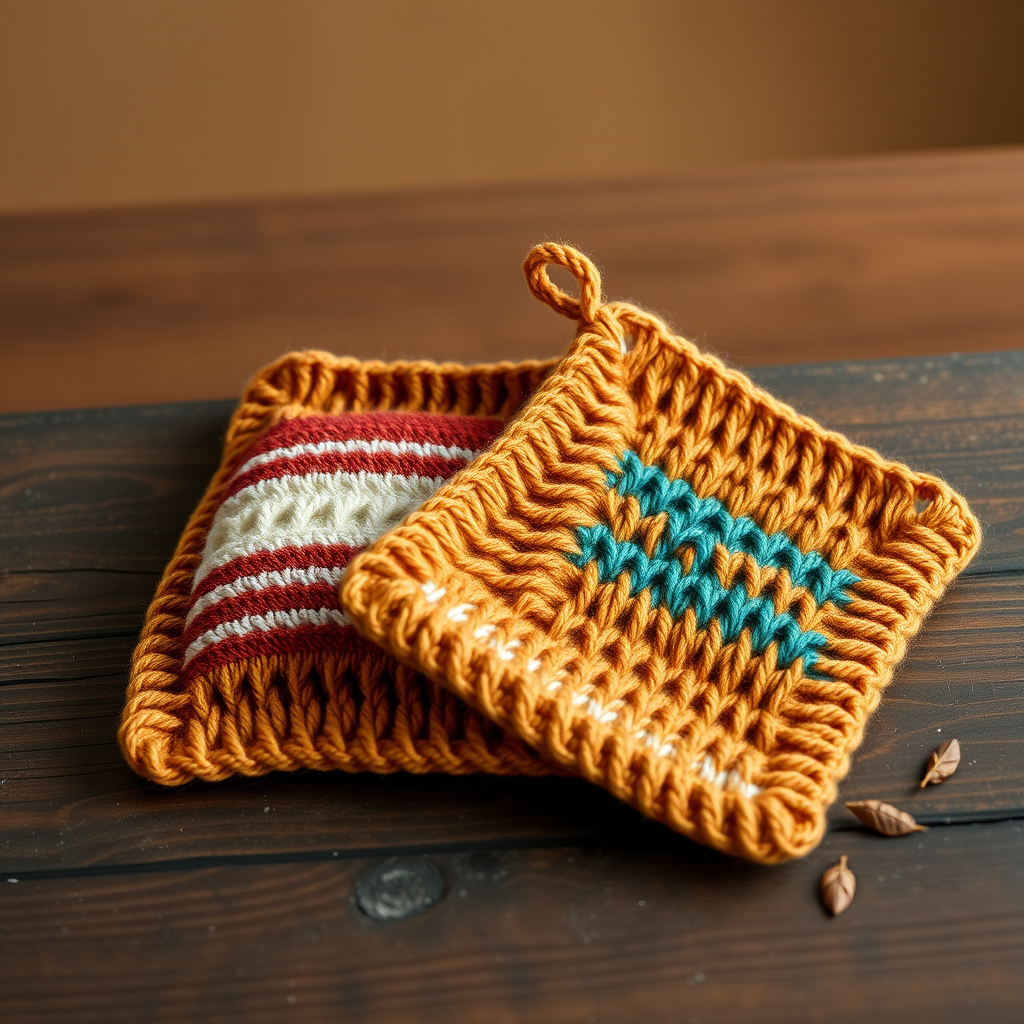
Heritage Harvest Potholder Duo: A Free Knitting Pattern for Rustic Kitchen Charm
Bring a touch of rustic elegance to your kitchen with this pair of thick, textured potholders, knitted in warm autumnal tones. The clever double-layer construction and sturdy 100% cotton yarn provide both beauty and reliable protection for your hands. Whether you're an experienced knitter looking for a quick weekend project or a beginner ready to tackle your first garment, this pattern offers a satisfying blend of simple stockinette stitch and colorwork that creates a stunning harvest-inspired design. Let's dive into creating these functional works of art that will elevate your kitchen decor and make every meal preparation feel special.
Materials Needed
Before you begin, gather the following supplies to ensure a smooth knitting experience:
- Yarn: Worsted weight 100% cotton yarn (e.g., Lily Sugar'n Cream) in three colors:
- Color A: Cream (approximately 120 yards)
- Color B: Burnt Orange (approximately 120 yards)
- Color C: Deep Teal (approximately 120 yards)
- Needles: US 7 (4.5 mm) knitting needles, or size needed to obtain gauge
- Notions: Tapestry needle for weaving in ends and seaming
- Gauge: 18 stitches and 24 rows = 4 inches in stockinette stitch (knit one row, purl one row)
Understanding the Pattern Structure
This pattern creates two identical potholders, each with a decorative textured front and a smooth back, worked in one piece and folded to create a double layer. The clever construction means you'll knit a single rectangular piece, then fold and seam it to create a thick, protective barrier between your hands and hot cookware. Each potholder measures approximately 8 inches by 8 inches when finished, making them perfectly sized for handling pots, pans, and baking dishes.
Step-by-Step Instructions
Potholder 1 (Front: Burnt Orange with Cream Accents)
Cast On
With Color B (Burnt Orange), cast on 36 stitches using your preferred method. The long-tail cast-on works beautifully here, creating a neat, elastic edge that will form part of the potholder's finished look.
Front Panel - Stripe Pattern
Work the following rows to create the decorative front panel with alternating burnt orange and cream stripes:
Row 1 (Right Side): With Color B, knit all stitches.
Row 2 (Wrong Side): With Color B, purl all stitches.
Row 3: Switch to Color A (Cream), knit all stitches.
Row 4: With Color A, purl all stitches.
Row 5: Switch back to Color B, knit all stitches.
Row 6: With Color B, purl all stitches.
Row 7: With Color B, knit all stitches.
Row 8: With Color B, purl all stitches.
Row 9: Switch to Color A, knit all stitches.
Row 10: With Color A, purl all stitches.
Row 11: Switch to Color B, knit all stitches.
Row 12: With Color B, purl all stitches.
Rows 13-24: Repeat Rows 1-12 once more to complete the second stripe sequence.
Rows 25-36: Repeat Rows 1-12 once more. You will now have three cream stripes and four burnt orange sections, creating a beautiful balanced pattern.
Back Layer - Solid Stockinette
Now you'll begin the back layer of the potholder, which will be solid burnt orange for a clean, cohesive look:
Row 37 (Right Side): With Color B, knit all stitches.
Row 38 (Wrong Side): With Color B, purl all stitches.
Rows 39-72: Repeat Rows 37-38 for a total of 36 rows of stockinette stitch in Color B. This forms the solid back layer of your potholder.
Bind Off
Bind off all stitches loosely in pattern (knit stitches on the right side, purl stitches on the wrong side) to maintain the natural stretch of the fabric. Cut yarn, leaving a long tail (approximately 18 inches) for seaming.
Fold and Seam
Fold the piece in half with the right sides together, bringing the cast-on edge and the bound-off edge together. The striped side is the front, and the solid side is the back. Using a tapestry needle and Color B yarn, sew the side seams together using a mattress stitch or whip stitch, leaving the top edge open. Take care to match the stripes perfectly for a professional finish. Turn the potholder right side out through the top opening. The result is a double-thick potholder with a decorative front and solid back, providing excellent heat protection.
Hanging Loop
With Color B, cast on 10 stitches. Knit in garter stitch (knit every row) for 12 rows. Bind off all stitches. Fold the loop in half and sew the ends securely to one corner of the potholder, positioning it on the inside edge of the top opening. This creates a convenient hanging loop for storage.
Potholder 2 (Front: Deep Teal with Cream Accents)
Repeat the same instructions as Potholder 1, but substitute Color C (Deep Teal) for Color B throughout. The back layer will be in Deep Teal, and the front will feature Deep Teal sections with Cream stripes, creating a beautiful complementary pair.
Finishing Touches
Weave in all loose ends with a tapestry needle, being careful to secure them firmly within the fabric. Block the potholders gently by steaming or lightly wetting and laying flat to dry, ensuring they are perfectly square. This step helps even out the stitches and gives your potholders a polished, professional appearance.
Tips for Success
When switching colors, carry the unused yarn loosely up the side of your work to avoid puckering. Alternatively, you can cut and rejoin yarn for each stripe, but carrying is more efficient and creates fewer ends to weave in. If you're new to colorwork, practice the first few rows to get comfortable with the rhythm of switching colors every two rows.
These potholders make wonderful handmade gifts for housewarmings, weddings, or holiday celebrations. The harvest-inspired color palette of cream, burnt orange, and deep teal evokes the warmth of autumn and adds a cozy touch to any kitchen. Pair them with a matching set of dish towels or a knitted trivet for a complete kitchen gift set.
Enjoy your beautiful, functional Heritage Harvest Potholders! They're perfect for adding a personal, handmade touch to your cooking space and make every meal preparation feel a little more special. Happy knitting!


