Harvest Moon Mosaic Afghan Free Pattern – Heirloom Textured Throw

Harvest Moon Mosaic Afghan Free Pattern – Heirloom Textured Throw
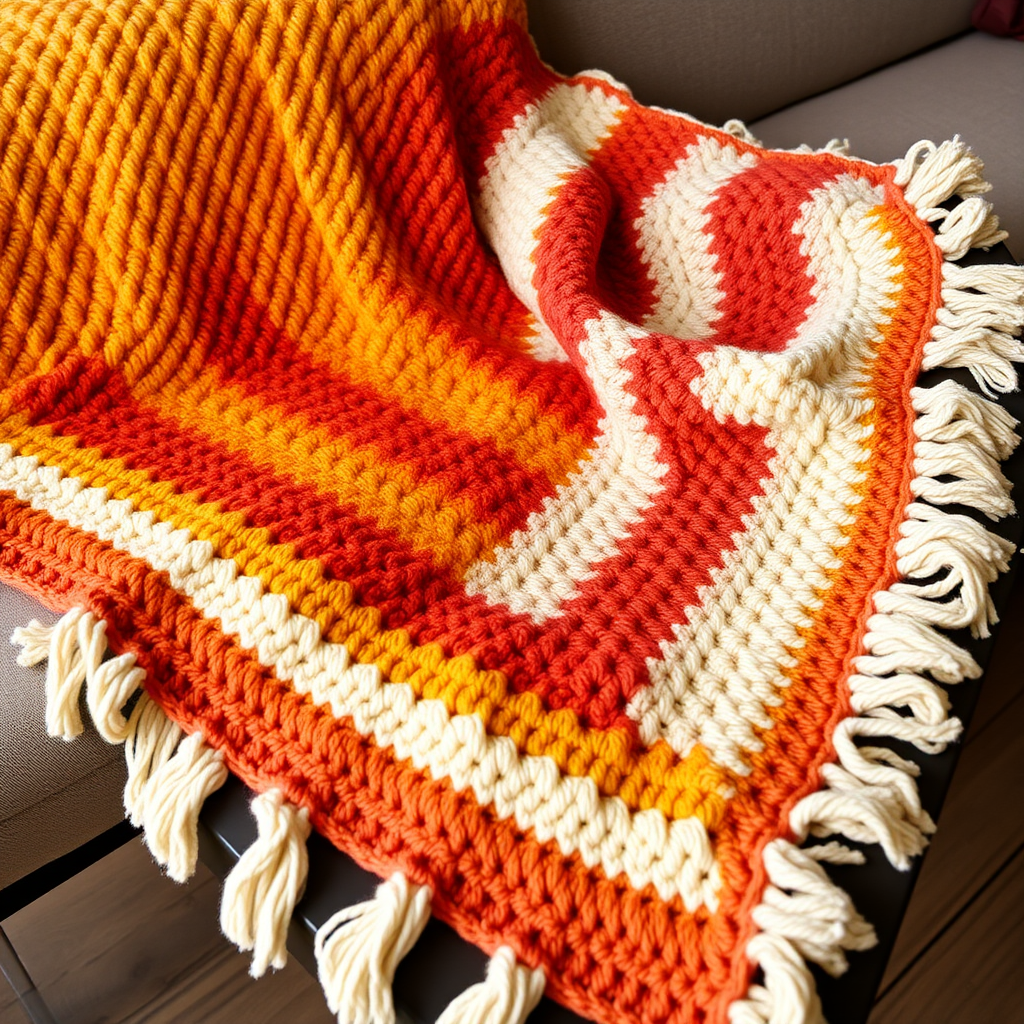
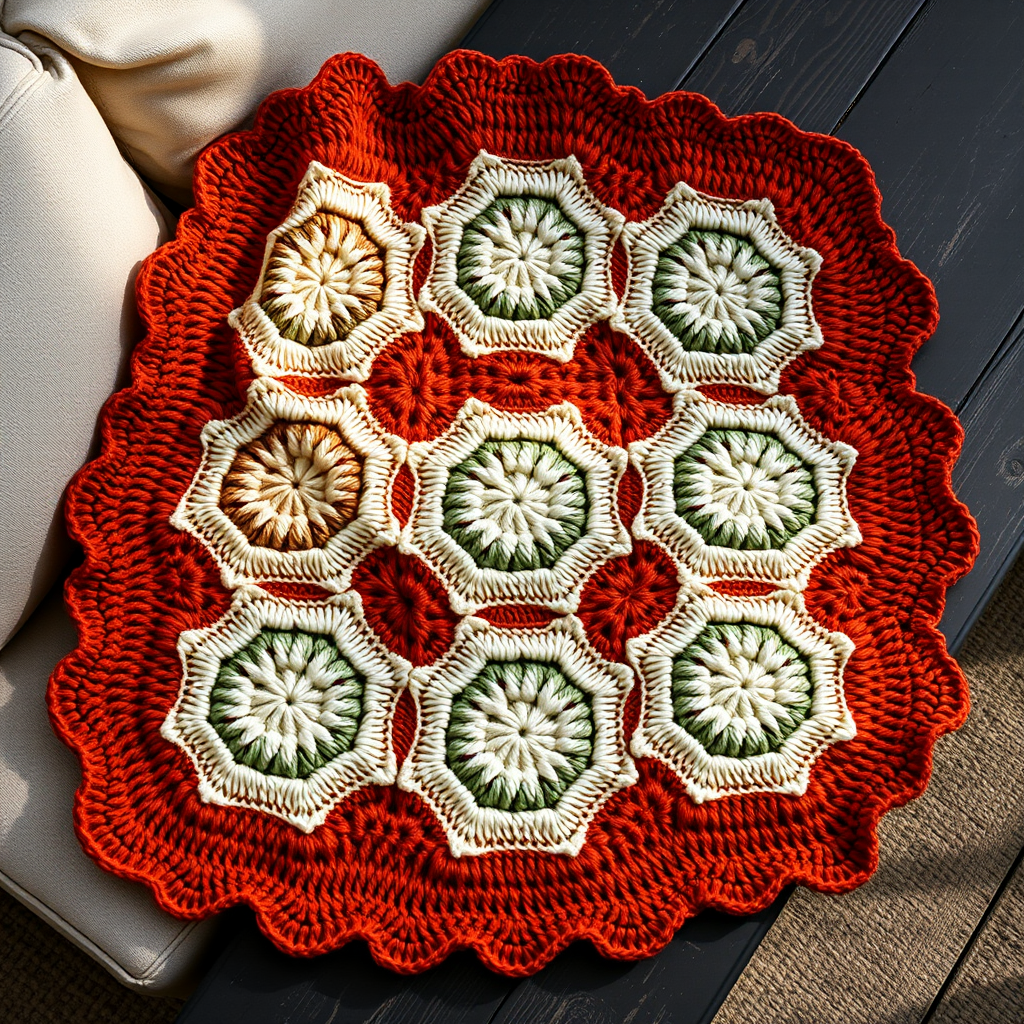
Wrap yourself in the golden glow of autumn with this richly textured mosaic crochet afghan, inspired by the Patons classic but reimagined for modern hands. The interlocking geometric motifs and warm harvest palette create a cozy heirloom piece that feels both nostalgic and fresh. This pattern is perfect for intermediate crocheters looking to expand their skills, and the mosaic technique creates a stunning visual impact without the hassle of carrying multiple yarns across rows. The result is a dense, warm, and substantial throw that will become a family treasure for generations.
Materials Needed
Before you begin, gather the following materials. The quality of your yarn matters—this pattern truly shines with a worsted-weight wool that has good stitch definition and a soft, cozy hand.
Yarn
Patons Classic Wool Worsted (100% wool, 210 yds/100g) in 5 colors:
- Color A = Harvest Orange: 3 skeins
- Color B = Golden Mustard: 3 skeins
- Color C = Rust Red: 3 skeins
- Color D = Cream: 4 skeins
- Color E = Deep Brown: 2 skeins
Total: Approximately 15 skeins (3150 yards). If you prefer a different brand, choose a worsted-weight yarn that achieves the same gauge.
Hook and Notions
- US Size I/9 (5.5 mm) crochet hook, or size needed to obtain gauge
- Tapestry needle for weaving in ends and joining panels
- Blocking mat and pins (for finishing)
- Steam iron or steamer (for blocking)
Gauge
4 mosaic pattern repeats (each repeat = 4 stitches wide) x 8 rows = 4 inches in mosaic crochet pattern. Exact gauge is not critical for this project, but consistency is key to ensure a flat, even afghan. Take time to check your gauge before starting.
Step-by-Step Instructions
This afghan is worked in vertical panels using the mosaic crochet technique. This clever method creates a stunning geometric design without carrying multiple yarns across rows—each row uses only one color, and the "long" double crochet stitches are worked into stitches from rows below to create the interlocking effect. Each panel measures 12 inches wide and 60 inches long. You will make 4 panels, then join them together.
Understanding Mosaic Crochet Basics
Before you begin, familiarize yourself with these key techniques:
- Single Crochet (sc): Insert hook, yarn over, pull through, yarn over, pull through both loops.
- Double Crochet (dc): Yarn over, insert hook, yarn over, pull through, yarn over, pull through two loops, yarn over, pull through remaining two loops.
- Front Loop Only (FLO) / Back Loop Only (BLO): When instructed, work only into the indicated loop of the stitch, leaving the other loop free. This creates the textured, woven look.
- The "Long" Double Crochet: This is the signature mosaic stitch. You will work a dc into a stitch that is 2 rows below the current row, inserting your hook between the stitches of the rows in between. This creates a tall, raised stitch that forms the geometric patterns.
Panel Instructions (Make 4)
Foundation: With Color D (Cream), chain 72 loosely. (This is a multiple of 4 + 2 for edge stitches. Adjust if needed to reach 12 inches in width.)
Row 1 (Right Side): Sc in 2nd ch from hook and in each ch across. Turn. (71 sc)
Row 2: Ch 1, sc in first st, *ch 1, skip next st, sc in next st* repeat from * to * across, ending with sc in last st. Turn. (This sets up the mosaic grid—the ch-1 spaces will be used in the next row.)
Row 3 (Color A – Harvest Orange): Ch 1, sc in first st. *Working in the ch-1 spaces from Row 2, dc in the skipped st of Row 1 (this is the 'long' stitch that creates the mosaic effect), sc in next ch-1 space* repeat from * to * across, ending with sc in last st. Turn. (You are creating a pattern of sc and long dc stitches.)
Row 4 (Color A): Ch 1, sc in each st across. Turn. (This row locks in the Color A pattern.)
Row 5 (Color B – Golden Mustard): Ch 1, sc in first st. *Working in the sc stitches of Row 3, dc in the sc stitch that is 2 rows below (i.e., the sc from Row 3 that is not covered by the long dc), sc in next st* repeat from * to * across, ending with sc in last st. Turn. (This creates a staggered geometric motif.)
Row 6 (Color B): Ch 1, sc in each st across. Turn.
Row 7 (Color C – Rust Red): Repeat Row 3 but working the long dc in the sc stitches from Row 5 that are 2 rows below, creating a diagonal line effect.
Row 8 (Color C): Ch 1, sc in each st across. Turn.
Row 9 (Color D – Cream): Repeat Row 5, working long dc in the sc stitches from Row 7 that are 2 rows below. This creates a cream diamond shape.
Row 10 (Color D): Ch 1, sc in each st across. Turn.
Row 11 (Color E – Deep Brown): Repeat Row 3, working long dc in the sc stitches from Row 9 that are 2 rows below. This outlines the cream diamond.
Row 12 (Color E): Ch 1, sc in each st across. Turn.
Repeat Rows 3-12 for the pattern, always working the long dc in the sc stitches that are 2 rows below and following the color sequence: A, B, C, D, E, D, C, B, A, B, C, D, E, D, C, B, A... Continue repeating this sequence until the panel measures 60 inches from the foundation, ending with a Row 12 (sc row) in the corresponding color. Fasten off and weave in ends.
Pro Tip: As you work, periodically lay your panel flat to check that it is not curling or pulling. The mosaic technique naturally wants to lie flat, but if you notice any distortion, check your tension—you may be pulling the long dc stitches too tightly.
Joining the Panels
Once all 4 panels are complete, it's time to join them into a single, beautiful afghan.
- Lay the 4 panels side by side, right sides up. Arrange them so the pattern flows continuously across the width.
- With Color D (Cream) and a tapestry needle, whip stitch the panels together through the back loops only, matching the pattern rows carefully. This creates a seamless, flat join that is nearly invisible.
- Work from top to bottom, keeping your tension even. Do not pull too tightly, or the seams will pucker.
Border
The border adds a beautiful finishing touch and helps the afghan lie flat. Follow these rounds carefully.
Round 1: With right side facing, attach Color D (Cream) in any corner. Ch 1, sc evenly around the entire afghan, working 3 sc in each corner. Join with sl st to first sc. (Approximately 300 sc per side—adjust as needed to keep the border flat.)
Round 2: Ch 1, sc in each sc around, working 3 sc in each corner sc. Join.
Round 3: Ch 1, *sc in next st, ch 2, skip 2 sts* repeat from * to * around, working a sc in each corner st. Join. Fasten off.
Round 4: Attach Color A (Harvest Orange) in any ch-2 space. Ch 3 (counts as dc), 2 dc in same space, *ch 1, 3 dc in next ch-2 space* repeat from * to * around, working 3 dc in each corner ch-2 space. Join with sl st to top of ch-3. Fasten off and weave in all ends.
Finishing
Blocking is essential for this afghan—it opens up the mosaic pattern, evens out the stitches, and gives the piece a professional, polished look.
- Fill a basin with cool water and add a small amount of wool-safe soap. Submerge the afghan and gently press (do not wring or agitate) to wet it thoroughly.
- Drain the water and gently press out excess moisture. Roll the afghan in a clean towel to remove additional water.
- Lay the afghan flat on a blocking mat. Pin it to the finished dimensions (approximately 48 x 60 inches), stretching gently to even out the edges.
- Using a steam iron held a few inches above the surface (do not touch the yarn directly), steam the afghan thoroughly. Allow it to cool and dry completely before removing the pins.
Once dry, your Harvest Moon Mosaic Afghan is ready to be draped over a favorite chair, folded at the foot of a bed, or wrapped around your shoulders on a crisp autumn evening. The rich harvest palette and intricate geometric design make this a true heirloom piece—one that will be cherished for years to come. Enjoy your beautiful creation!