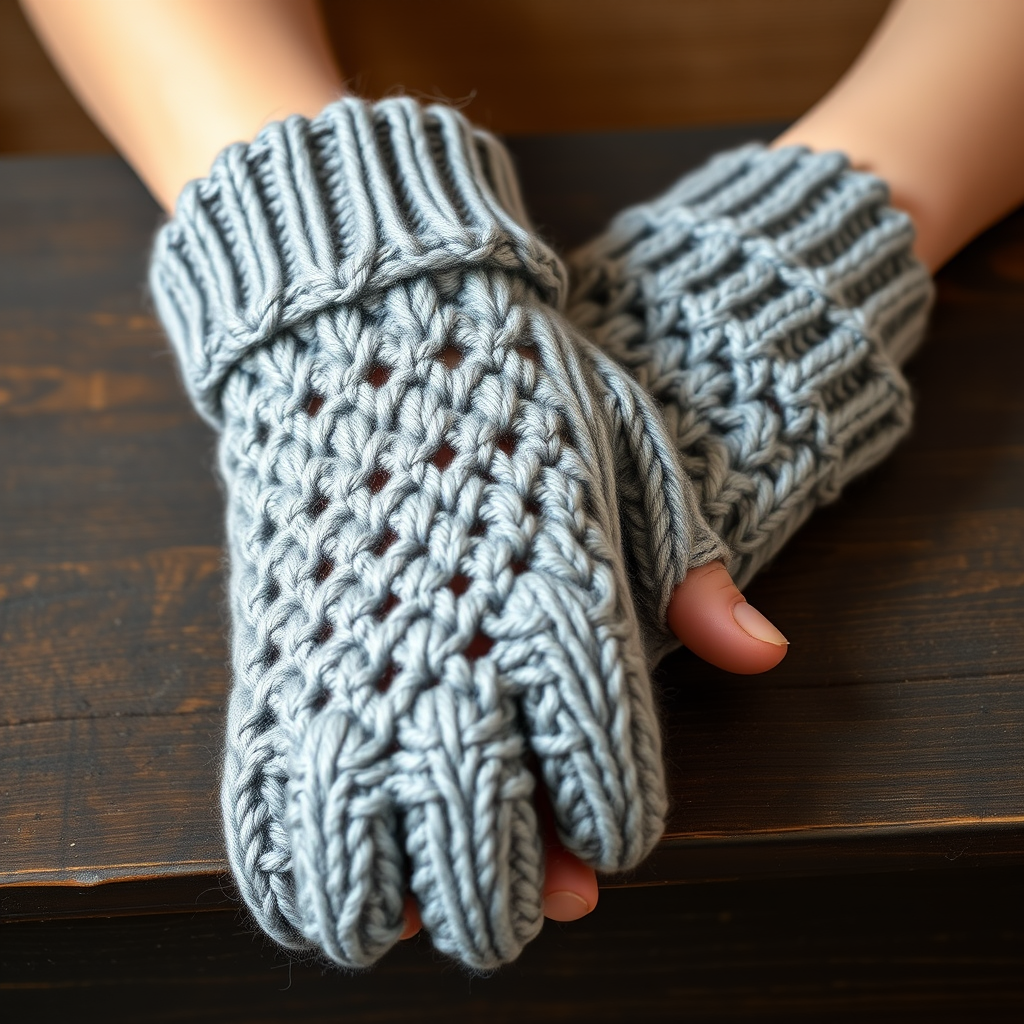
Frosted Pine Fingerless Gloves Free Pattern

Frosted Pine Fingerless Gloves Free Pattern
Introduction
Embrace the winter chill with these Frosted Pine Fingerless Gloves, featuring intricate cable patterns reminiscent of frosty pine branches. These gloves are perfect for keeping your hands warm while allowing the freedom to use your fingers. Whether you're sipping hot cocoa or typing away on your laptop, these cozy gloves will keep you stylish and warm during the cold months.
Materials Needed
- Yarn: Worsted weight yarn, 100% wool (recommended color: deep forest green)
- Needles: US 7 (4.5mm) double-pointed needles
- Gauge: 20 stitches and 28 rows = 4 inches in stockinette stitch
- Scissors: For cutting yarn
- Tapestry needle: For weaving in ends
Step-by-Step Instructions
1. Casting On
Begin by casting on 40 stitches using your US 7 double-pointed needles. Distribute the stitches evenly across 4 needles (10 stitches on each needle). Ensure that your stitches are not twisted before joining in the round.
2. Ribbing
Join in the round and work in k2, p2 ribbing for 2 inches. This will create a snug cuff for your gloves.
3. Begin Cable Pattern
After completing the ribbing, you will start the cable pattern. Follow these instructions for Round 1:
- *Knit 2 stitches (k2), purl 2 stitches (p2).
- Perform a cable 4 front (C4F): Slip 2 stitches to a cable needle and hold it in front of your work. Knit the next 2 stitches from your left needle, then knit the 2 stitches from the cable needle.
- Purl 2 stitches (p2); repeat from * around the round.
4. Continue Cable Pattern
Continue working in the cable pattern for 6 inches or until you reach your desired length. Make sure to maintain the pattern consistently throughout.
5. Creating the Thumb Opening
To create the thumb opening, you will work back and forth in rows:
- Work in the cable pattern for 1 inch, then stop.
- Turn your work and knit back across the stitches, continuing to follow the cable pattern.
6. Rejoining in the Round
After completing the thumb opening, rejoin in the round. Continue in the cable pattern for 1 more inch.
7. Binding Off
Once you have reached the desired length of your gloves, bind off loosely in pattern. This will help maintain the elasticity of the ribbing and cable pattern.
8. Finishing Touches
Weave in any loose ends using a tapestry needle. Make sure to secure all ends to prevent unraveling. Your Frosted Pine Fingerless Gloves are now complete!
Conclusion
These Frosted Pine Fingerless Gloves are not only functional but also a beautiful addition to your winter wardrobe. Enjoy the warmth and style they bring, and don’t hesitate to experiment with different colors and yarns to make them uniquely yours!