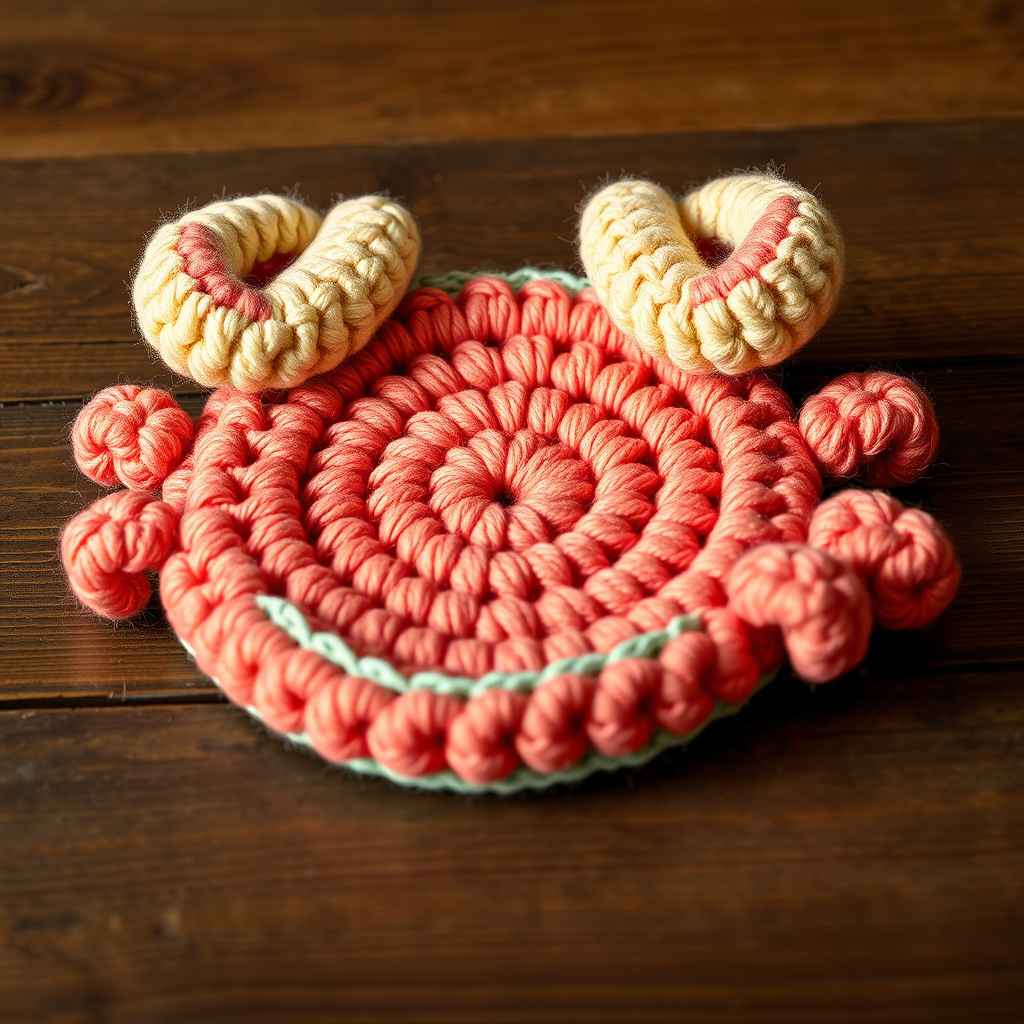
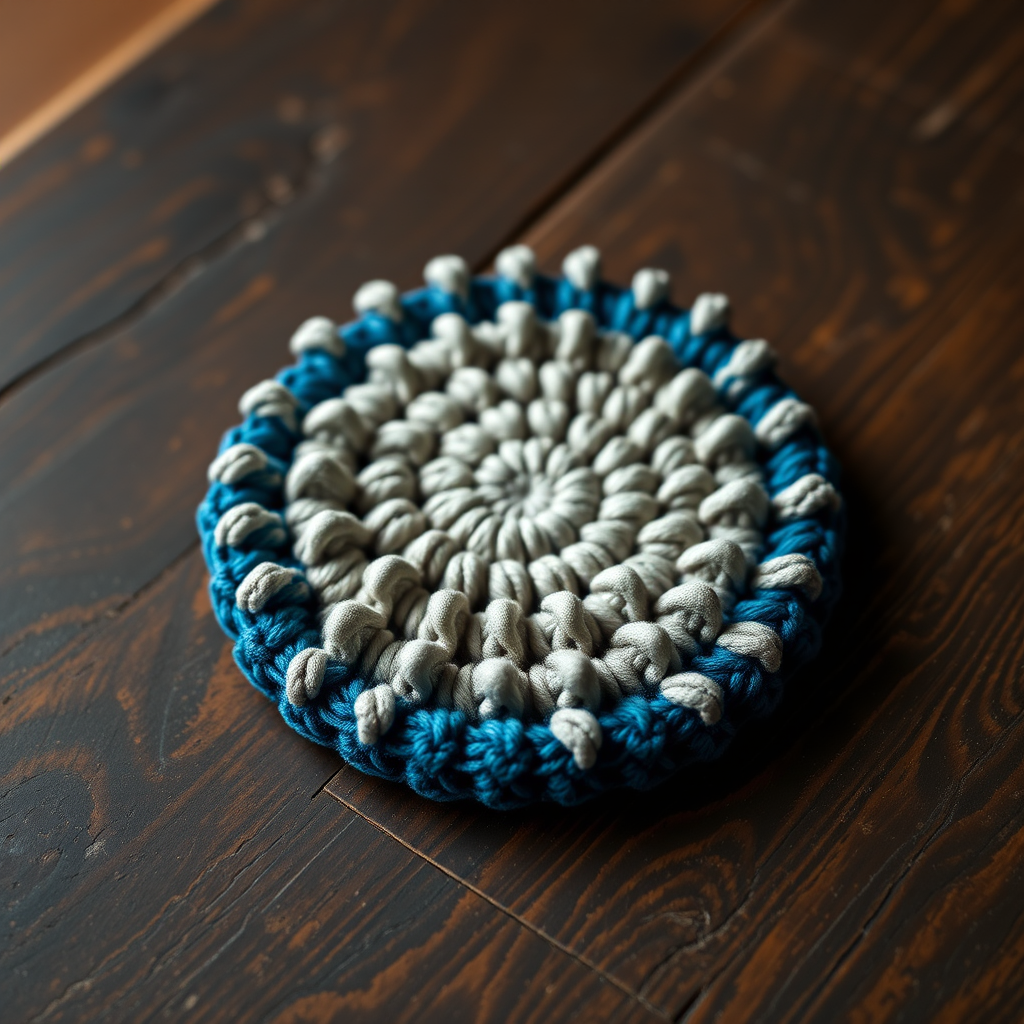
Fairy Ring Hexagon Coasters Free Pattern: Crochet a Set of Four Petal-Centered Coasters

Fairy Ring Hexagon Coasters: A Free Beginner Crochet Pattern
If you have never held a crochet hook before, these Fairy Ring Hexagon Coasters are the perfect first project for you. Each coaster is a small, flat hexagon with a tiny cream center and a ring of six little petals that look like a fairy ring in a storybook meadow. You will make a set of four: two in soft sage green and two in gentle lavender, all with the same creamy petal heart. The finished coasters are about 4.5 inches (11.5 cm) across, flat and firm enough to hold a mug, with a matte cotton finish and crisp, pointy hexagon corners. They work up quickly, use very little yarn, and make a charming handmade gift.
Materials Needed
- Yarn: Worsted weight (category 4) cotton or cotton-blend yarn, approximately 15–20 yards per coaster. Colors: Sage green (A), Lavender (B), and Cream (C). One 50 g skein of each color is enough for all four coasters.
- Hook: F/5 (3.75 mm) crochet hook.
- Stitch markers: At least 2, to mark the first stitch of each round and the corners.
- Tapestry needle: A blunt needle with a large eye for weaving in ends.
- Scissors: Sharp craft scissors for cutting yarn.
- Finished size: Approximately 4.5 inches (11.5 cm) across, measured flat-to-flat (from the middle of one flat side to the middle of the opposite flat side).
Abbreviations and Beginner Glossary
Every abbreviation used in this pattern is explained below in plain English. Read through this list once before you begin — you do not need to memorize it.
- ch – chain. Make a loop of yarn on your hook, then pull the yarn through the loop. That is one chain stitch. A "ch 2" means make two chain stitches in a row.
- sl st – slip stitch. Insert your hook into the stitch, wrap the yarn over the hook, and pull it through both the stitch and the loop on your hook at the same time. It makes a nearly invisible joining stitch.
- sc – single crochet. Insert hook into the stitch, wrap yarn over hook and pull up a loop (2 loops on hook), wrap yarn over again and pull through both loops. One loop remains.
- hdc – half double crochet. Wrap yarn over hook first, insert hook into stitch, pull up a loop (3 loops on hook), wrap yarn over and pull through all 3 loops at once.
- dc – double crochet. Wrap yarn over hook, insert hook into stitch, pull up a loop (3 loops on hook), wrap yarn over and pull through 2 loops, wrap yarn over again and pull through the last 2 loops.
- tr – treble crochet. Wrap yarn over hook twice, insert hook into stitch, pull up a loop (4 loops on hook), then pull through 2 loops three times. (Listed here for reference; this pattern does not use it.)
- sc2tog – single crochet two together. A decrease: insert hook into the first stitch, pull up a loop, insert hook into the next stitch, pull up a loop, then pull yarn through all 3 loops. (Listed for reference; this pattern does not use it.)
- magic ring – an adjustable loop of yarn that you crochet into, then pull tight so the center hole closes completely. It is the tidy way to start a circle.
- st / sts – stitch / stitches.
- ch-2 space – the small gap made by two chain stitches in the previous round. You will work your petals into these gaps.
- join with sl st – finish the round by making a slip stitch into the first stitch of that round, closing the circle.
- fasten off – cut the yarn a few inches from your work and pull the tail through the last loop to secure it.
- 2 dc in next st – work two double crochet stitches into the same single stitch. This is an increase and makes the piece wider.
- [ ] – brackets group stitches that are repeated together.
Gauge
Gauge: The first 3 rounds of the hexagon measure 2 inches (5 cm) across.
Why gauge matters: Gauge is simply how big your stitches turn out. If your stitches are looser than the pattern expects, your coaster will be larger than 4.5 inches; if tighter, it will be smaller. Because this is a coaster, a small difference is not a disaster — but checking gauge means your set of four will all match each other and your mug will sit nicely on top.
How to check: Work Rounds 1–3 of the center exactly as written below. Lay the little circle flat and measure straight across the middle with a ruler. If it measures about 2 inches (5 cm), you are on track. If it is much bigger, try a smaller hook (such as an E/4, 3.5 mm). If it is much smaller, try a larger hook (such as a G/6, 4.0 mm).
Beginner Tips Before You Start
- Use a stitch marker. Place a marker in the first stitch of every round. When you reach the marker again, you know the round is finished and you can join with your slip stitch in the right place.
- Do not pull your yarn too tight. Beginners often tug each stitch snug. Keep your tension relaxed and even — tight stitches make it very hard to insert the hook into the next round.
- Count out loud. Count the stitches at the end of each round and compare with the number in parentheses. Catching a mistake early is much easier than fixing it later.
- Keep the magic ring tail handy. After Round 1, pull the short tail firmly to close the center hole completely, then hold it out of the way as you work Round 2.
- Work in joined rounds without turning. Each round begins with a chain and ends with a slip stitch to the first stitch of that round. You always work with the right side of the coaster facing you.
- Make one coaster completely before starting the next. This helps you learn the rhythm of the pattern, and your later coasters will be neater and faster.
Step-by-Step Instructions
Notes: Coasters are worked in joined rounds; turning is not required. Each round begins with a chain and ends with a slip stitch to the first stitch of the round. Make two coasters in Sage (A) and two in Lavender (B); the cream center and petal ring are identical on all four. The ch-2 at the beginning of a round counts as the first dc unless otherwise stated.
Center (Cream, Color C) — work on all four coasters
Round 1: Make a magic ring. Ch 1, work 6 sc into the ring. Join with sl st to first sc. Pull the tail tight to close the hole. (6 sc)
Round 2: Ch 1, work 2 sc in each st around. Join with sl st to first sc. (12 sc)
Round 3: Ch 1, [sc in next st, 2 sc in next st] around. Join with sl st to first sc. Fasten off Cream. (18 sc)
Petal Ring (Cream, Color C)
Round 4: Join C with sl st in any st of Round 3. Ch 1, [sc in next st, ch 2, skip next st, sc in next st] around, ending with ch 2, skip last st. Join with sl st to first sc. (12 sc, 6 ch-2 spaces)
Round 5: Sl st into first ch-2 space. In each ch-2 space work: [sc, hdc, dc, hdc, sc]. Join with sl st to first sc. Fasten off Cream. (6 petals)
Hexagon Body (Color A or B)
Round 6: Join A (or B) with sl st in the top of any dc from Round 5 (the center of a petal). Ch 2 (counts as first dc), dc in same st. Work 2 dc in each of the next 2 sts along the petal edge, then dc in the sc between petals. Continue around, working 2 dc in each petal stitch and 1 dc between petals. Join with sl st to top of beginning ch-2. (36 dc)
Round 7: Ch 2, dc in each st around, working 2 dc in each of the 6 corner stitches (the dc at the center of each petal from Round 5). Join with sl st. (42 dc)
Round 8: Ch 2, dc in each st around, working [2 dc, ch 1, 2 dc] in each of the 6 corner stitches to form sharp hexagon points. Join with sl st. (54 dc, 6 ch-1 corners)
Round 9 (edging): Ch 1, sc in each st around, working 3 sc in each ch-1 corner space. Join with sl st to first sc. Fasten off and weave in ends. (66 sc)
Repeat for the Full Set
Repeat the Center, Petal Ring, and Hexagon Body sections three more times, using Sage (A) for two coasters and Lavender (B) for two coasters. The cream center and petal ring are worked in Cream (C) on every coaster.
Assembly and Finishing
Weaving in ends: Thread each yarn tail onto your tapestry needle. Turn the coaster to the wrong side (the side with the most visible joins). Slide the needle through the backs of several stitches, going in one direction, then back through a few stitches in the other direction to lock the tail in place. Trim the yarn close to the fabric. Do this for every tail — the cream center, the petal ring, and the body color.
Blocking: Lightly steam or dampen each coaster. Lay it flat on a towel or blocking mat and pin out the six points with rust-proof pins so the hexagon shape is sharp and even. Use your fingers to smooth the petal ring flat. Leave to dry completely — usually a few hours, or overnight. Blocking is what makes the coasters lie perfectly flat and gives the corners their crisp fairy-ring look.
Finishing touch: Once dry, remove the pins and press gently with your hands. Stack the four coasters or fan them out for gifting — two sage, two lavender, all with matching cream centers.
Pro Tips and Variations
- Change the colors: Swap Sage and Lavender for any two colors you love — dusty pink and mustard, or teal and cream. Keep the cream center for contrast, or make the center match the body for a solid, modern look.
- Make them bigger or smaller: For a larger coaster or a small trivet, add one more round of dc before the edging, working [2 dc, ch 1, 2 dc] in each corner space. For a smaller coaster, stop after Round 7 and work the edging.
- Try a different yarn: Cotton gives a firm, matte finish that grips a mug well. A cotton-acrylic blend is softer and slightly more drapey. Avoid fuzzy or slippery yarns for your first set, as they make counting stitches harder.
- Add a hanging loop: After the edging, ch 8 and sl st back into the same stitch to make a small loop, then fasten off. These make sweet little ornaments or gift tags.