Blazing Ember Fire Flame Hat Free Pattern
Introduction
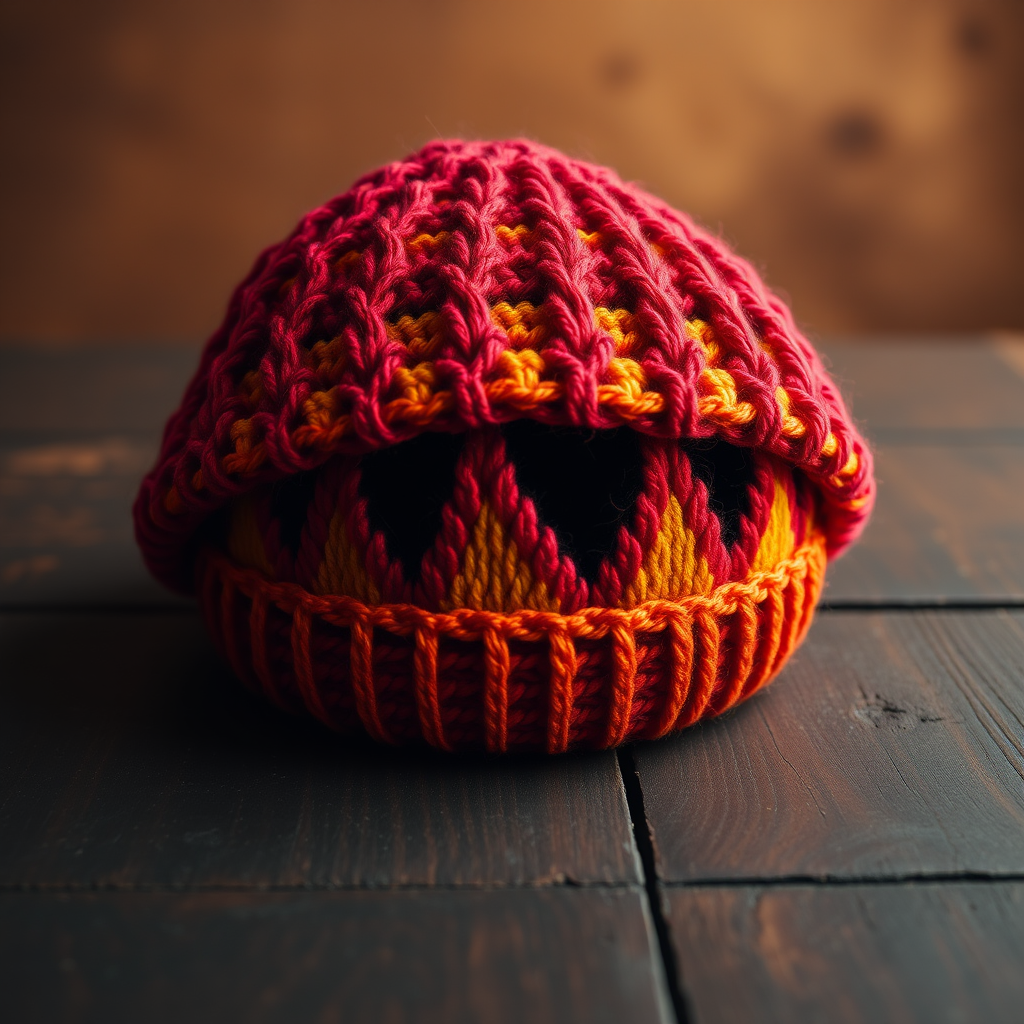
Ignite your style with the Blazing Ember Fire Flame Hat, a cozy and vibrant knitted accessory that captures the essence of flickering flames. This pattern combines intricate textures and fiery hues to create a warm and eye-catching piece. Perfect for beginners, this hat will not only keep you warm but also add a bold statement to your winter wardrobe.
Materials Needed
- Yarn: Worsted weight yarn in shades of red, orange, and yellow
- Needles: US 8 (5.0 mm) circular needles
- Gauge: 18 stitches and 24 rows = 4 inches in stockinette stitch
Step-by-Step Instructions
1. Cast On
Begin by casting on 96 stitches using the long-tail cast-on method. This method provides a stretchy edge that is perfect for the brim of your hat.
2. Join in the Round
Carefully join your work in the round, ensuring that the stitches are not twisted. This is crucial for maintaining the integrity of your hat's shape.
3. Ribbing
Work in k2, p2 ribbing for 2 inches. This creates a snug fit for the brim of the hat.
4. Begin Stockinette Stitch
After completing the ribbing, switch to stockinette stitch. This means you will knit every round until you reach the desired height for the flame motif.
5. Flame Motif
Start the flame motif as follows:
- Round 1: Knit all stitches.
- Round 2: *Knit 4, purl 1; repeat from * to end of round.
- Round 3: Knit all stitches.
- Round 4: *Knit 3, purl 2; repeat from * to end of round.
Continue this pattern, shifting the purl stitches by one stitch every two rows to create a flame-like appearance. Keep knitting until the hat measures 8 inches from the cast-on edge.
6. Crown Decreases
Once you reach the desired height, begin the crown decreases:
- Round 1: *Knit 6, k2tog; repeat from * to end of round.
- Round 2: Knit all stitches.
- Round 3: *Knit 5, k2tog; repeat from * to end of round.
- Round 4: Knit all stitches.
Continue decreasing in this manner until you have 12 stitches remaining.
7. Finishing Touches
Cut the yarn, leaving a long tail. Thread this tail through the remaining stitches and pull tight to close the top of the hat. Finally, weave in all ends to secure your work and give your hat a polished finish.
Conclusion
Your Blazing Ember Fire Flame Hat is now complete! Enjoy wearing your handmade creation or gift it to someone special. This pattern not only enhances your knitting skills but also adds a vibrant touch to any winter outfit.


